Page 1 of 2
Underseal removal...........help
Posted: Sun Nov 27, 2005 8:27 pm
by ptitterington
I have searched without much luck
I havespent the last 6 hrs chipping and scraping after slopping paint stripper then petrol on it, on the inside of the back wings this is quite ok but I have to strip the whole underside for the VRD Tester to inspect.
Is there any product that helps. Thanks folks

Posted: Sun Nov 27, 2005 8:48 pm
by SR
ello phill ,if u search " frodt auto" they do somrthing, i did mine with a wood chisel,

steve
Posted: Sun Nov 27, 2005 9:51 pm
by Onne
I am currently using a steam cleaner, to soften it up, it's a lot easier to remove.
Really wet and messy though, and not wise on a complete car as it were, only on the cars that still need new paint, like my MM
So my post is useless actually
Posted: Sun Nov 27, 2005 10:27 pm
by Matt
Cellulose thinners / white spirits / heat (ideally not together!!!) and a paint stripper type scraper....
Posted: Mon Nov 28, 2005 9:05 am
by chickenjohn
A heat gun (such as available from Machine Mart) to soften and a scraper to remove the underseal.
Posted: Sat Dec 03, 2005 8:47 pm
by ptitterington
Many thanks folks, a combination of petrol paint stripper a scraper then a big brillopad thing on a 9''angle grinder did the job.
As it happens the welding is pretty ok just the underseal let the job down
So eith a bit of tyding up all should be ok.
and now some nakkey breasts..................
Dont look if you are going to complain
dont do it
[EDITED - Cam.]
I warned you

Posted: Sat Dec 03, 2005 8:58 pm
by Cam
ptitterington,
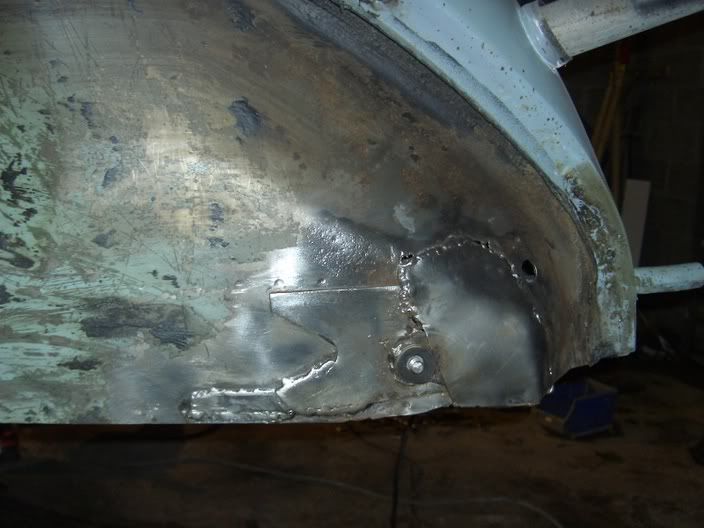
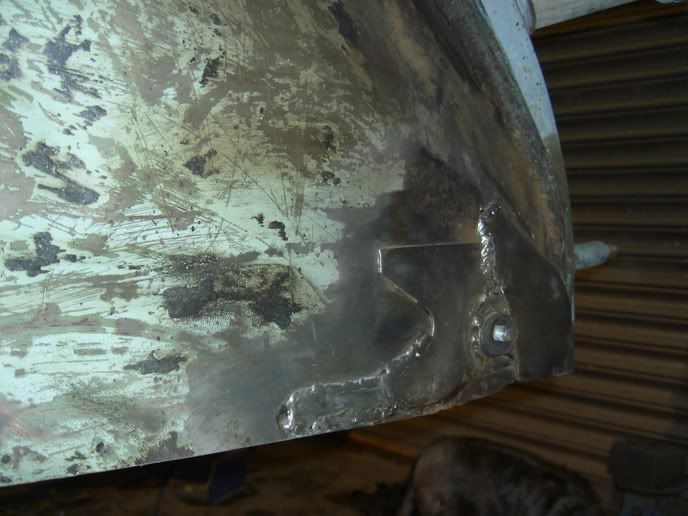
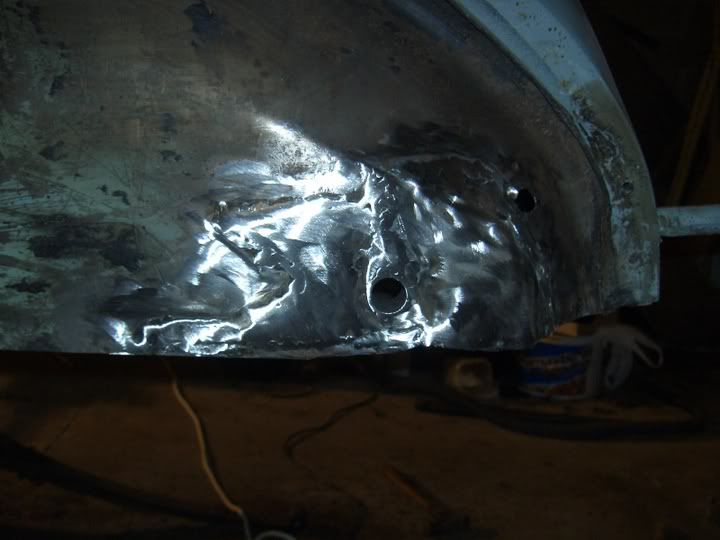
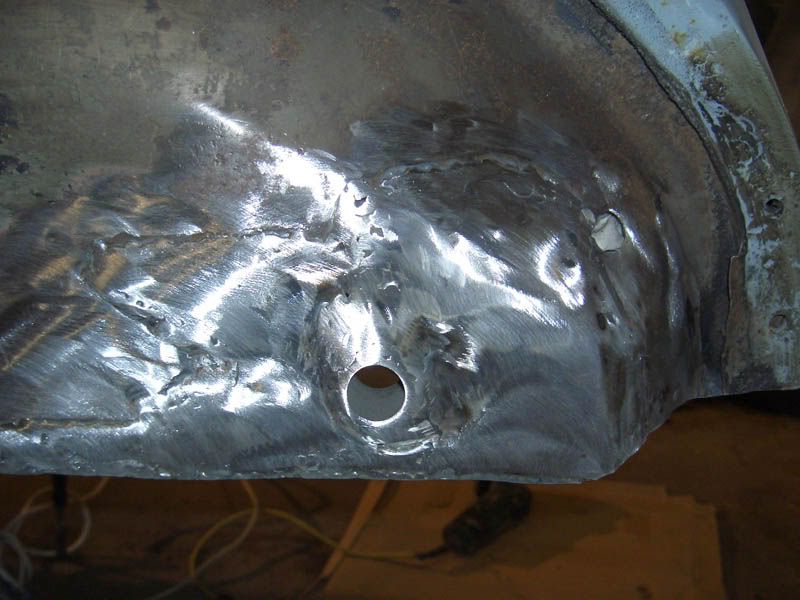
That rear patch does not look too brilliant. Especially where it meets the shackle bush mounting hole. I would make sure that was in solid seam welded condition. It might be the photo but it does not look attached too well in the picture.
p.s. please don't post inappropriate content on this messageboard. We all like a laugh but as has been pointed out time and again, ad nausium, this is not the place for adult content, so posting animated GIFs of topless models is inappropriate.
Posted: Sat Dec 03, 2005 9:08 pm
by ptitterington
Wow that was quick.
I have a pal a proper welder who will sorrt it all out. You know he is a pro as he wants me to thouroughly clean everything and cut all the new metal ready for him to weld. He is going to lend me his folder and another thing thar makes a sort of step so you dont weld against fresh air. Still I cant complain His welding isgood
Sorry about posting nakkey breasts. But they just looked so loooooovely.
Wrist smacked will not do again..............

Posted: Sat Dec 03, 2005 9:10 pm
by Cam
ptitterington wrote:Sorry about posting nakkey breasts. But they just looked so loooooovely.
Wrist smacked will not do again..............
Good lad.
Posted: Sun Dec 18, 2005 9:28 pm
by ptitterington
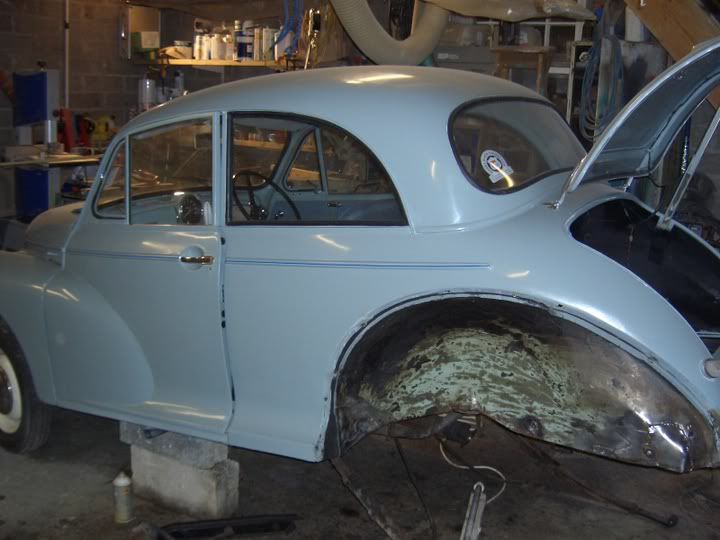
Well Finally got started.
The previous repairs are not too bad after a bit of a tidy and finish of the welding.
And they don’t look as pretty as ESM panels but they fit ok
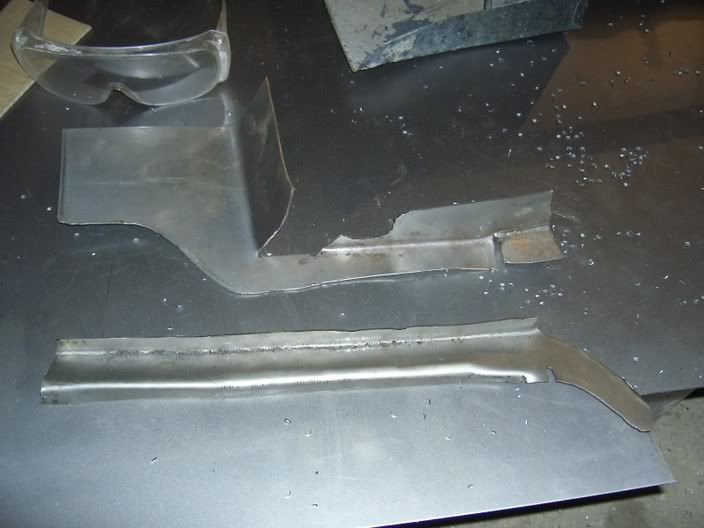
Its something to do over Christmas anyway. Decided after all the hard work it would be silly to not do the welding myself at least I will learn something.
Hope to pass the Vehicle inspection in January.
Posted: Mon Dec 26, 2005 9:01 pm
by ptitterington
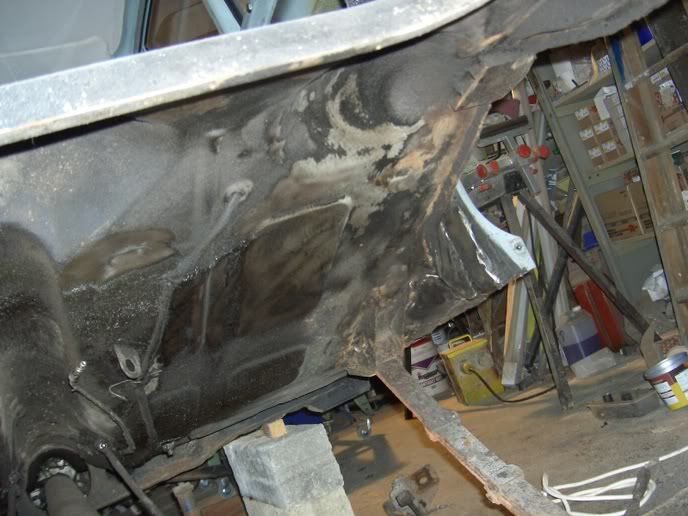
Well this is nearly the most fun Christmas ever, my chest and arms have burns all over them, Must stop using a polyester top.
The hardest stuff is the grinding afterwards.

Hope that is smaller - Sorry
Posted: Mon Dec 26, 2005 9:39 pm
by Onne
could you perhaps shrink the pictures a bit? I have no problem with dial up or anything, but I just can't get the complete picture in my screen
Posted: Thu Dec 29, 2005 12:37 am
by Cam
Not too bad that is it? You've certainly attacked the most common rot areas on a Moggy! Bet you feel burnt but happy!
Posted: Tue Jan 24, 2006 9:20 pm
by ptitterington
Yippee
She passed the re-test and I now have been allocated a Jersey numberplate.
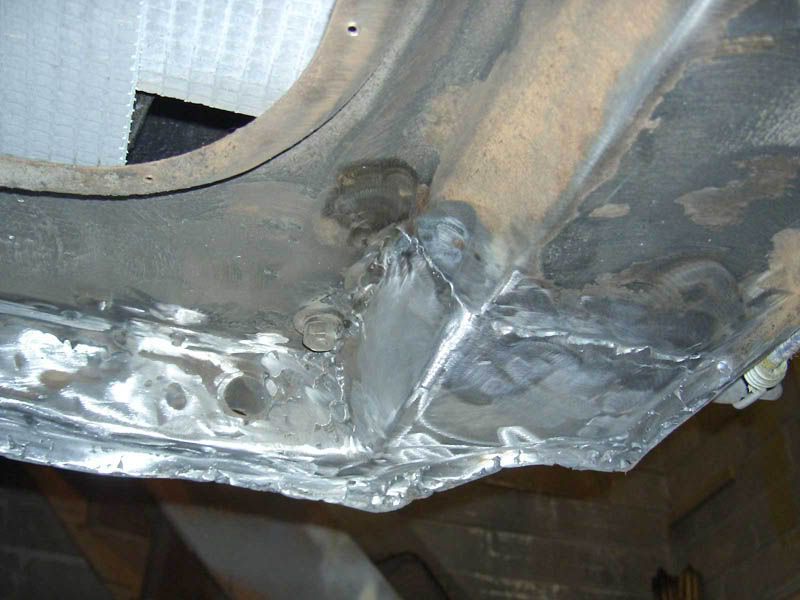
It was worth all the burns and my upsidedown welding is now pretty ok.
Posted: Tue Jan 24, 2006 9:25 pm
by Matt
Why did you grind down all the welds underneath?
Posted: Tue Jan 24, 2006 9:40 pm
by Onne
What really helps when removing underseal, frosty weather! It just breaks of, and isn't as gooey and soft.
Posted: Tue Jan 24, 2006 9:45 pm
by ptitterington
Mostly as it looked lumpy and ugly as i had not got the settings quite right and I built up too much weld. On the later welding once I discovered how good a halogen light and a lump of rolled up carpet to lie on and practice, I barely needed to tidy anything up.
I did not grind all the strength away though
Posted: Tue Jan 24, 2006 11:39 pm
by Matt
I don't grind welds away unless
a) they are extremely ugly and the MOT man will spot them and start poking
b) they are visible...
Posted: Wed Jan 25, 2006 8:09 am
by chickenjohn
I grind down any blobby/ugly bits, then before painting smear seam sealer along the weld. Seals it againt moisture and looks much nicer.
Personally, I think its OK to tidy up your welds, especially if you've done a butt weld and your welding is good- then the strength will still be there.
When I took the Traveller for its first MOT in 3 years last year, it was nice to be complemented on my welding by the local garage!!
Posted: Wed Jan 25, 2006 8:14 am
by chickenjohn
a flap disk is much better for weld dressing than a grinding disk, IMHO.
