Page 2 of 2
Re: Minor roadster
Posted: Sun Sep 22, 2019 4:58 pm
by Westcountryman
Here are a few more pics of my tourer/roadster. I managed to reduce the JPEG file size.
She started out as a 1959 two door saloon. When I got her she was a wreck and there was water inside which had rotted out the floor. That was 16 years ago.
Her name is Bluebell.
Re: Minor roadster
Posted: Sun Sep 22, 2019 5:02 pm
by Westcountryman
Just a few more pics. I did all the welding and preparation but the respray was professionally done in 2 pack. The seats are from a later car but the door cards and other bits of trim are home made. I did all the mechanics and electrics myself which was very satisfying. So far it has been trouble free motoring over the summer.
Re: Minor roadster
Posted: Wed Sep 25, 2019 11:53 am
by cadetchris
Now that’s what I am talking about. She looks great I must say
Re: Minor roadster
Posted: Wed Sep 25, 2019 11:53 am
by cadetchris
Now that’s what I am talking about. She looks great I must say
Re: Minor roadster
Posted: Sat Feb 15, 2020 9:55 pm
by MarkMan900
Westcountryman wrote: ↑Sun Sep 22, 2019 5:02 pm
Just a few more pics. I did all the welding and preparation but the respray was professionally done in 2 pack. The seats are from a later car but the door cards and other bits of trim are home made. I did all the mechanics and electrics myself which was very satisfying. So far it has been trouble free motoring over the summer.
That engine bay looks lovely! I'm getting my moggie converted in a similar way and doing a bit of resto work and getting it resprayed at the same time, I hope it turns out as nicely as yours does!
Out of interest is the wiring loom you used custom/homemade or a bought one? I really want to tidy mine up and weighing up making my own replacement versus a bought one.
Re: Minor roadster
Posted: Sun Feb 16, 2020 7:48 am
by Shropshiremoggie
Superb job , well done !
Re: Minor roadster
Posted: Thu Jun 11, 2020 6:05 pm
by Westcountryman
Sorry for the delay in reply MarkMan900. I have not been on the forum for quite a while. In answer to your questions the wiring loom is a commercially made one. I thought about making one as well but I realised that I wanted to ensure that the colour coding on the wiring was correct so it was easier to fit. Once its all out its hard to remember where everything goes.
There are quite a number of wiring looms to choose from and I wanted one which allowed for plashing indicators as well as possibly wiring in the trafficators.
Re: Minor roadster
Posted: Fri Jun 12, 2020 10:22 am
by Westcountryman
Since lockdown I have been really busy so not much chance to do more work on the cars. But this last week I have had some time off and have managed to make a start. We have used the tourer a few times during the nice weather and rolled it out onto the drive for the Classics for Carers Stay at Home Car Show
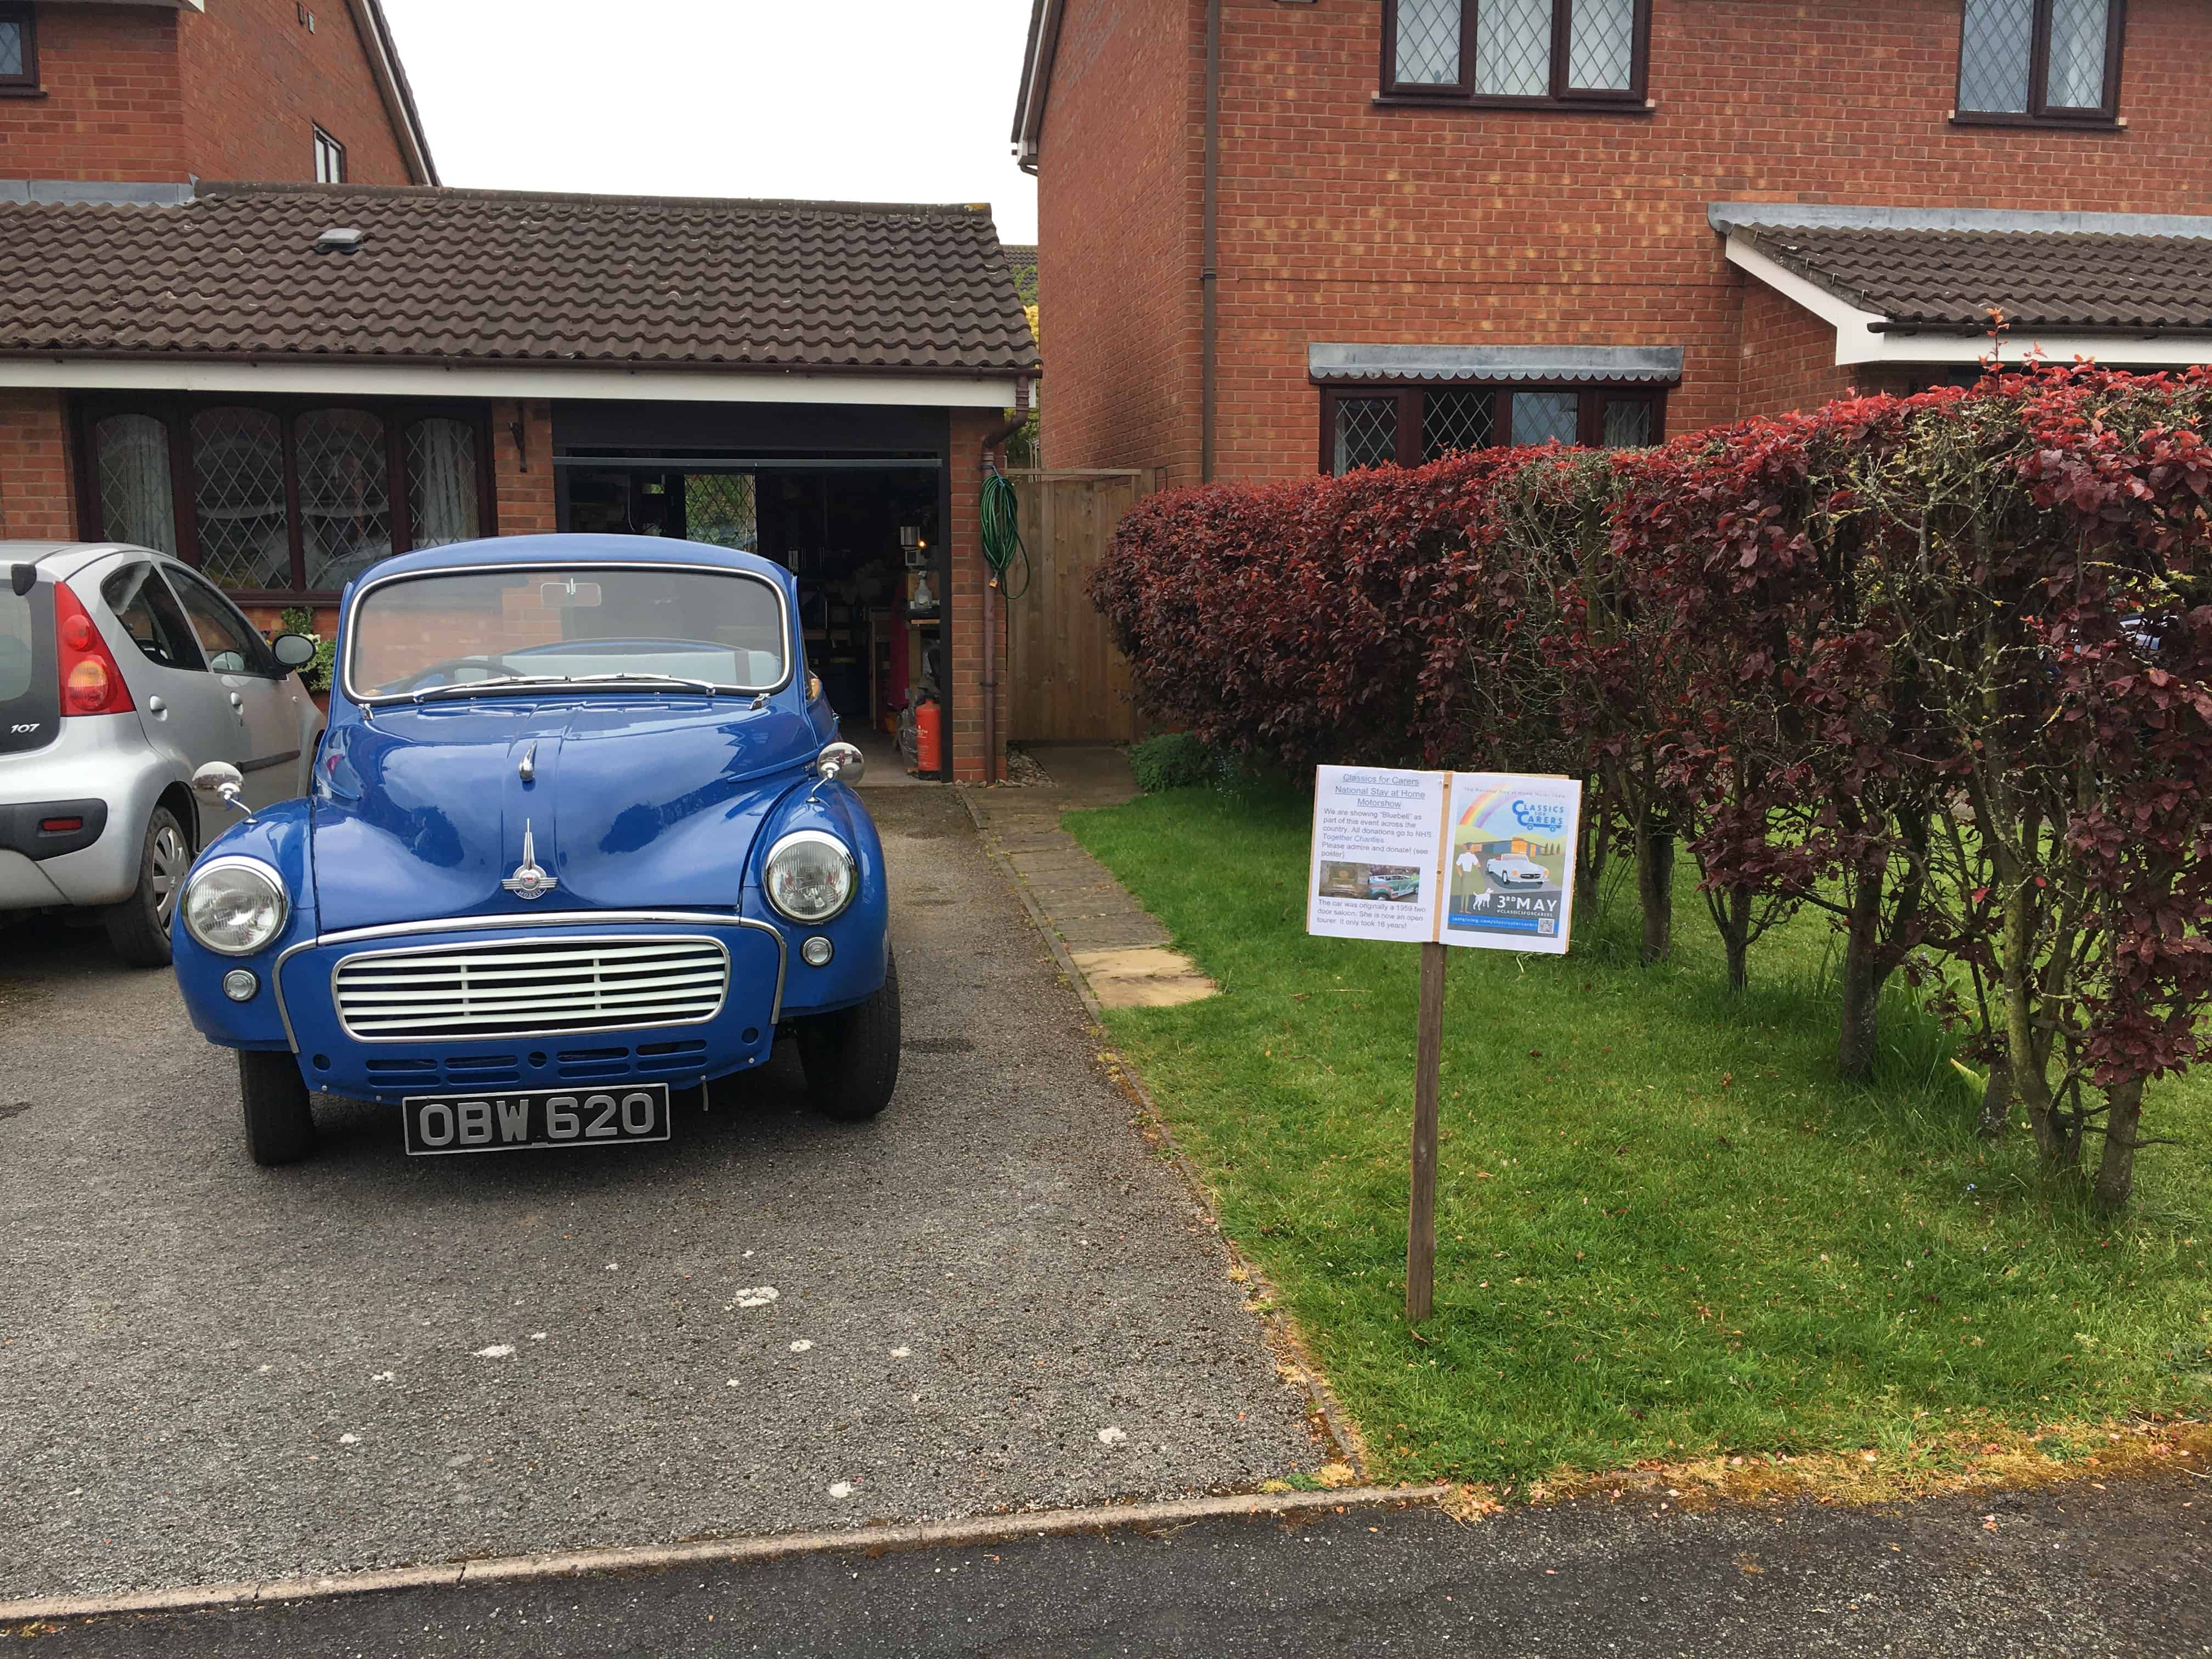
- IMG_0323.JPG (974.3 KiB) Viewed 6128 times
Looking at the front of the car there is a gap below the front wings where the bumper valance would normally be. Since I have removed the front and rear bumpers I need to do something to fill this. I have seen quite a few cars where this has not been done and some where it has but I would prefer to have this done if I can.
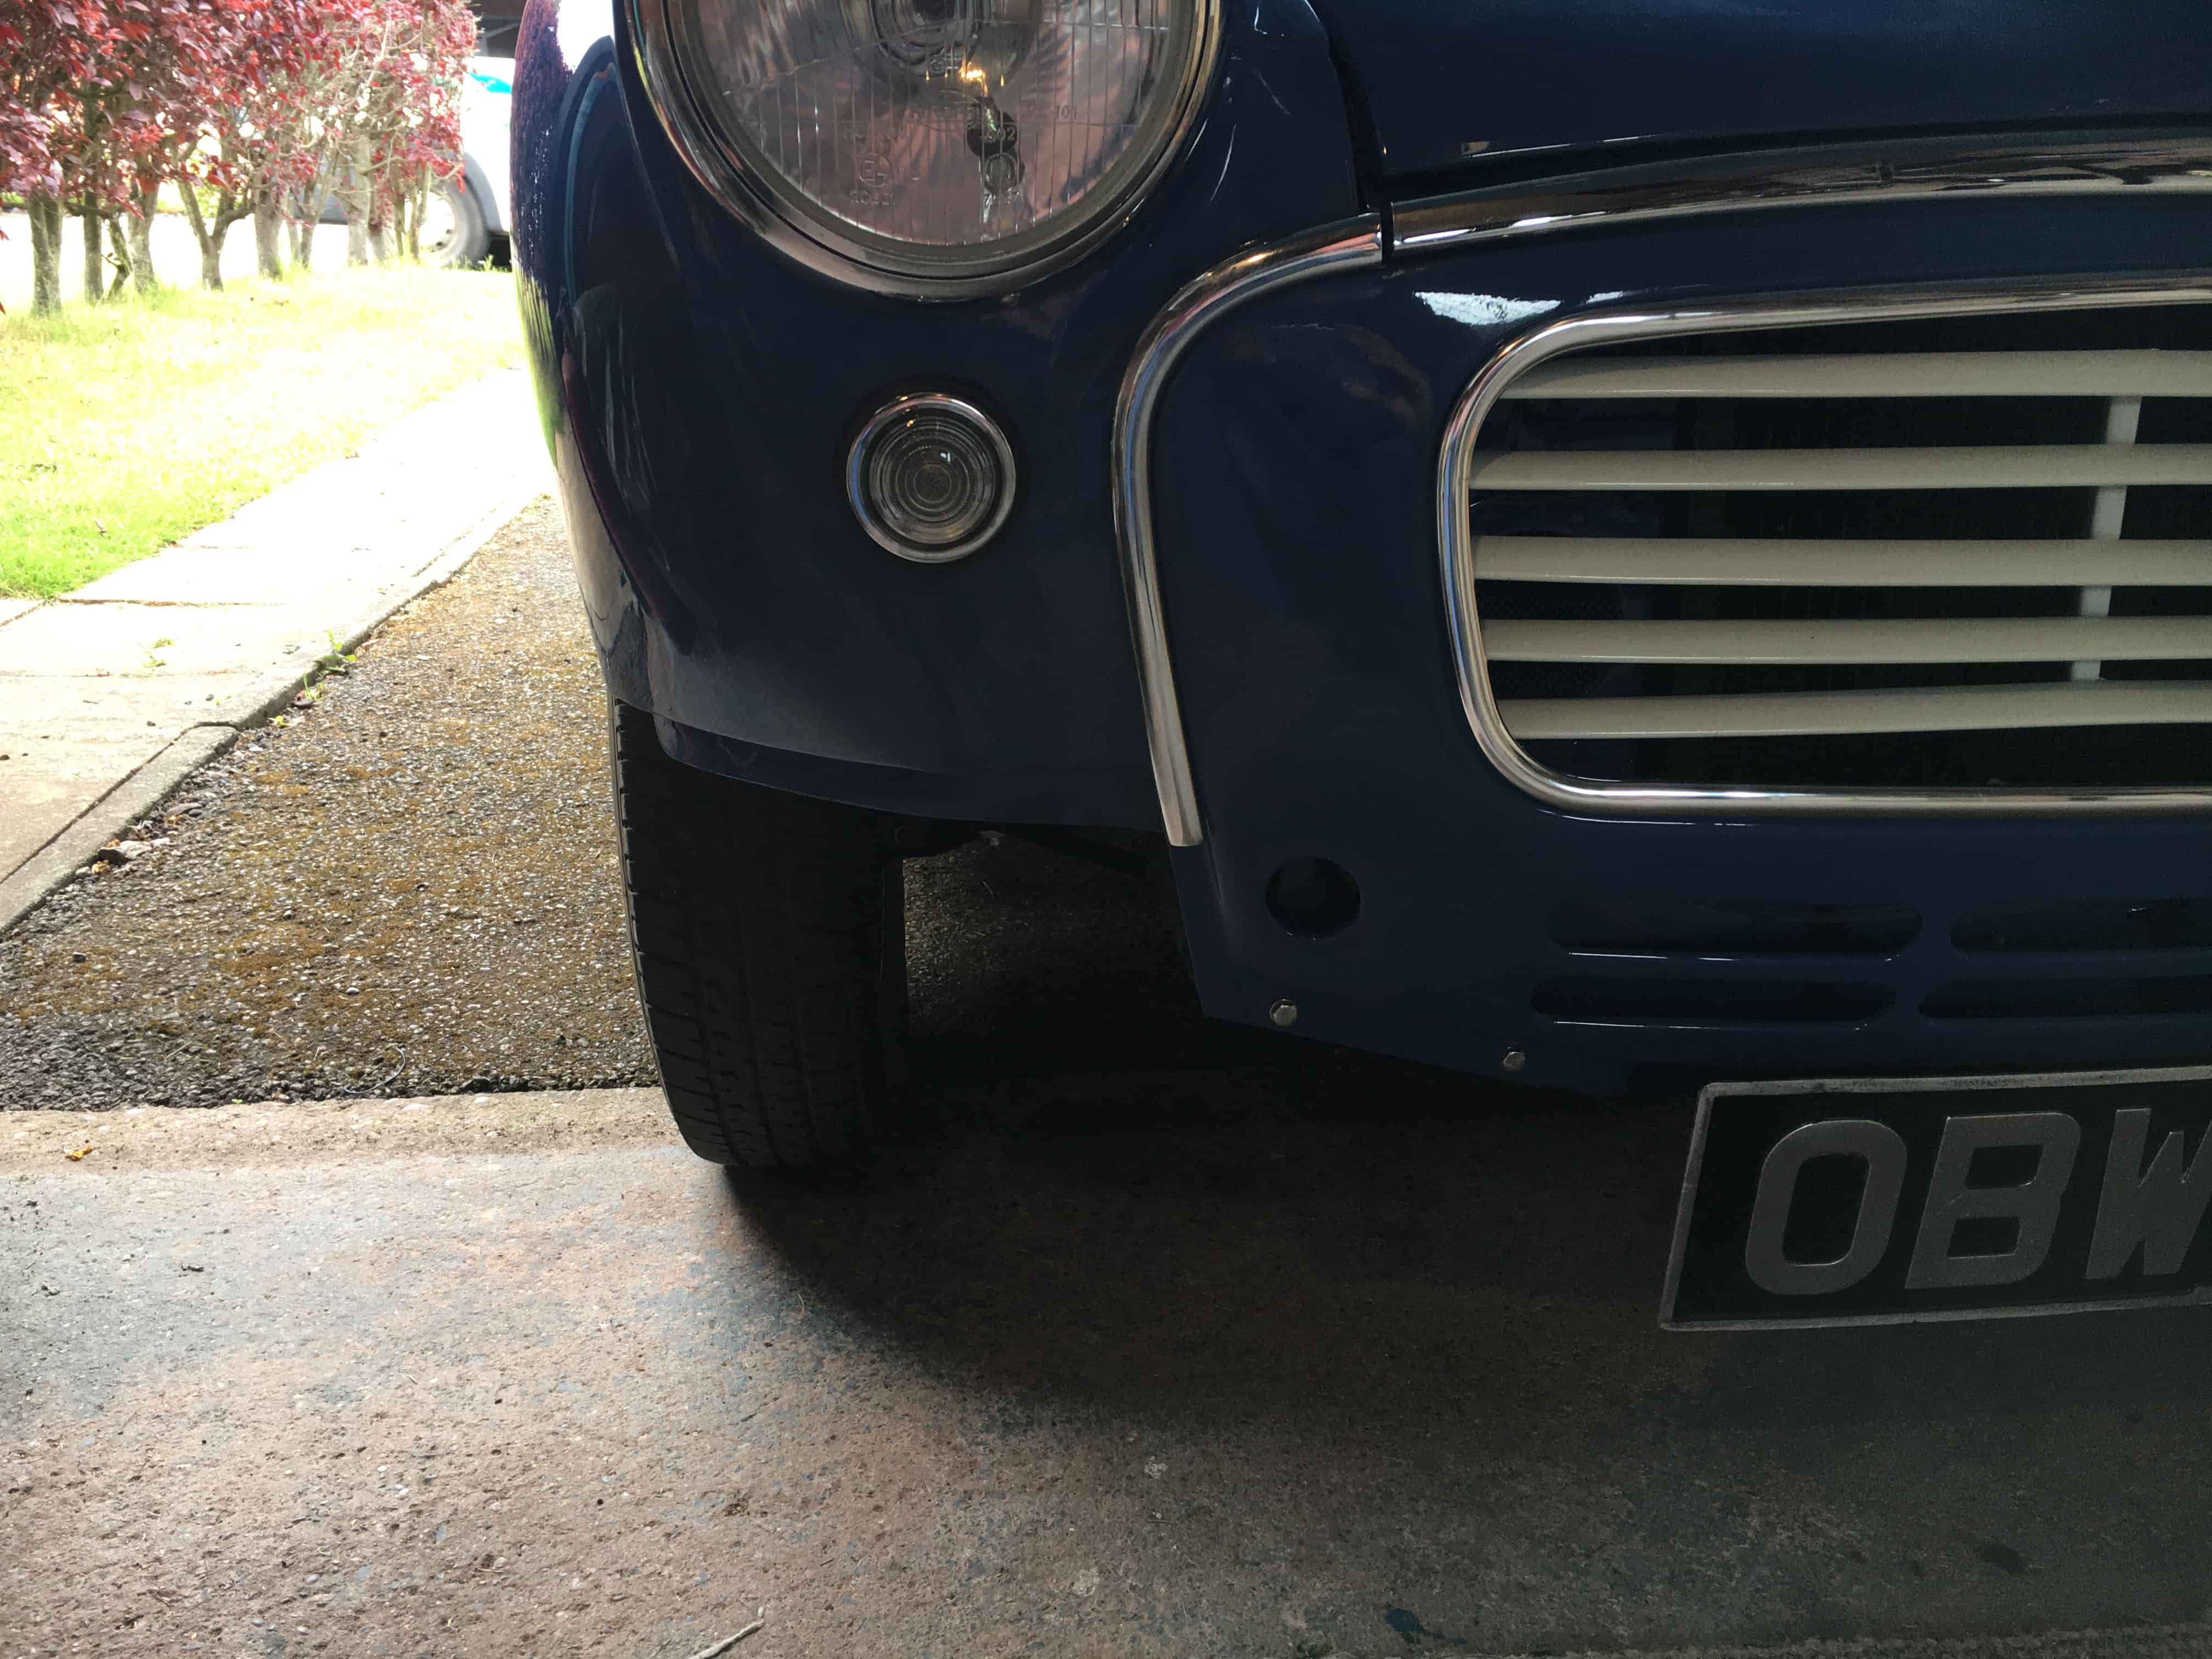
- IMG_0331.JPG (482.22 KiB) Viewed 6128 times
I started by making a cardboard template for each side. The facing part of the front wings has a panel join running at an angle across it. This is visible and so I wanted to echo that in the new panel. I have pattern wings and I do not know if the originals had this join here or whether it was smoothed out in some way. I chose to make the front of the new panel out of two pieces which would allow me to create the seam but also give more adjustment to get a good fit.
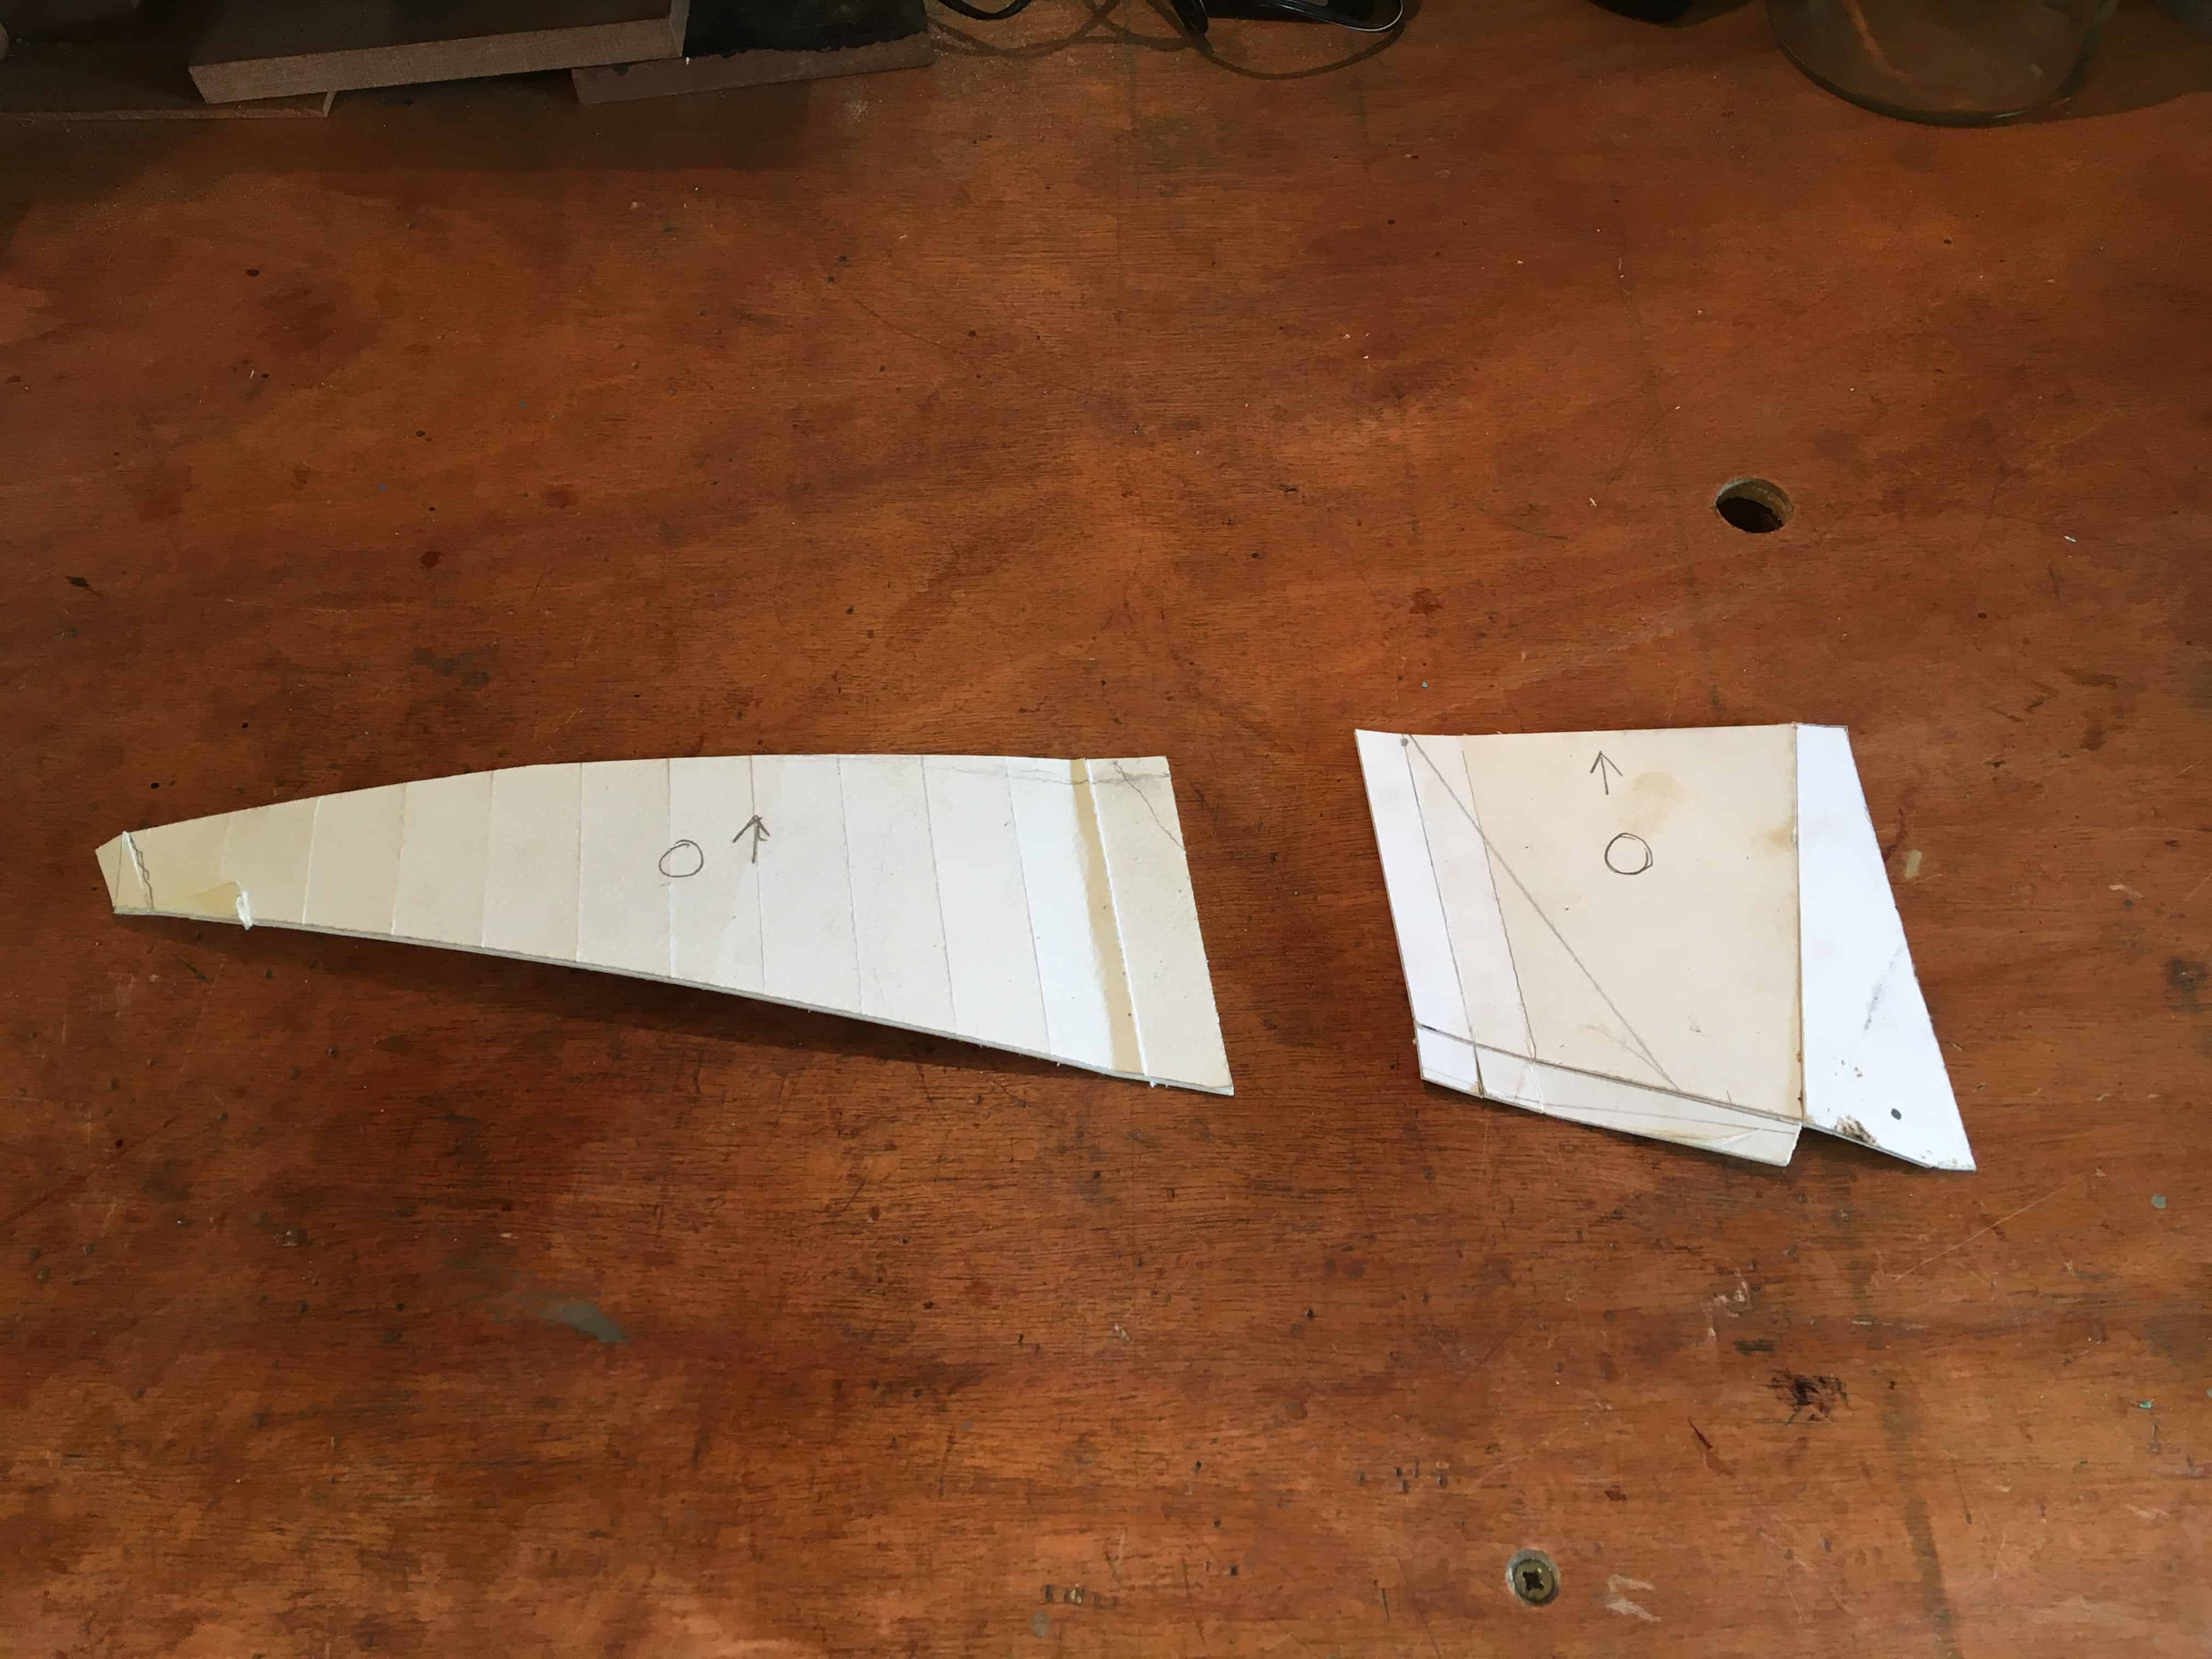
- IMG_0336.JPG (288.98 KiB) Viewed 6128 times
- IMG_0337.JPG (462.06 KiB) Viewed 6128 times
Looking at the front radiator grill panel I decided to use the rising angle of the lower corners as the reference point for the curvature of the new panels.
Re: Minor roadster
Posted: Fri Jun 12, 2020 10:29 am
by Westcountryman
Re: Minor roadster
Posted: Fri Jun 12, 2020 5:03 pm
by Westcountryman
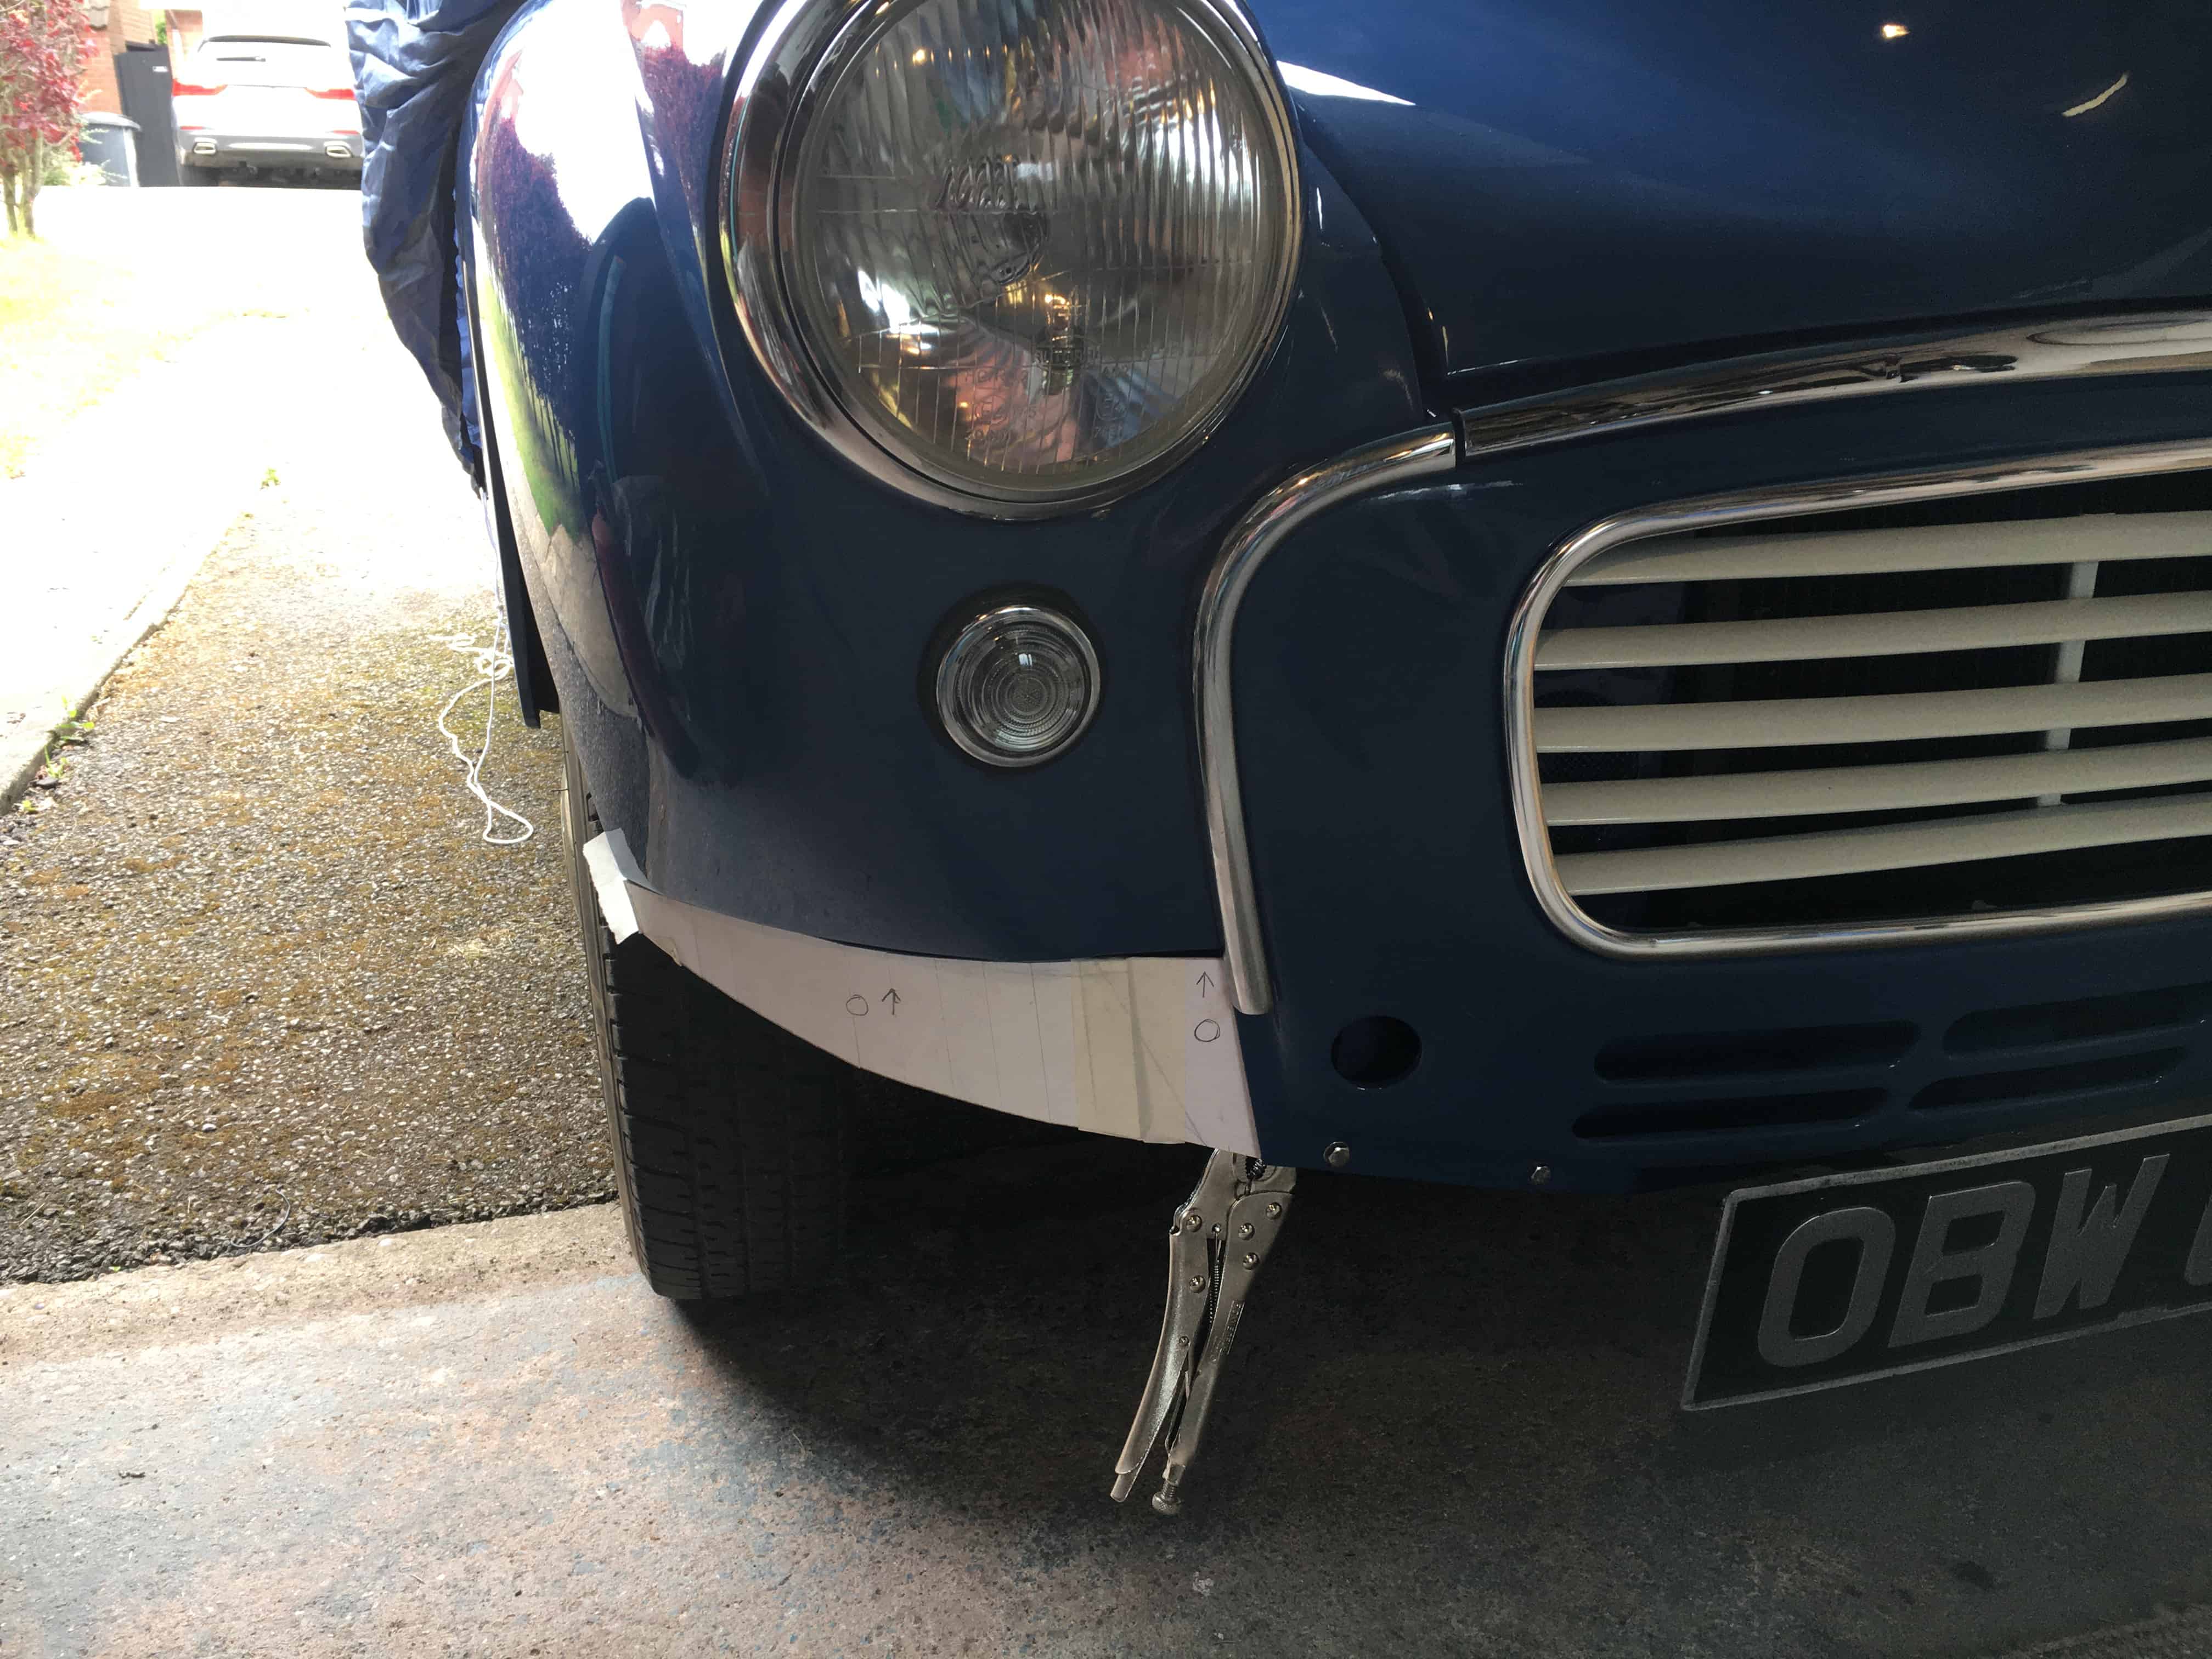
I spent yesterday cutting the steel sheet to make the panels. The two sides are a bit different in depth at the radiator end - probably due to differences in the wings and how they are set up to get good panel gaps with the doors. I have a set of very useful pins which hold steel together better than clamps - the only disadvantage is that you have to weld up the holes later.
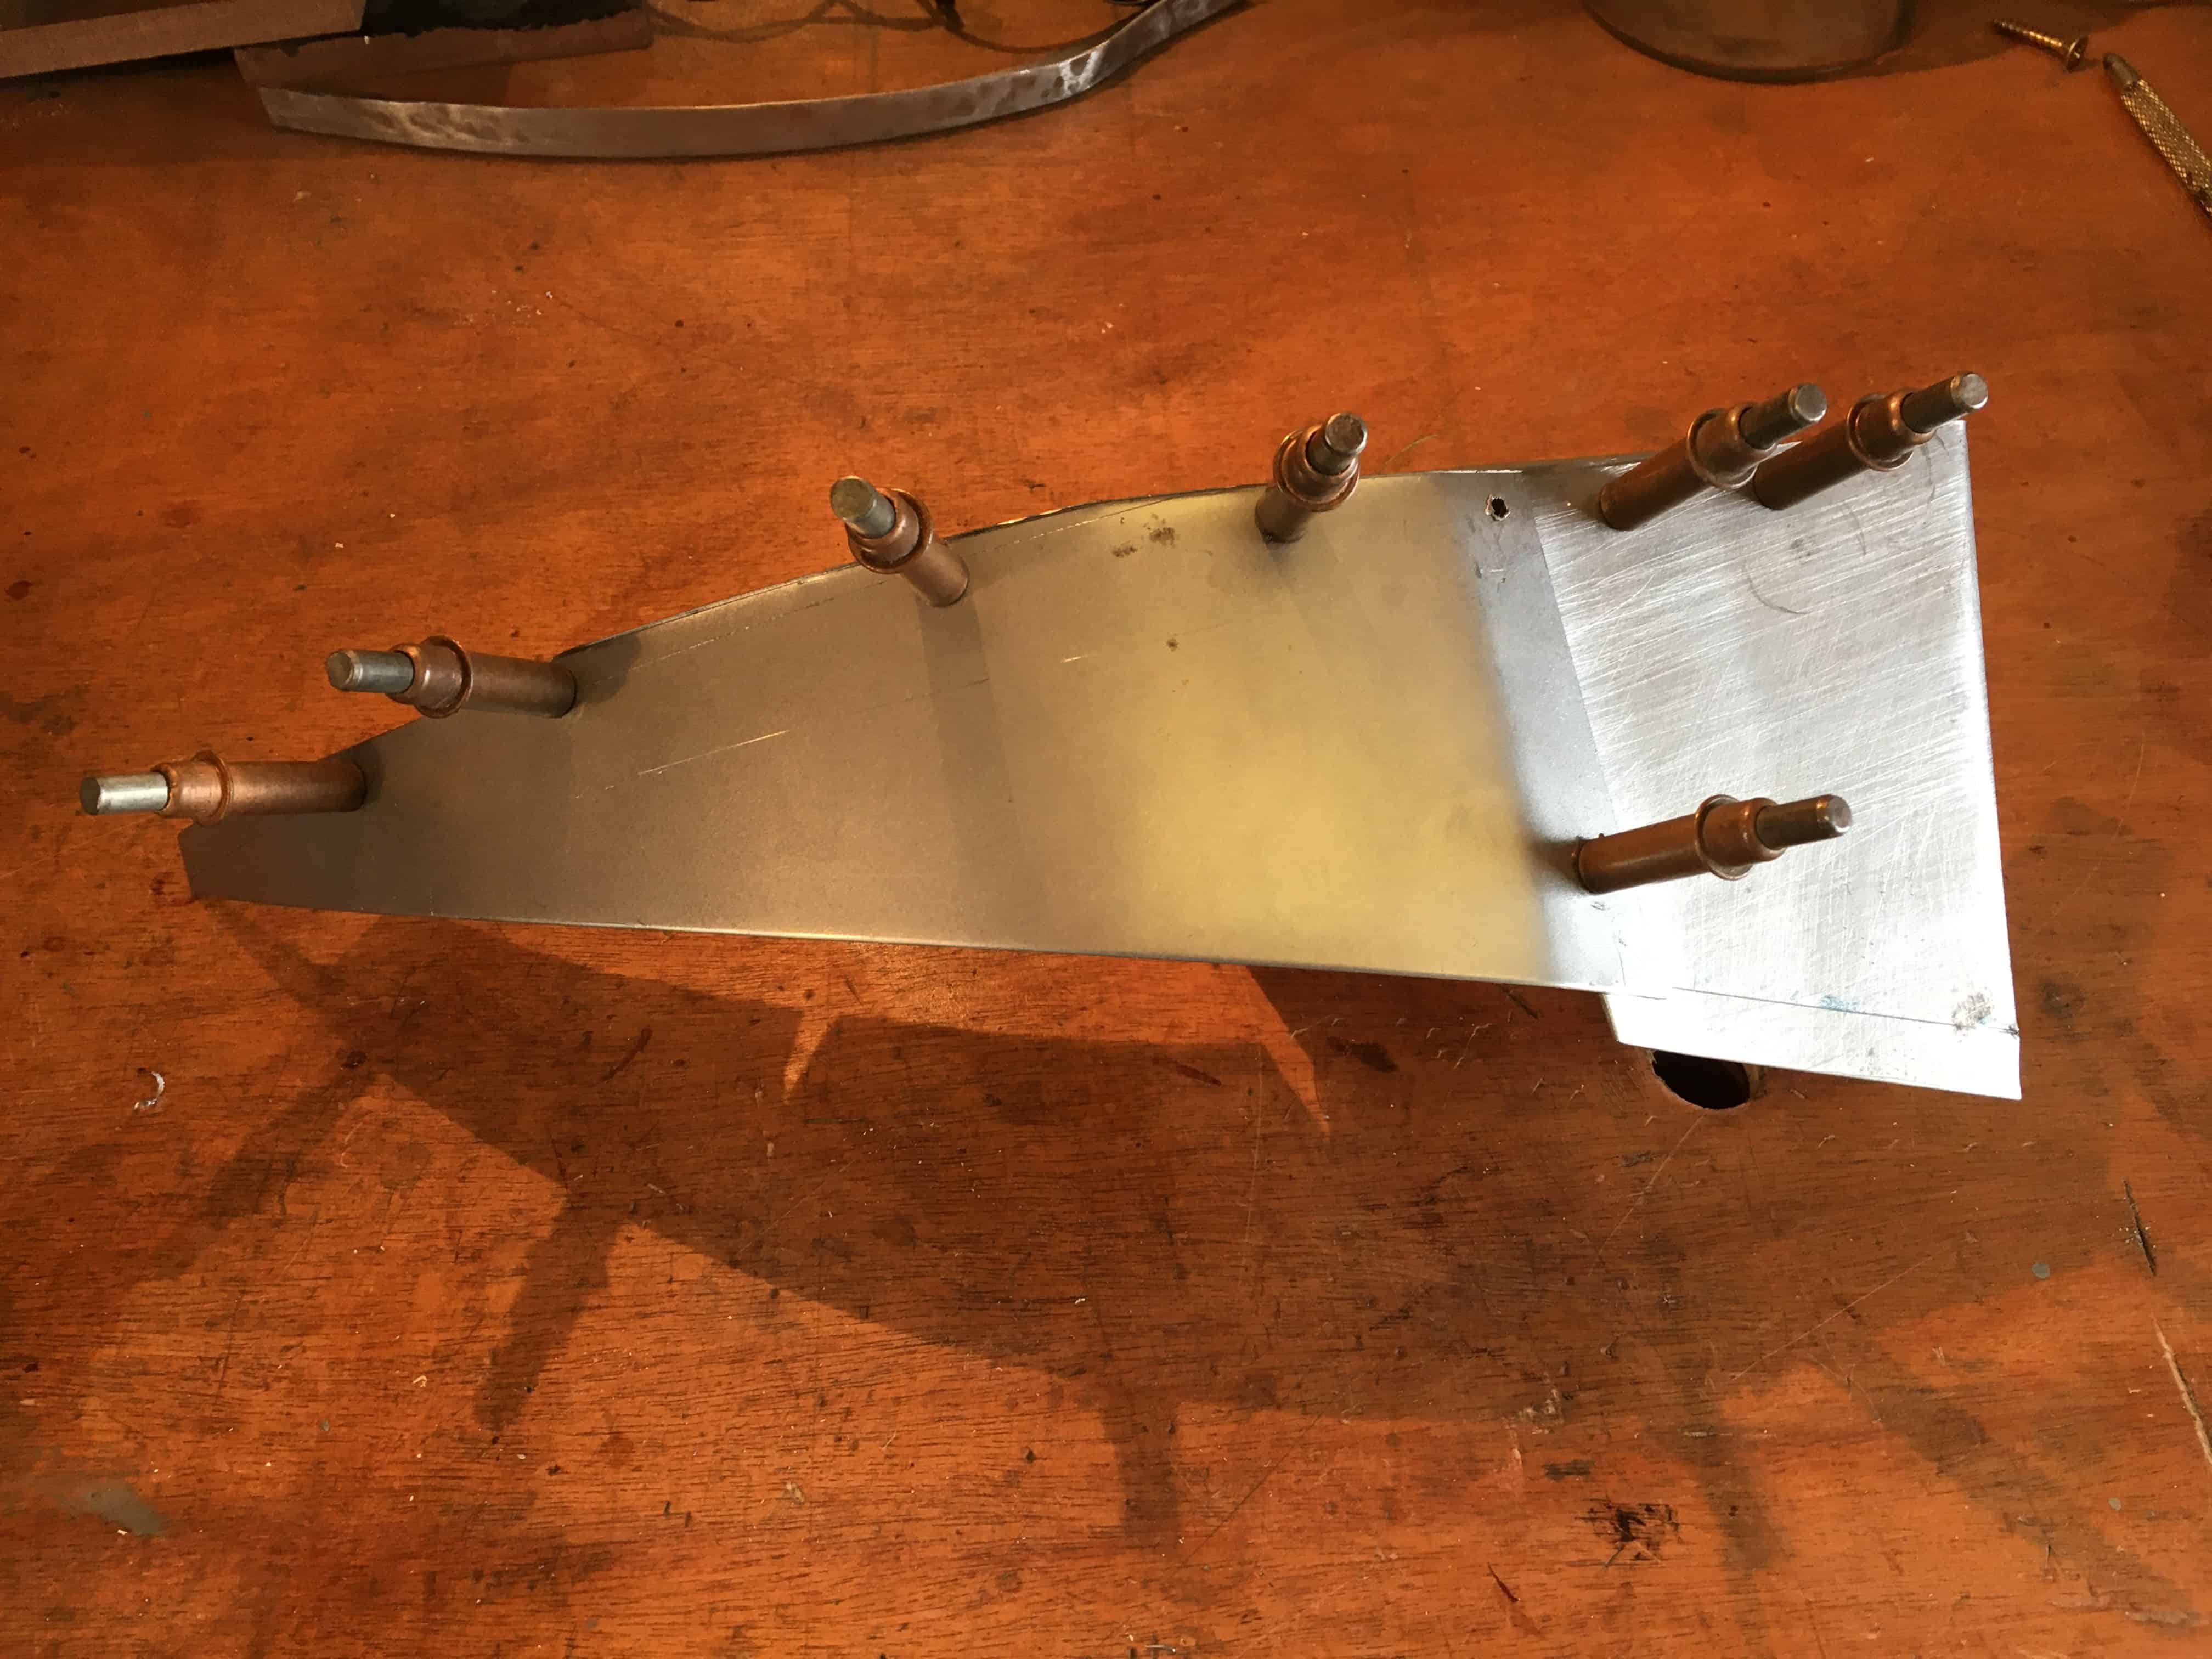
- IMG_0346.JPG (322.12 KiB) Viewed 6111 times
Here is one side trial fitted to the wing. I am using the holes for the rubber bung that sits between the valance and the wing. They have been enlarged for bolts but that is the only modification to the wings. There is also a useful hole in the lower inner wing just below the engine bay floor that means I can secure the lower front of the new panel. Three fixings should be enough.
Here is a trial fit with only two fixings done up part way.
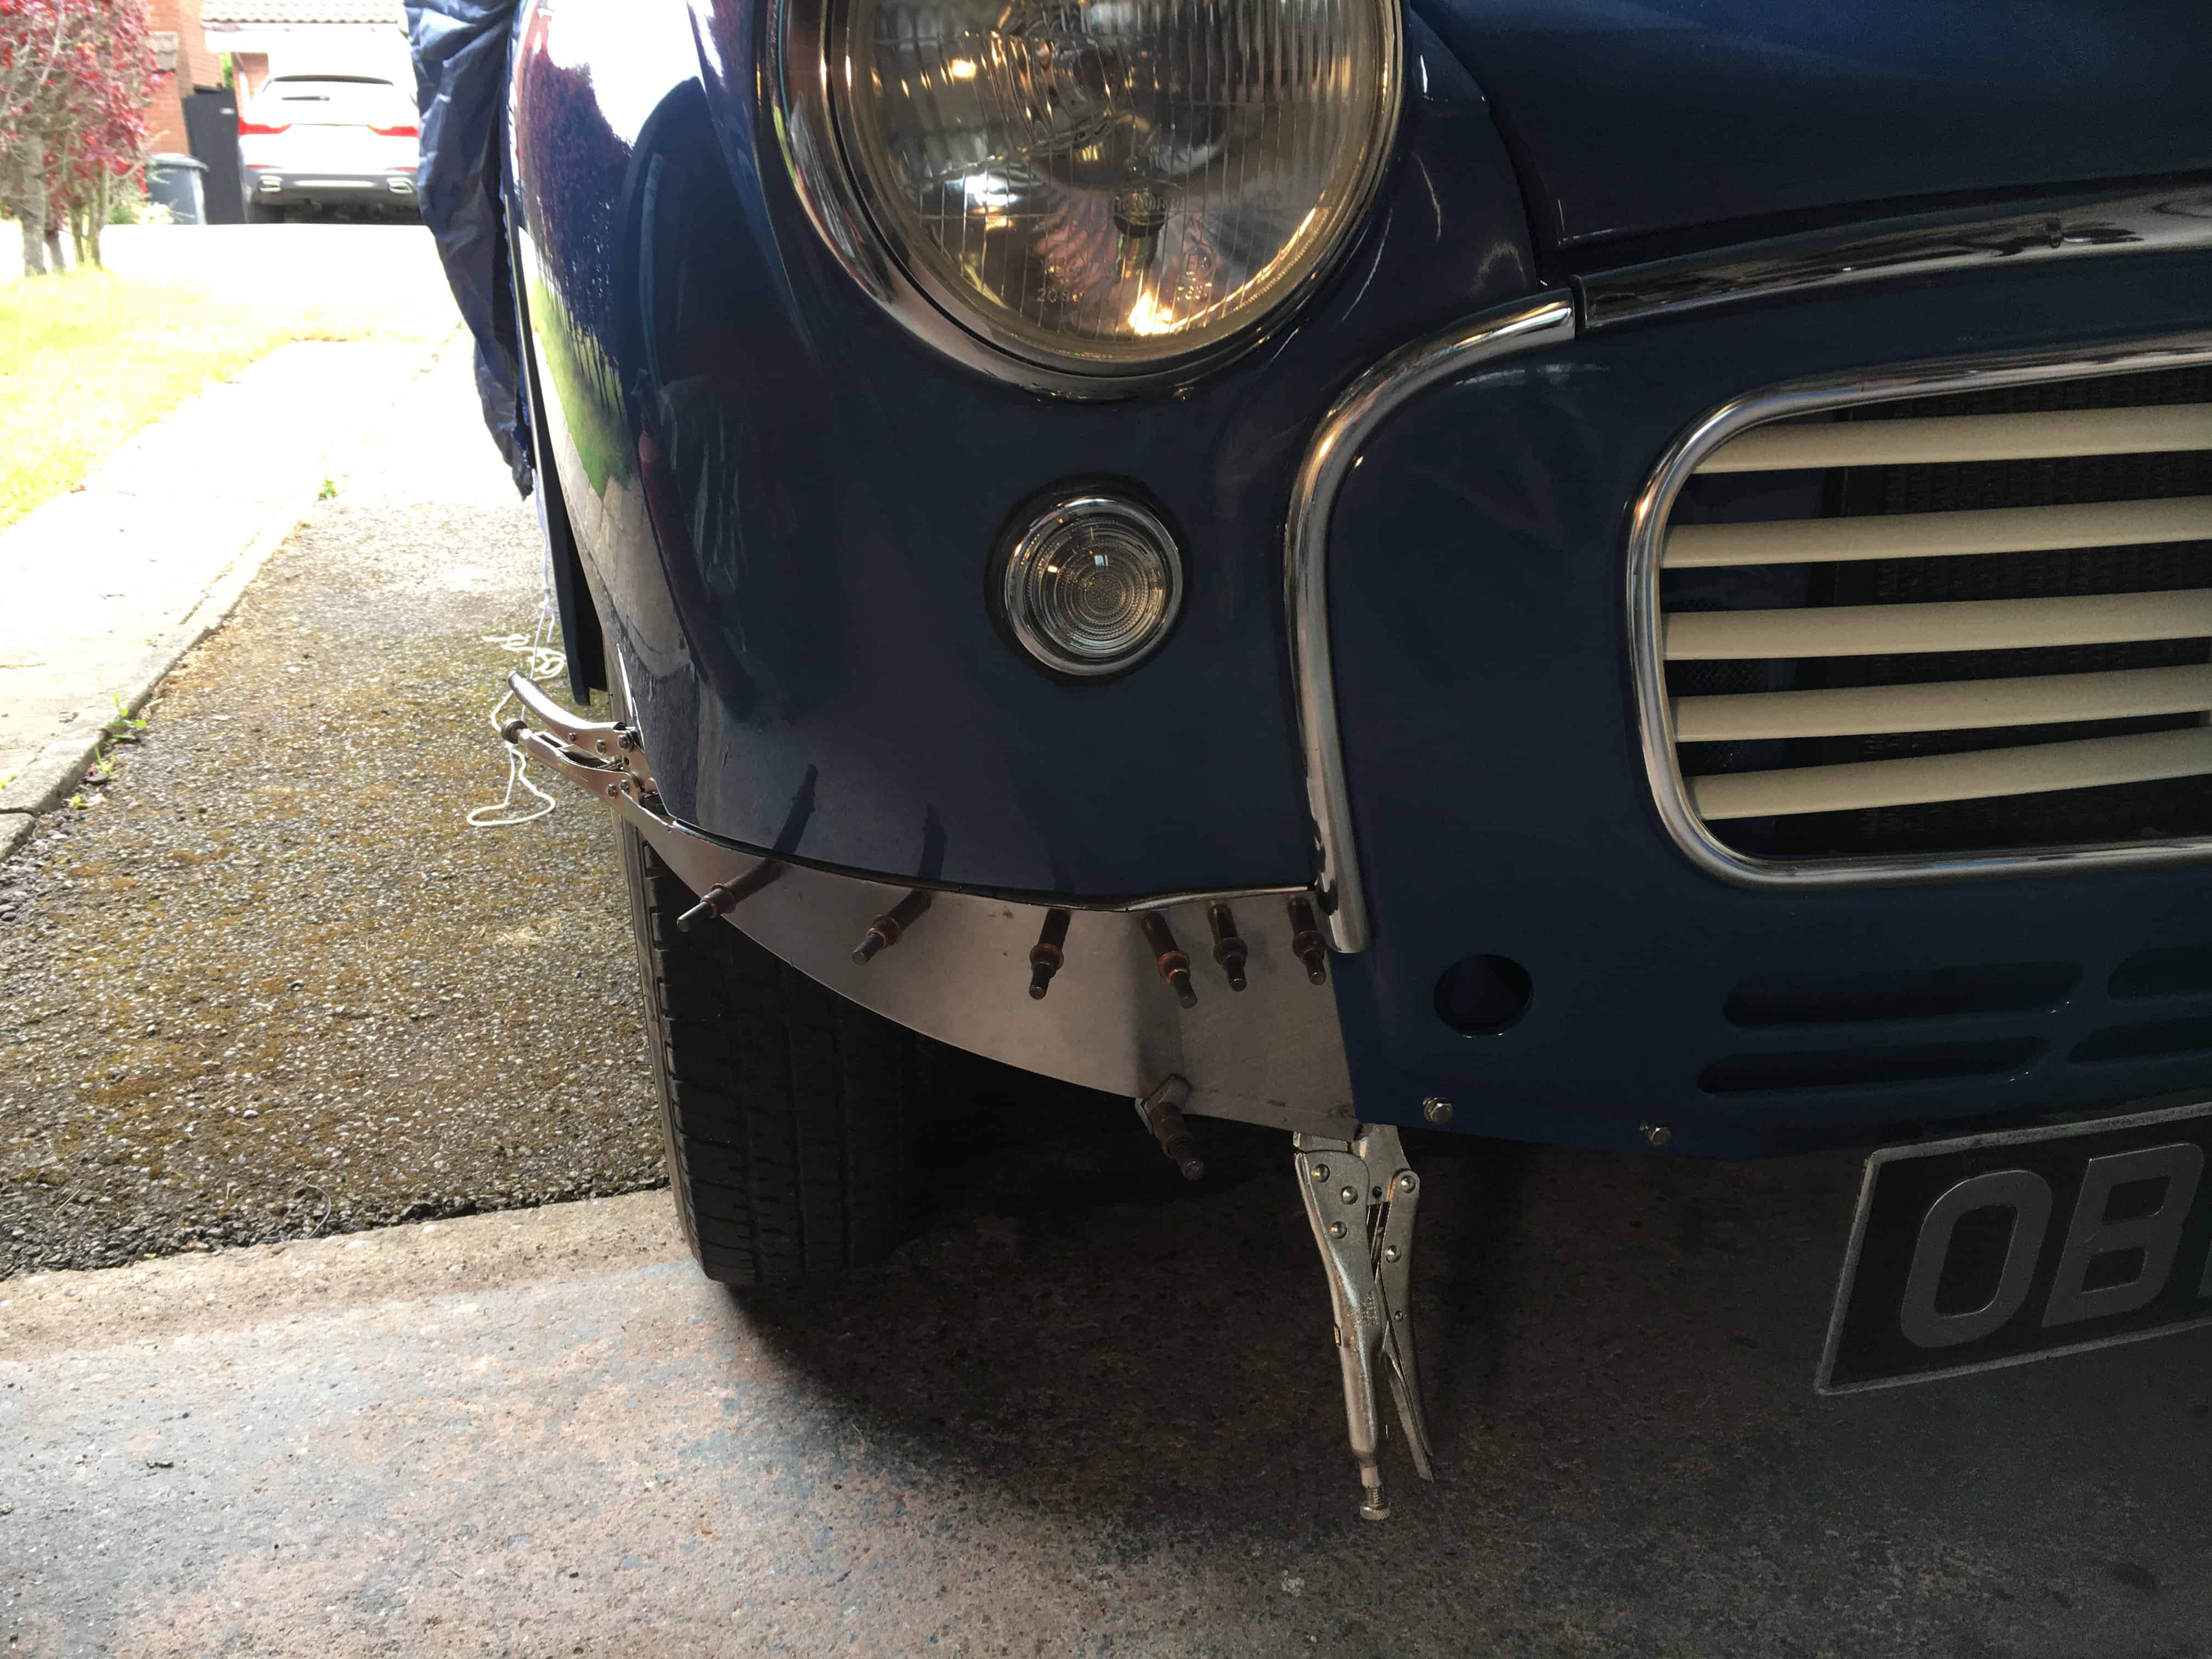
- IMG_0344.JPG (473.13 KiB) Viewed 6111 times
Pins replaced with self tapping screws.
Re: Minor roadster
Posted: Sat Jun 13, 2020 8:43 am
by Westcountryman
I am going to repost in a new topic under bodywork