1970 Trav "IGOR" (modified) PIC HEAVY! fuel lines in!
Posted: Sun May 02, 2010 2:17 pm
Hi all,
The IGOR has landed!
my new project has just arrived and I thought I would share the project from start to finish.
Why IGOR? Just because
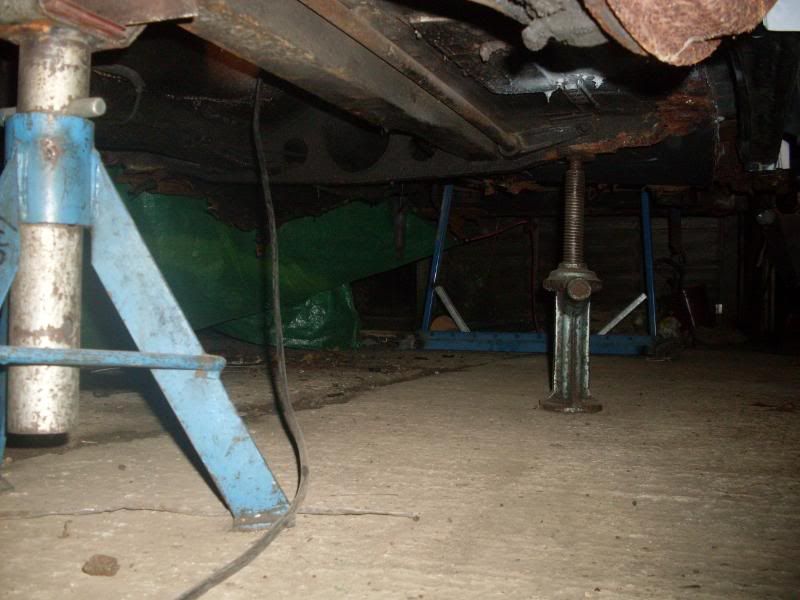
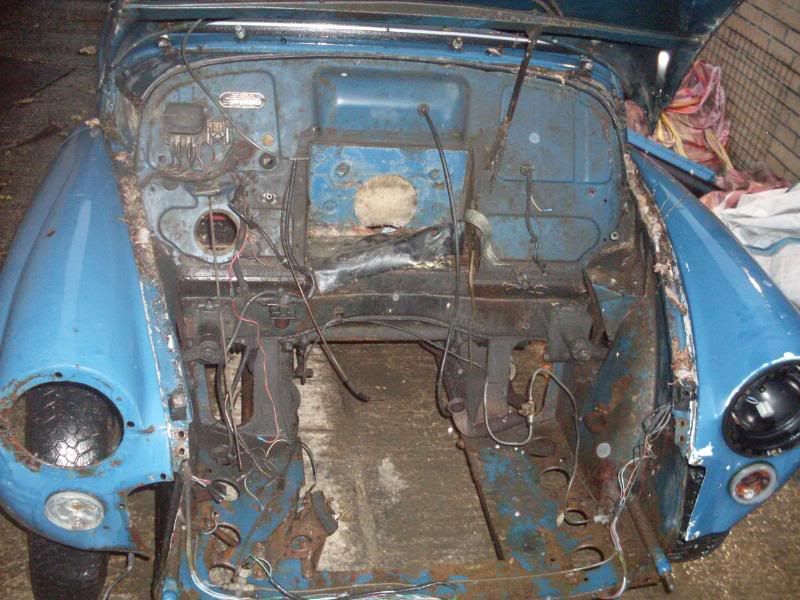
Here he is last night fresh off the trailer and up on some ramps for initial assesment.


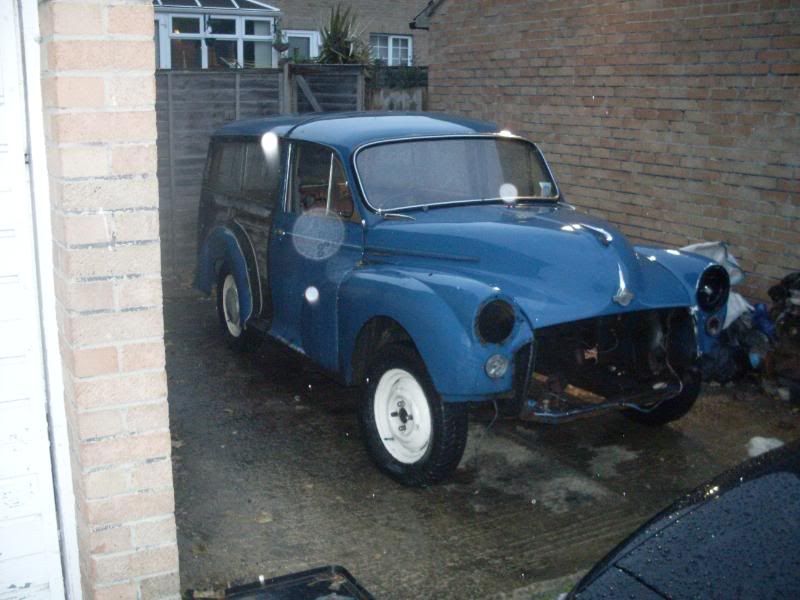

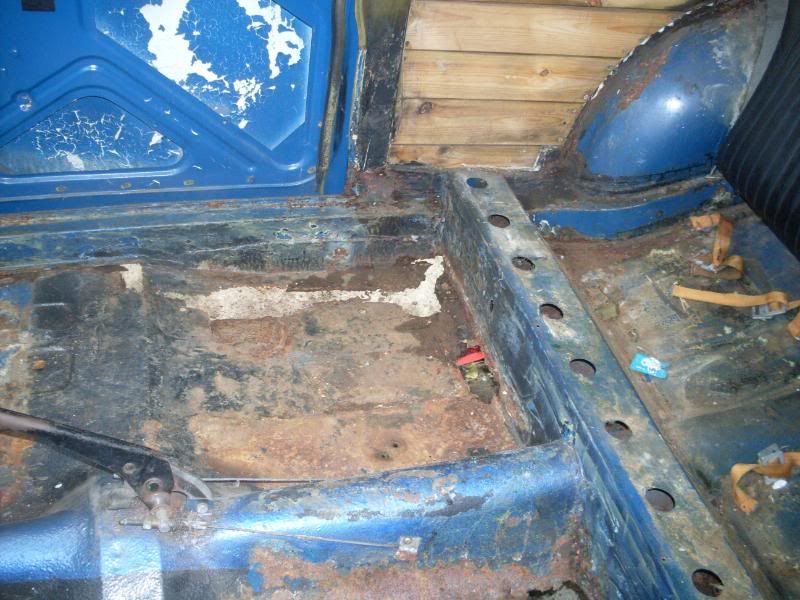
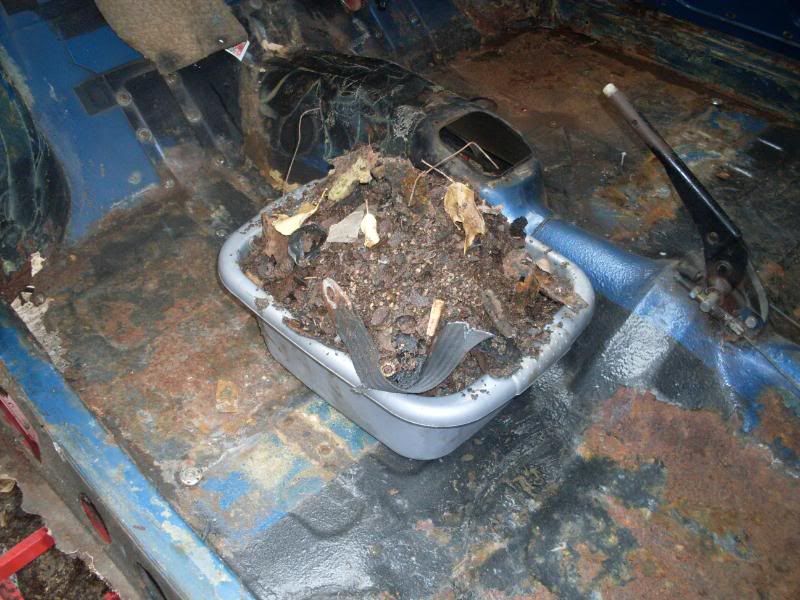
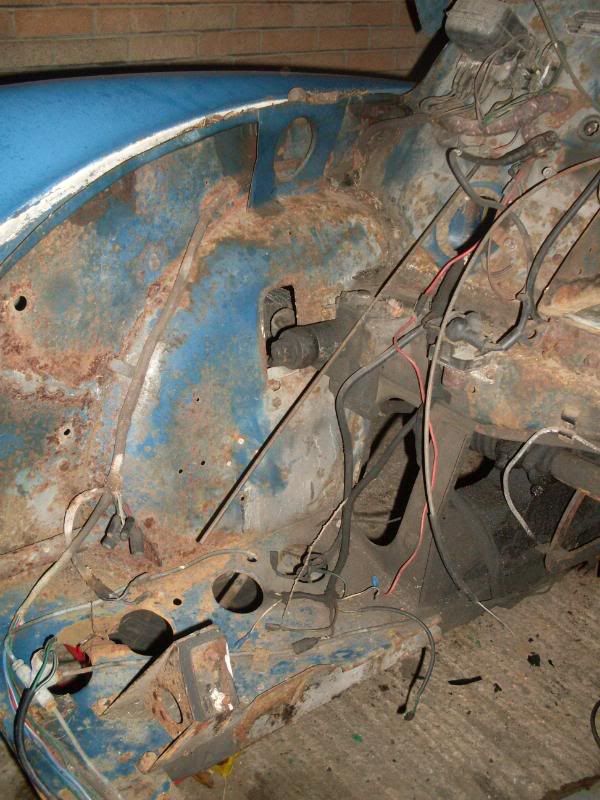
He is in pretty poor condition overall. The wood is obviously a big concern but there are big plans for that in the pipework (I will post some more pictures once I have started playing with some samples)
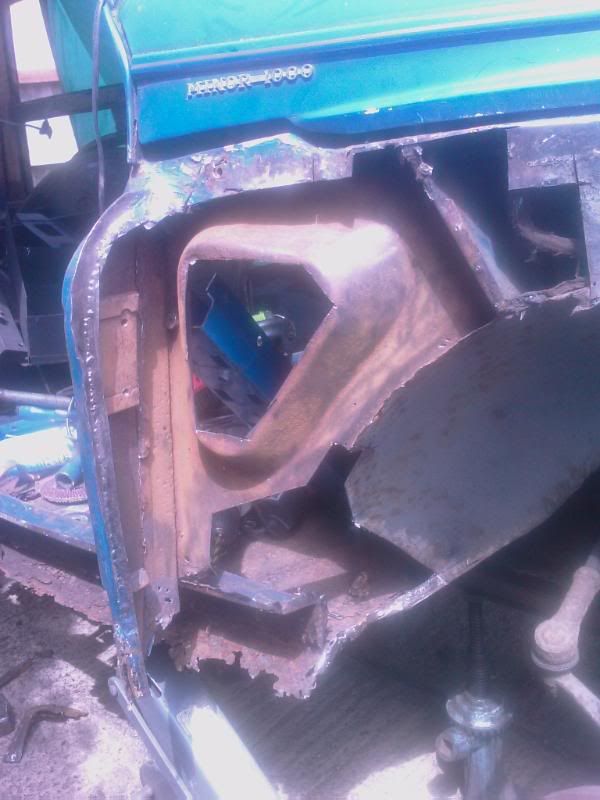
This gap certainly needs filling, not with an A series though.

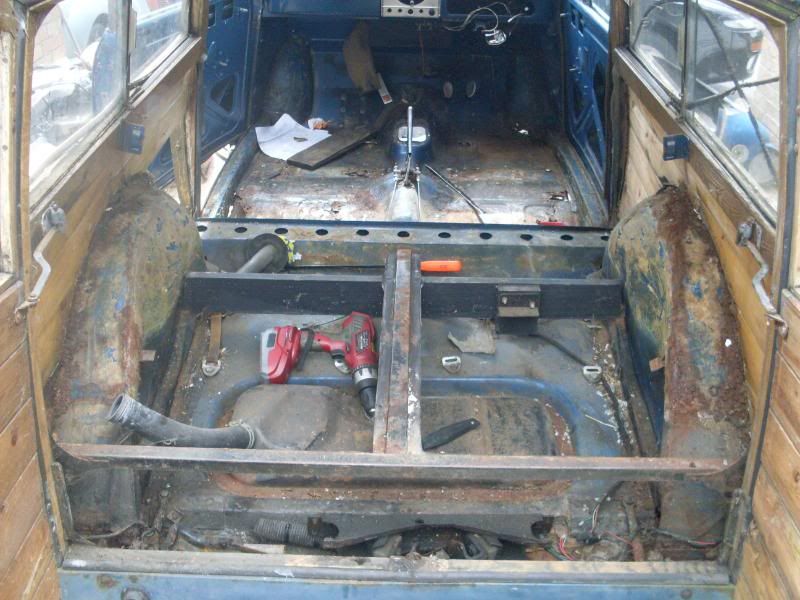
It just happens that Ive got a Golf VR6 engine kicking about. 2.9 Litres of 6 cylinder goodness
The picture is quite deceptive. the engine is 4 inches longer than the longitudinal distance between the bulkhead cross member and the front of the front cross member.
Thats gunna be fun!
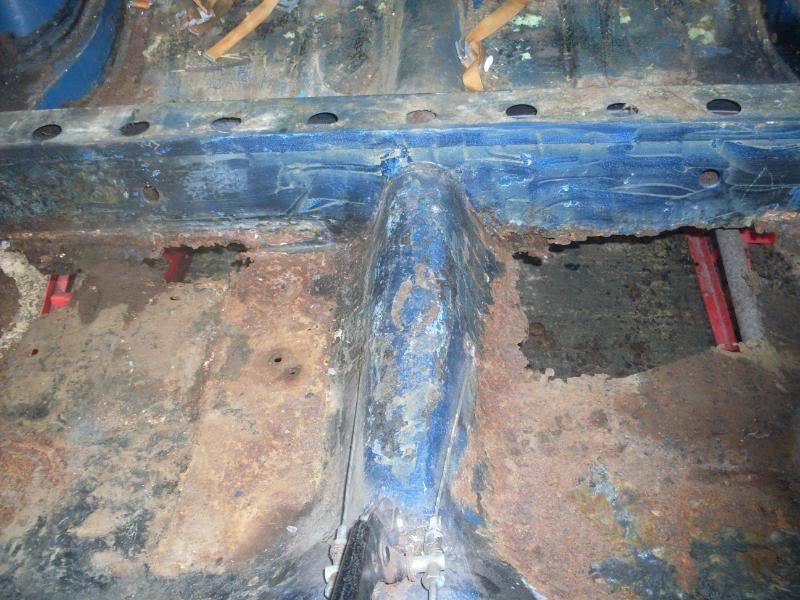
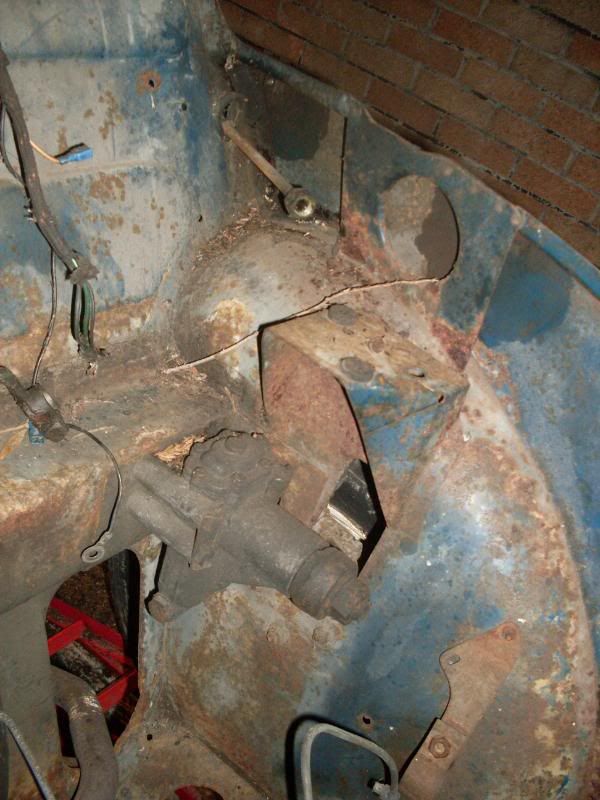
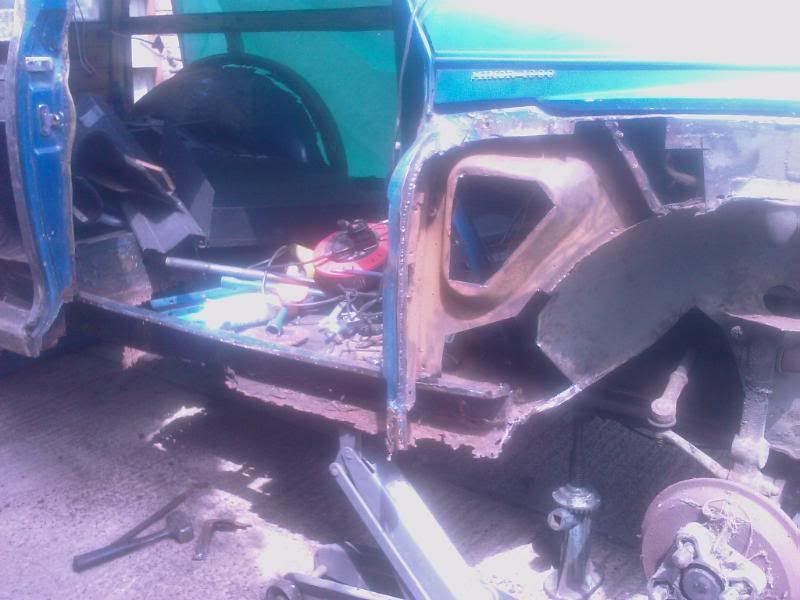
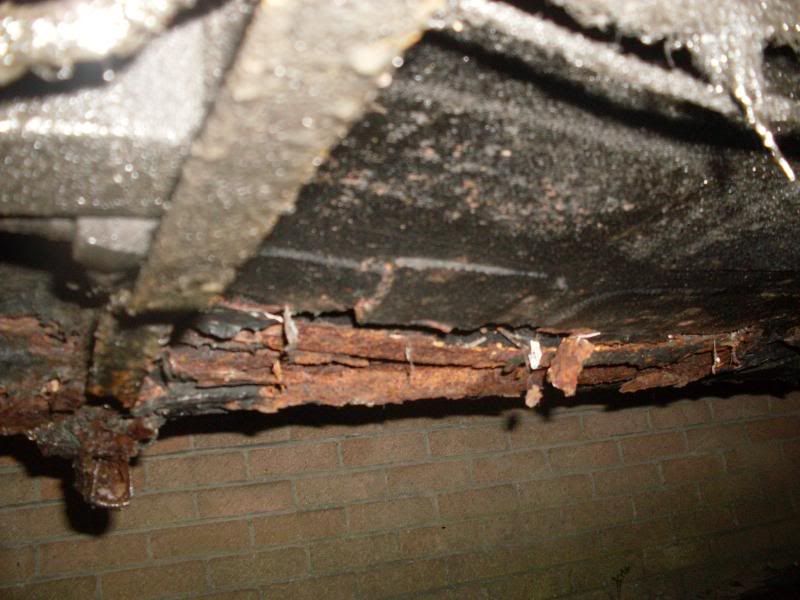
The centre cross member is in asstounding condition:
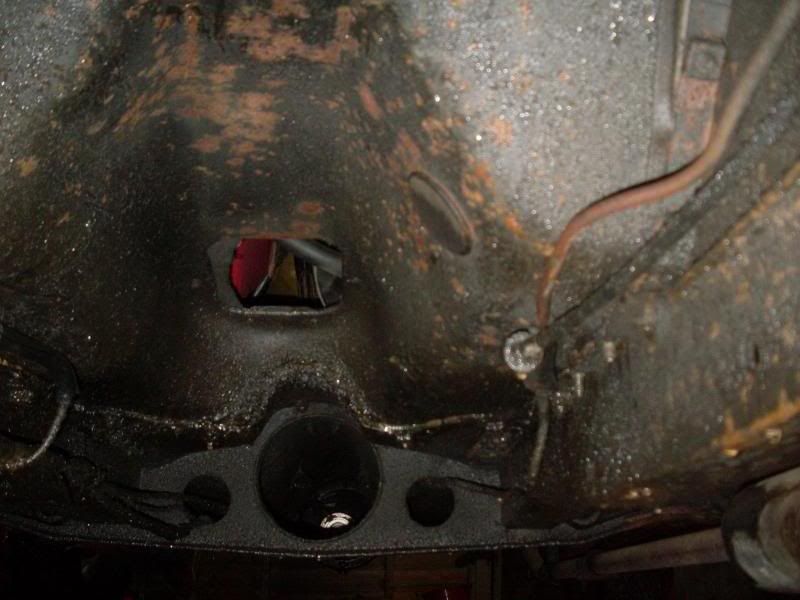
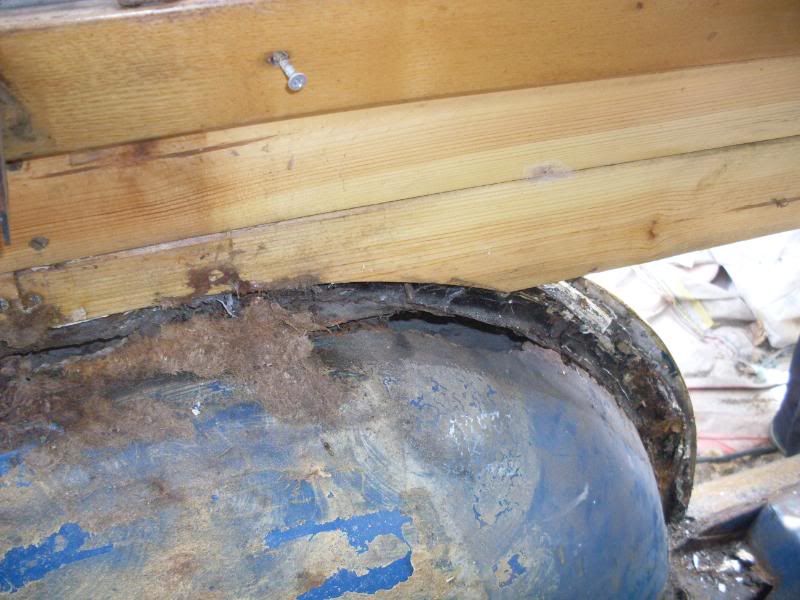
apart from the ends (jacking point looks solid althought not attached lol)
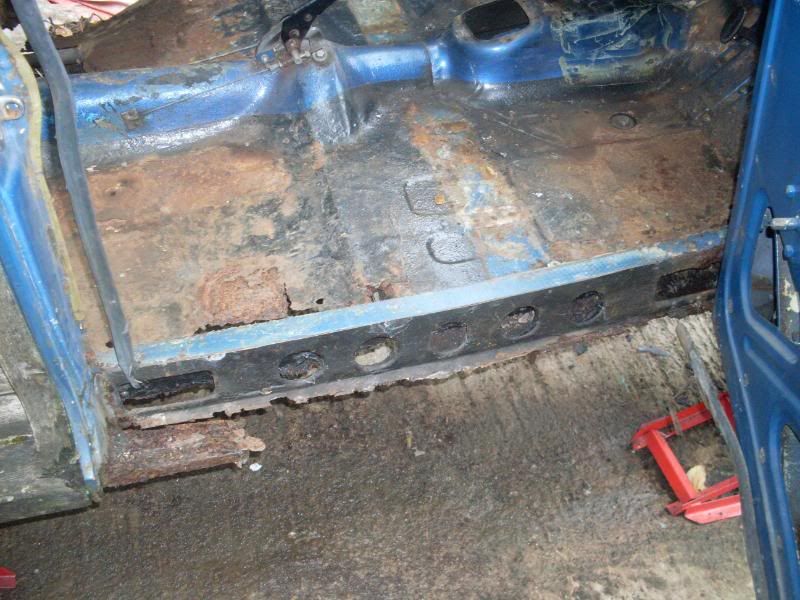
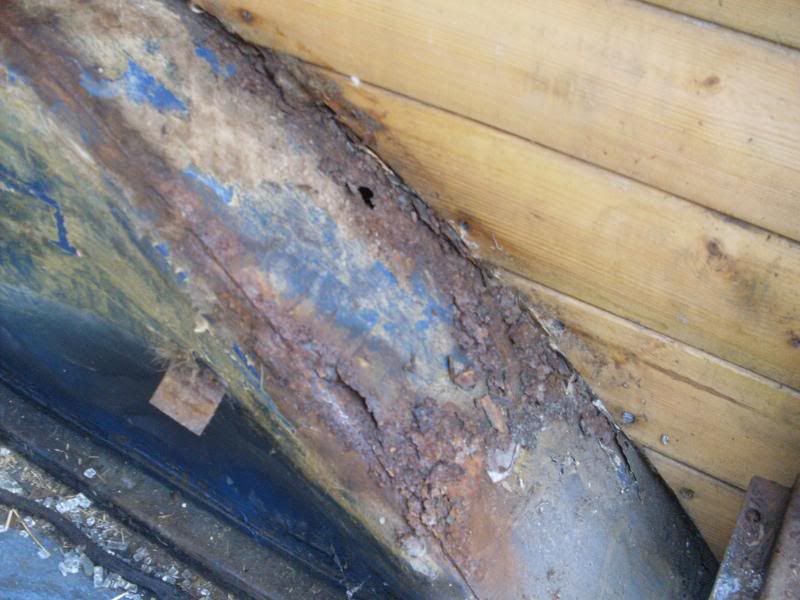
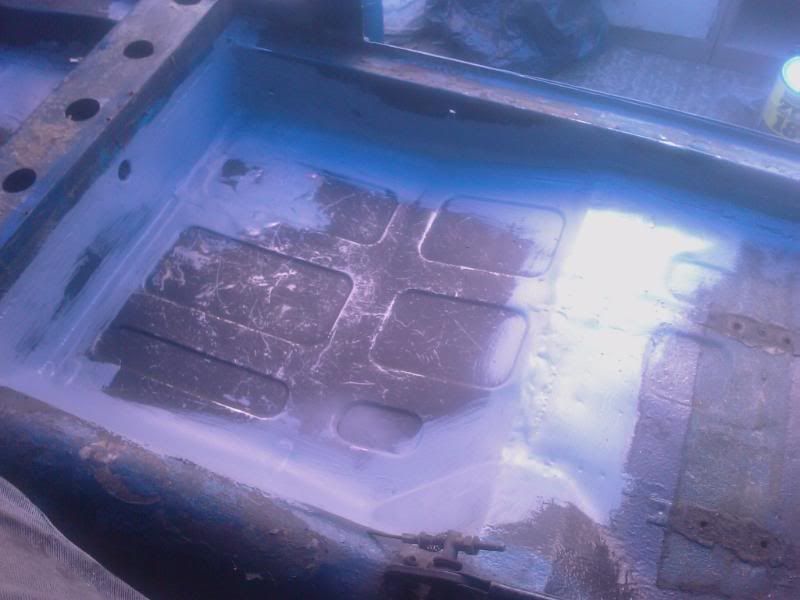
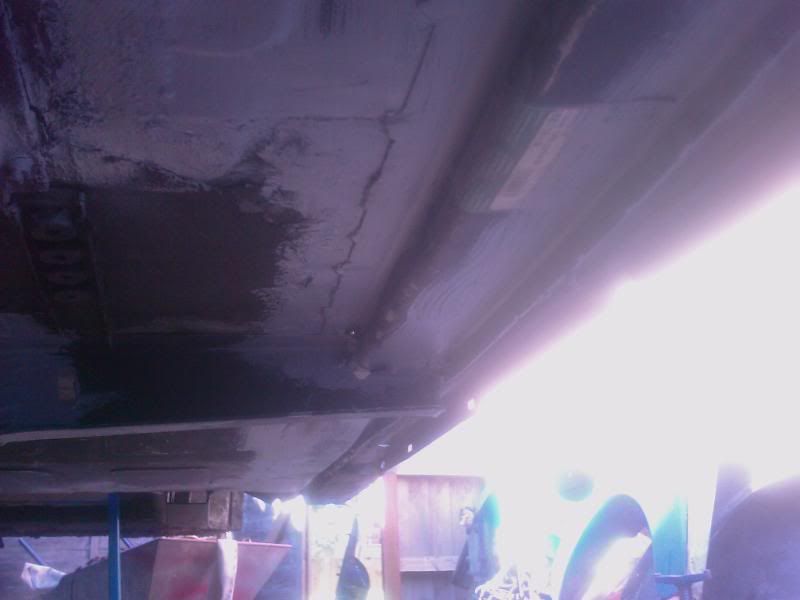
underside of the passenger sill (taken from a gearbox perspective)
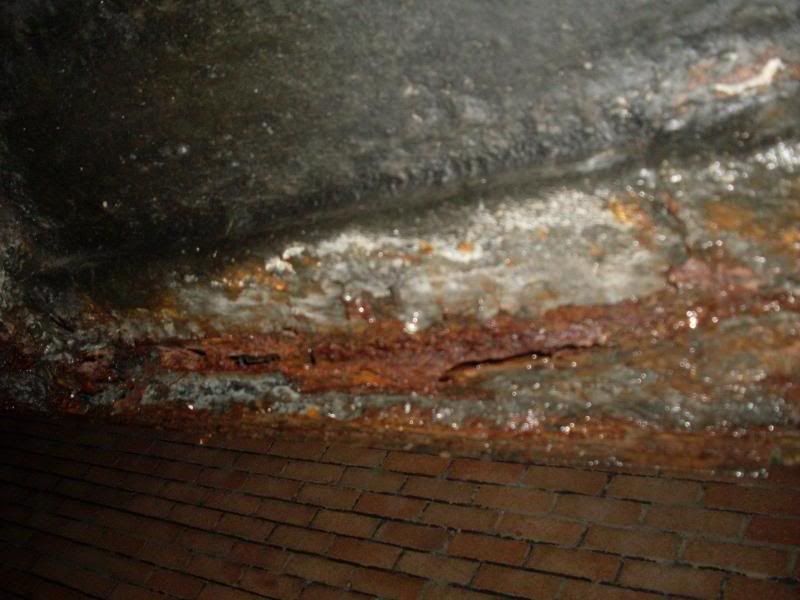
and the drivers side (from the same location)

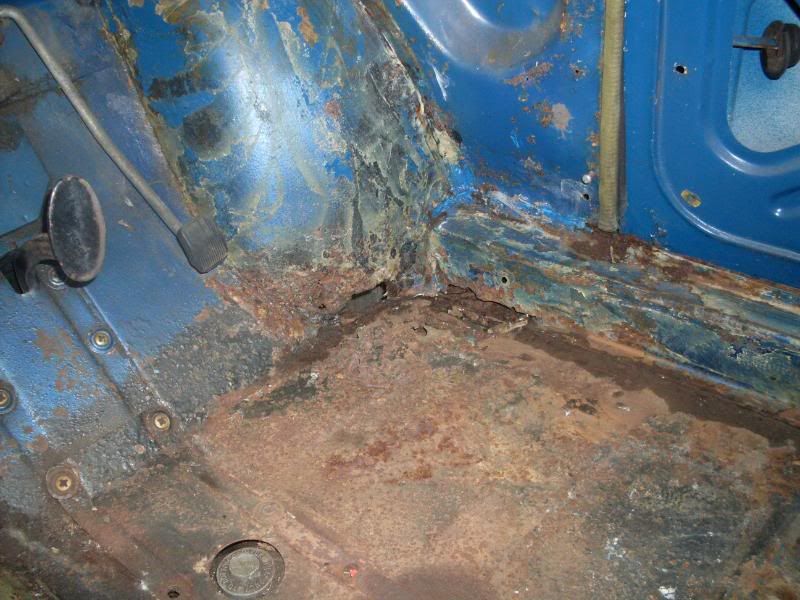
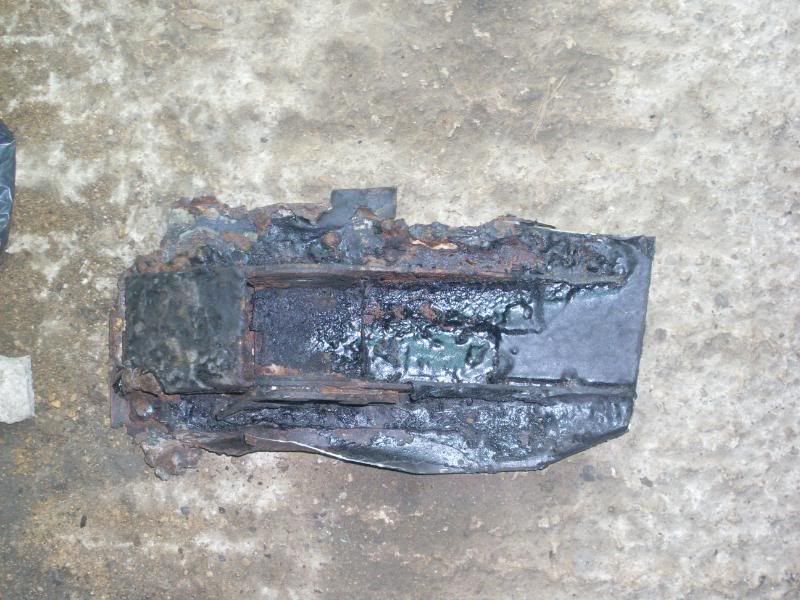
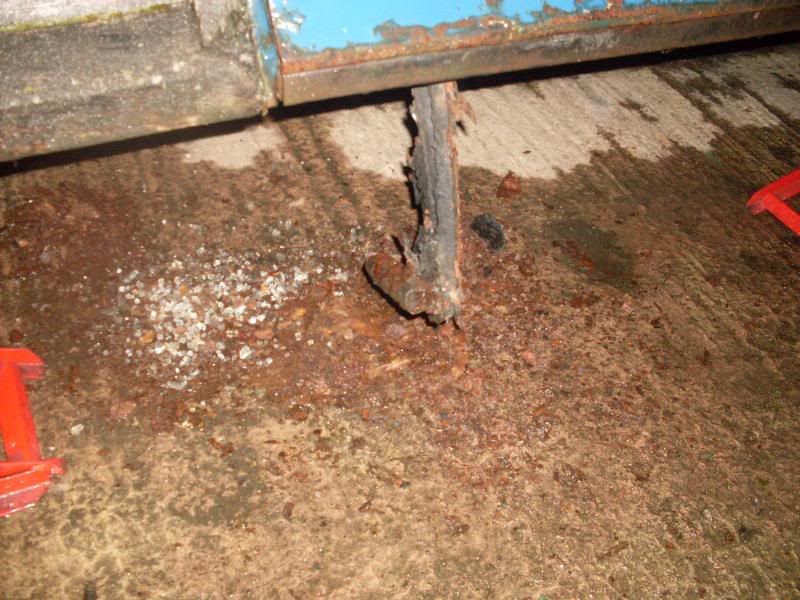
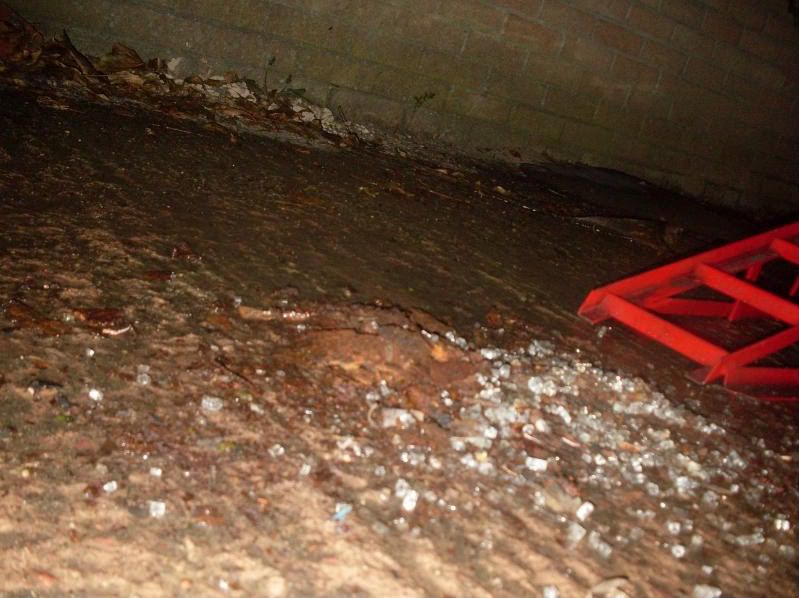
This fell off by knocking the floor with a tape measure!
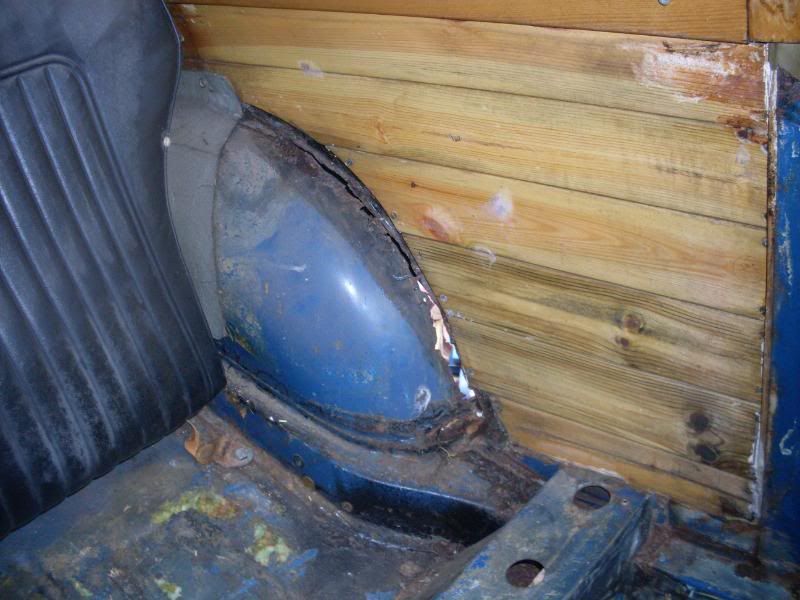
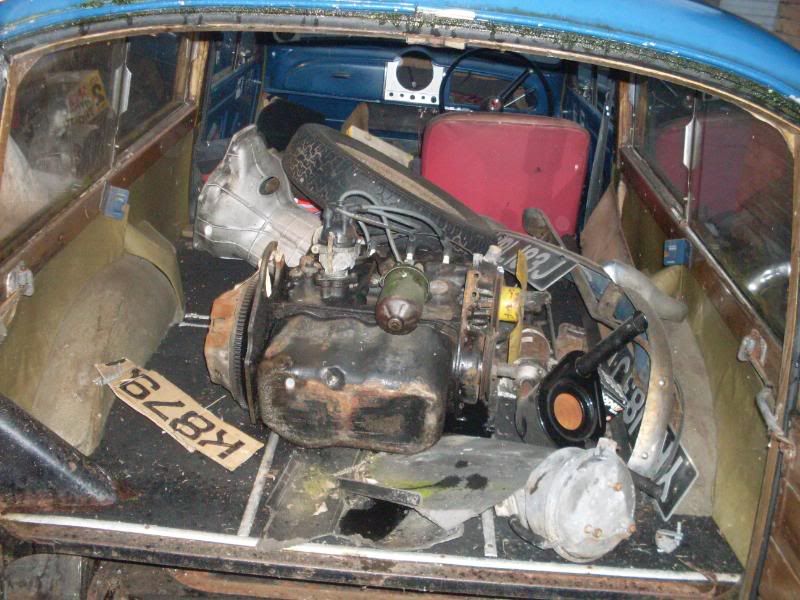
He used to have a bit of a history from what I understand, I believe that he was the test bed for the wooden toungue and groove style panels
Im off out there in a minute to get the sill covers off.
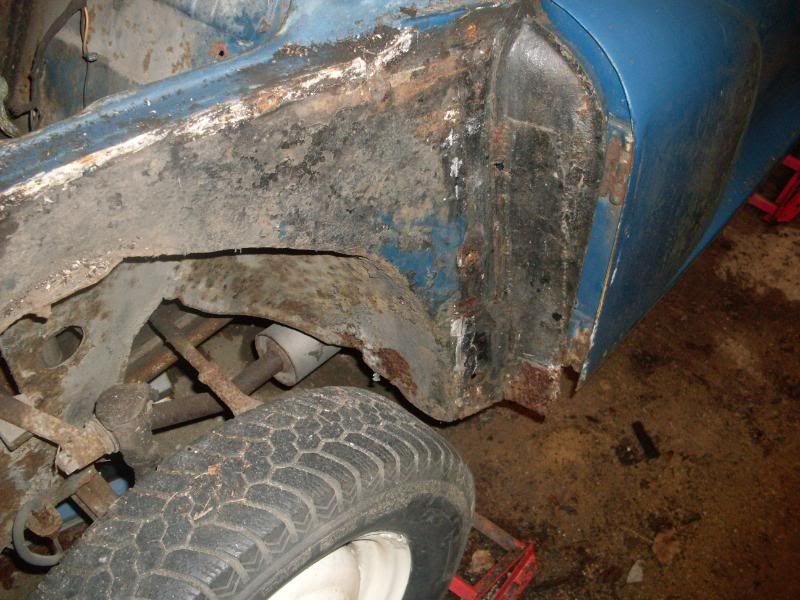
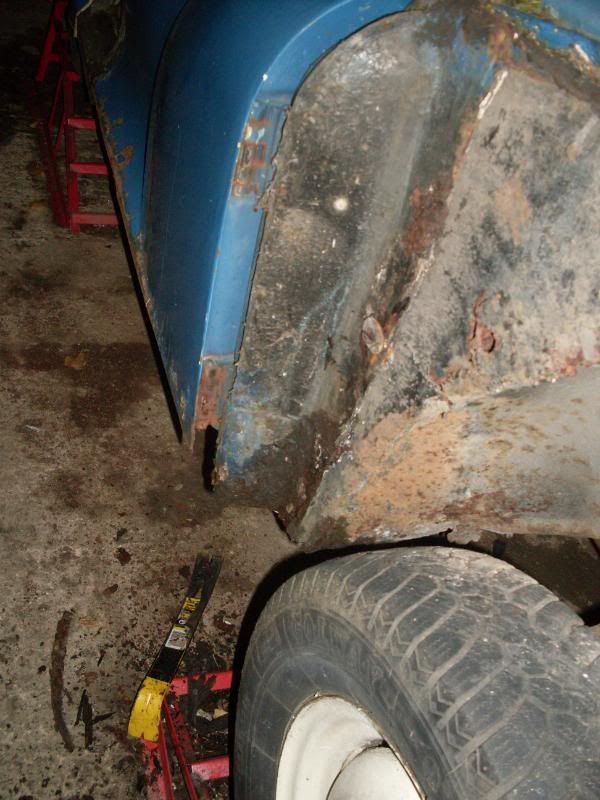
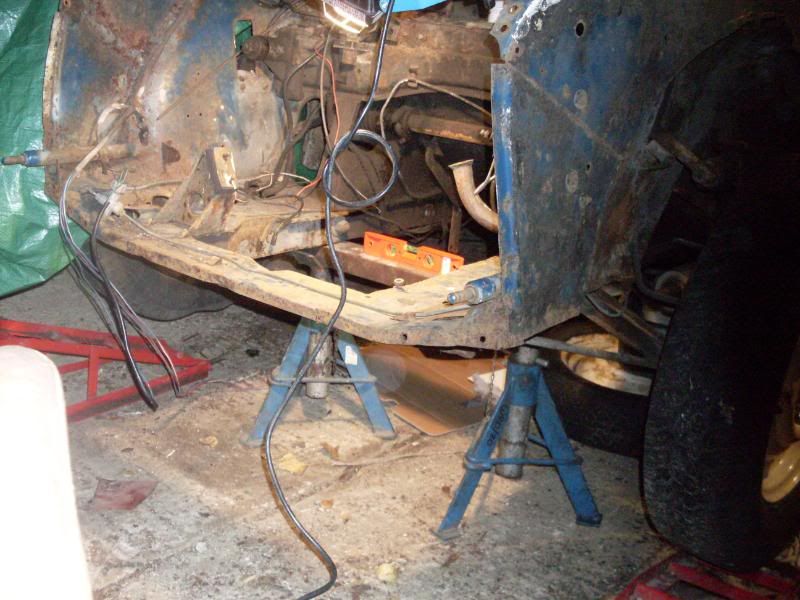
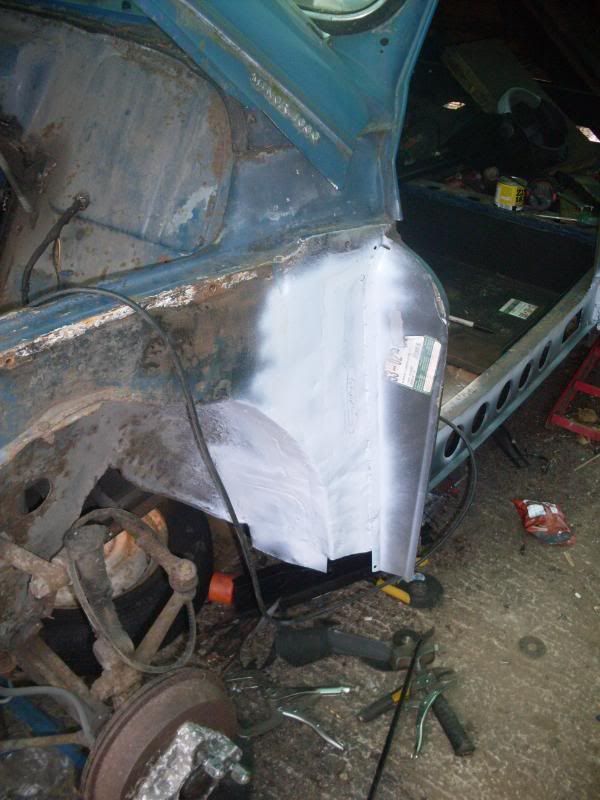
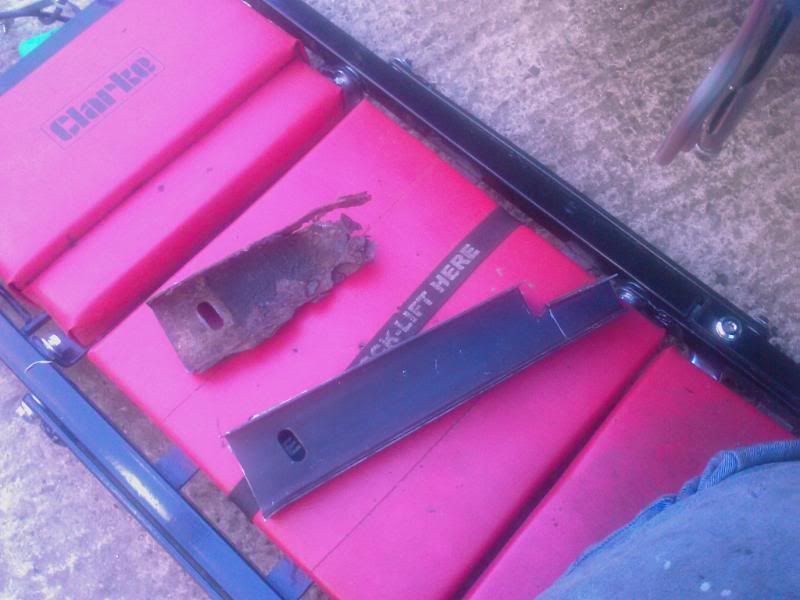
So far the structural concerns are
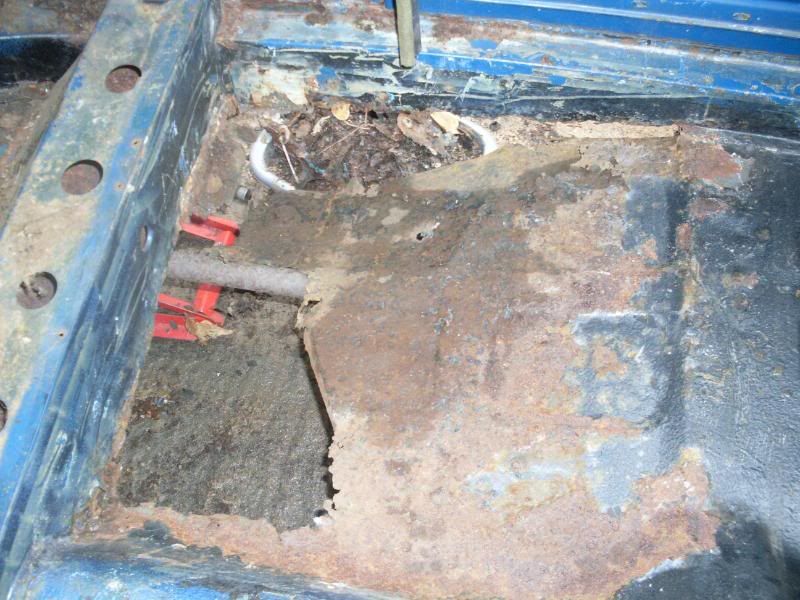
both rear floors
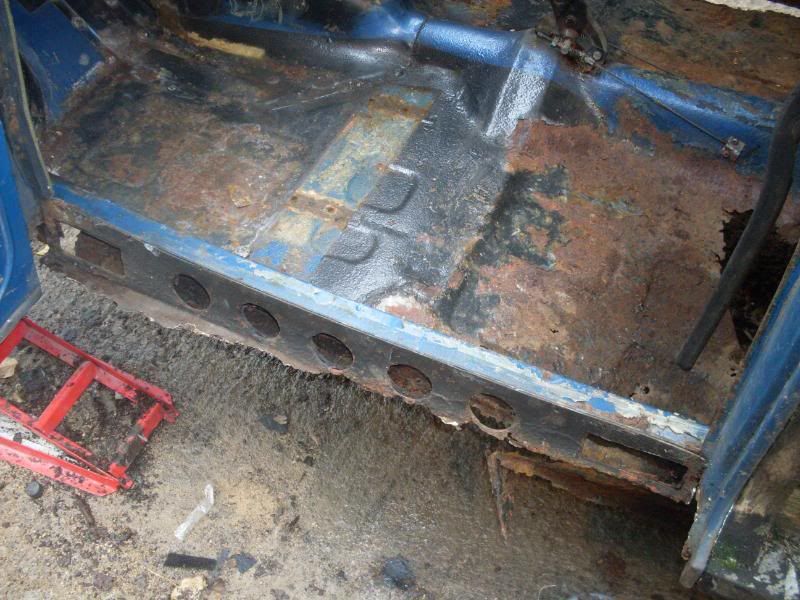
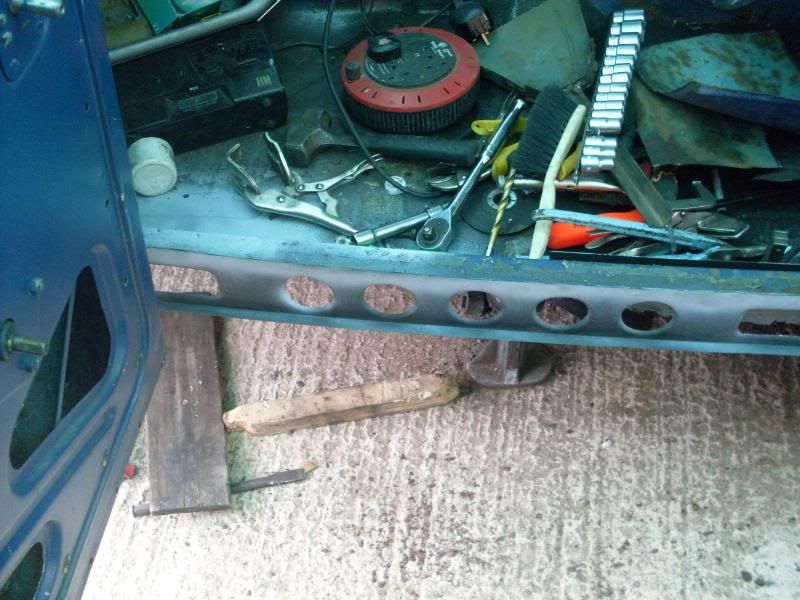
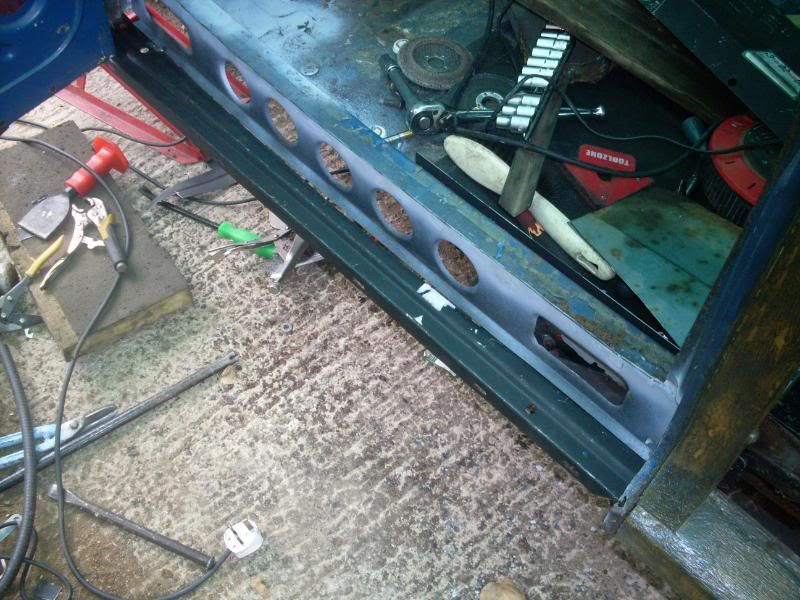
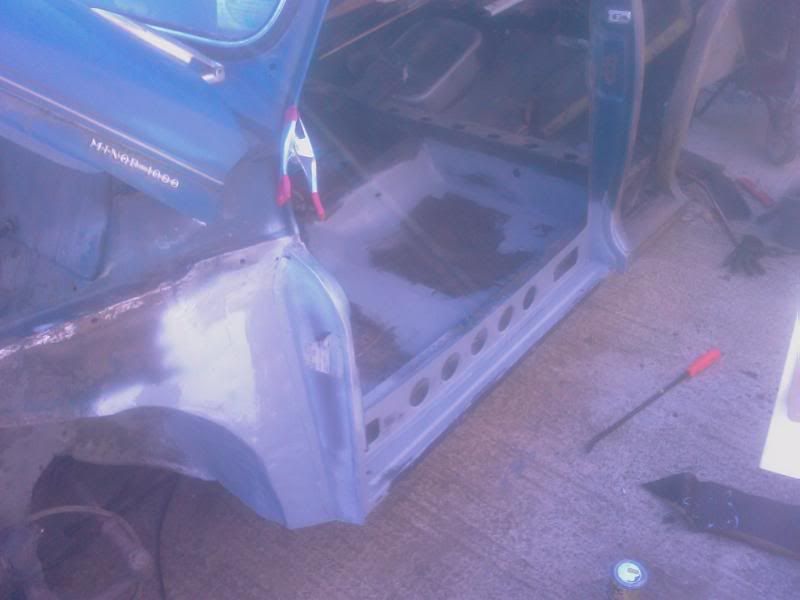
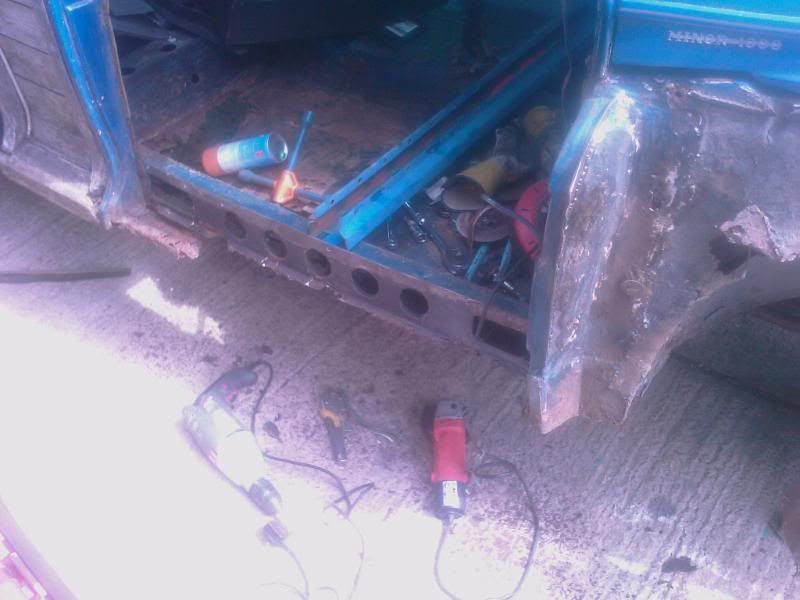
Both sills
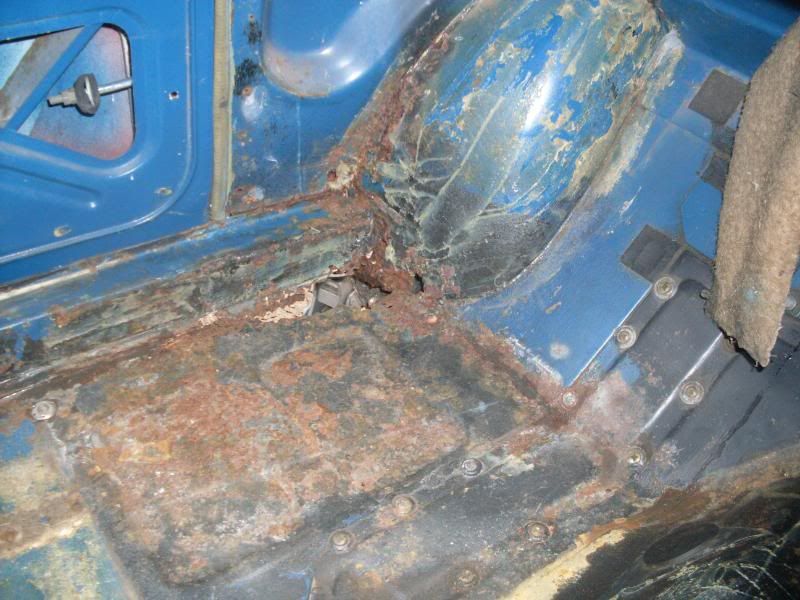
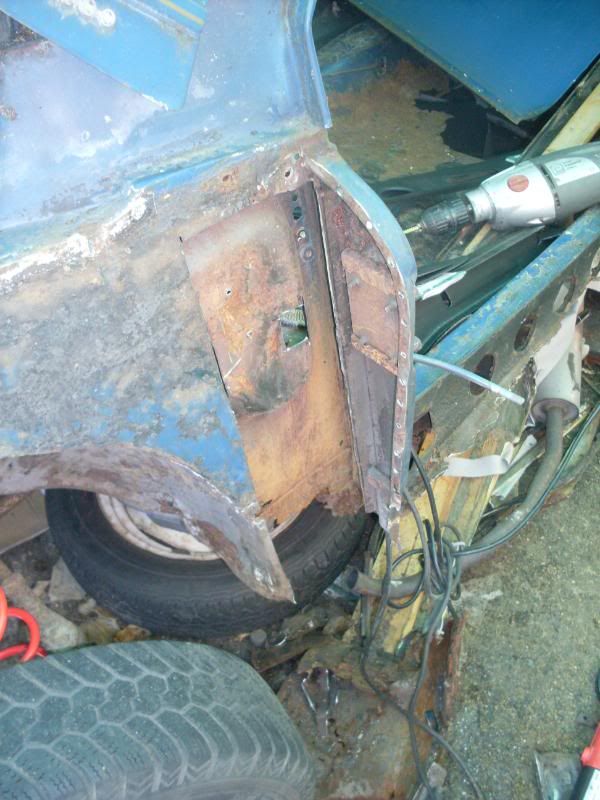
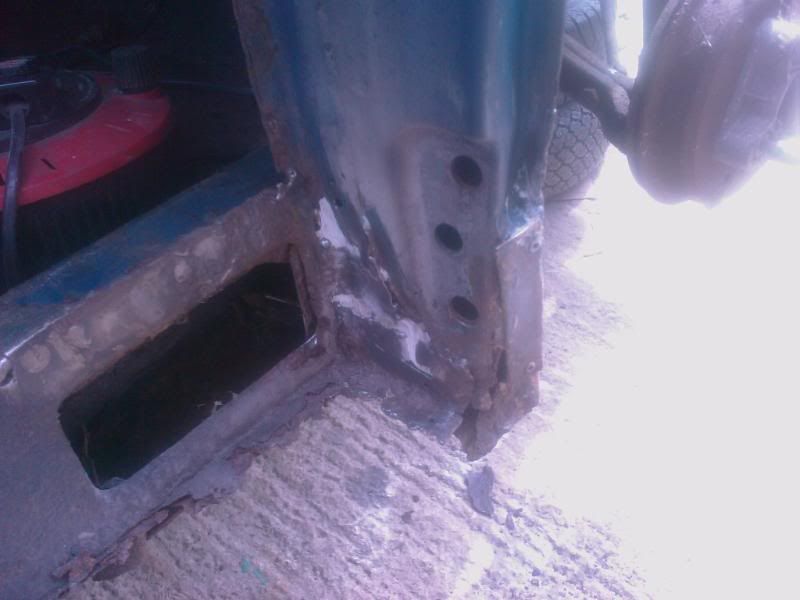
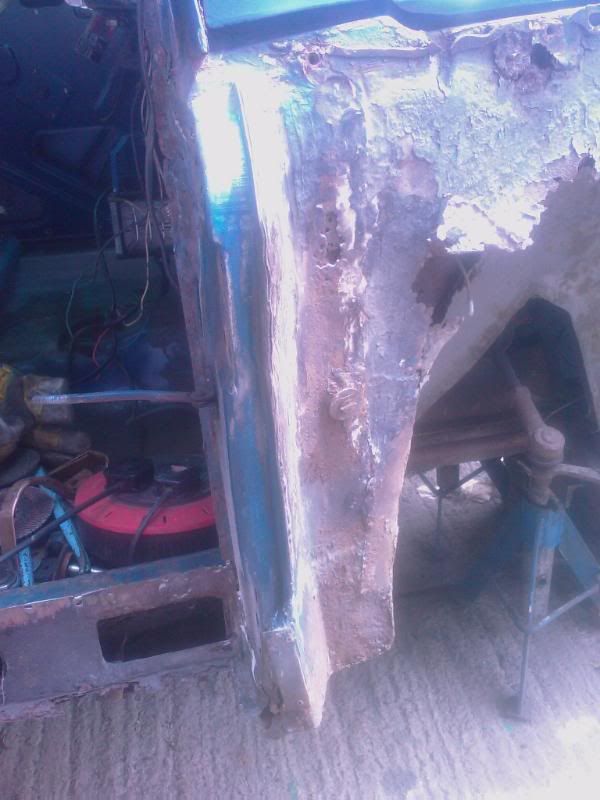
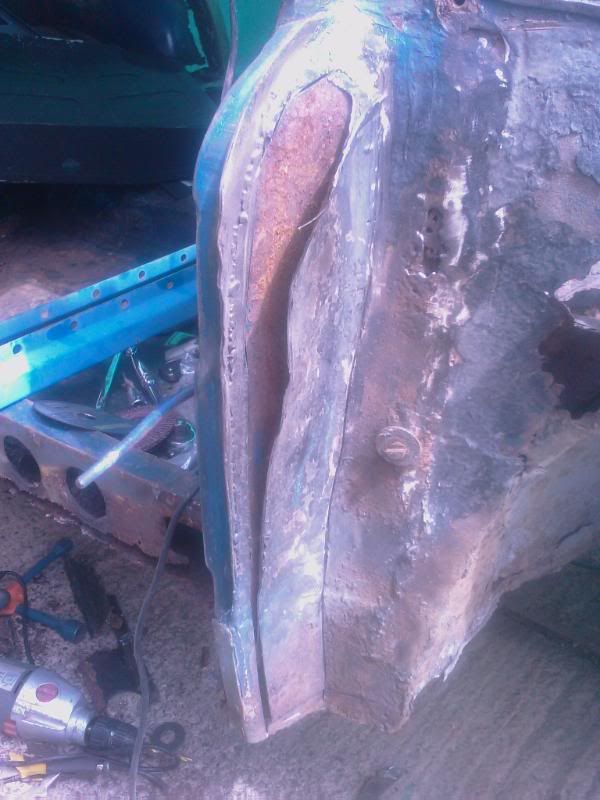
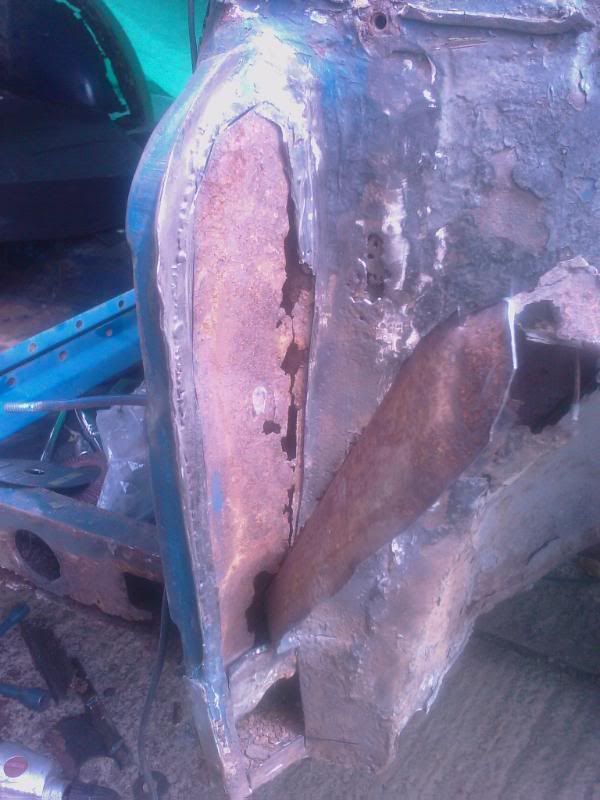
N/S A pillar
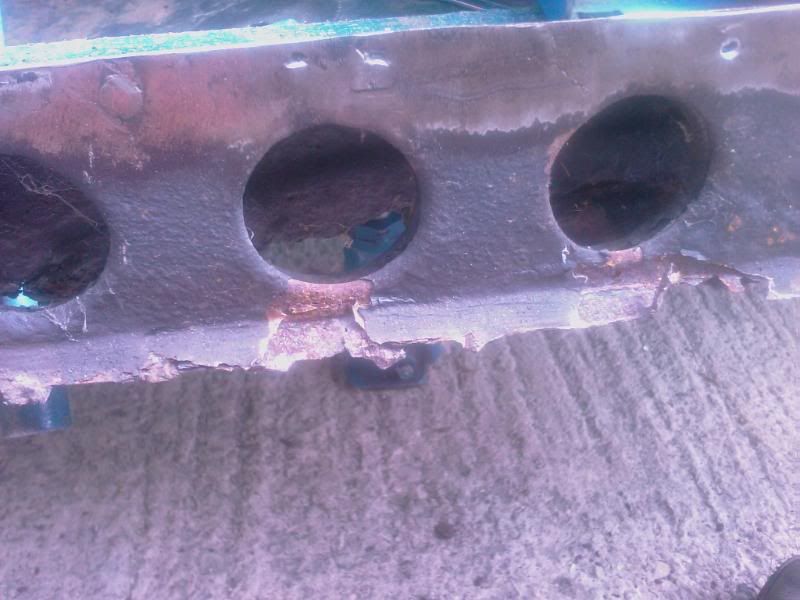
Centre cross member ends
I havnt removed anything yet so this is what I can see from the surface.
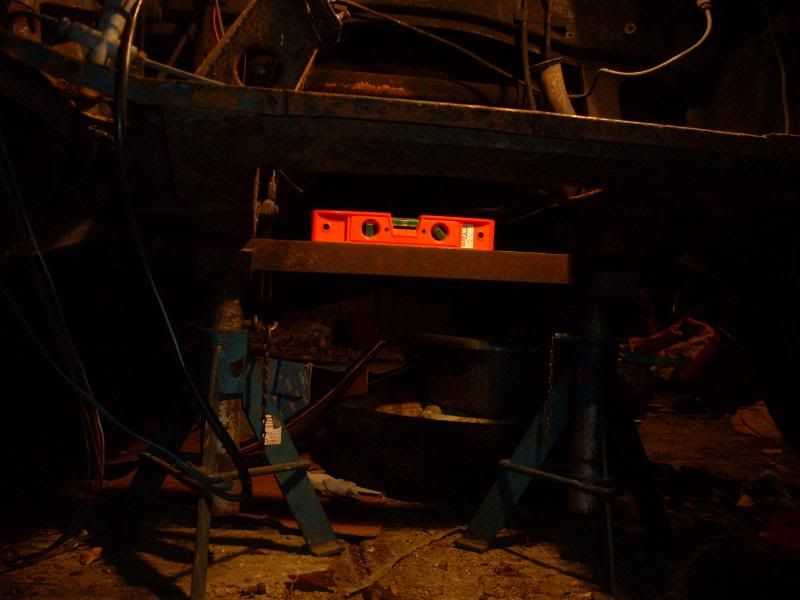
Once he is solid I'm planning on adding additional strengthening to keep everything straight with all the extra grunt.
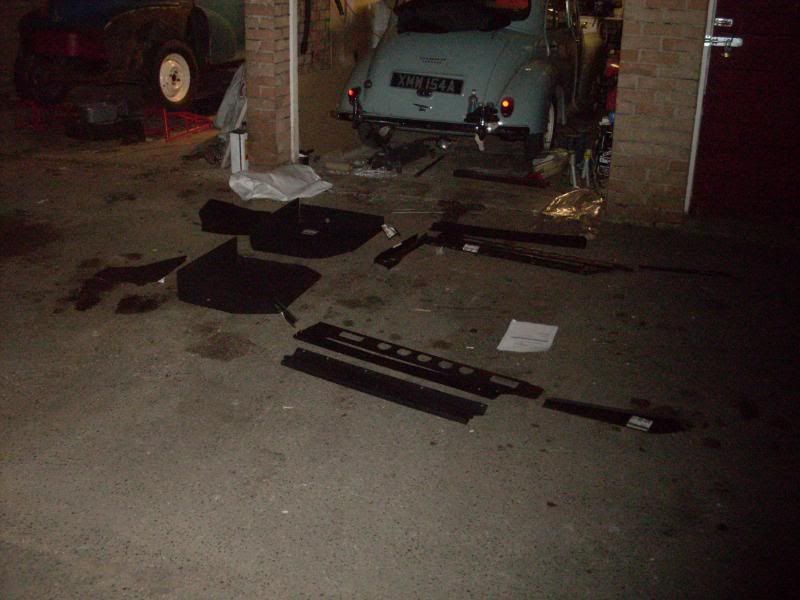
Well thats all the pics ive got so far but ill try and remember to take pics as I go.
His stable mate is Mona, a '63 4 door originally from the isle of man with a 1098 in her.
Thanks to all who have helped so far. Phillip, Linda and Rob.
Cant wait to get things assessed and get stuck in!
The IGOR has landed!
my new project has just arrived and I thought I would share the project from start to finish.
Why IGOR? Just because
Here he is last night fresh off the trailer and up on some ramps for initial assesment.
He is in pretty poor condition overall. The wood is obviously a big concern but there are big plans for that in the pipework (I will post some more pictures once I have started playing with some samples)
This gap certainly needs filling, not with an A series though.
It just happens that Ive got a Golf VR6 engine kicking about. 2.9 Litres of 6 cylinder goodness
The picture is quite deceptive. the engine is 4 inches longer than the longitudinal distance between the bulkhead cross member and the front of the front cross member.
Thats gunna be fun!
The centre cross member is in asstounding condition:
apart from the ends (jacking point looks solid althought not attached lol)
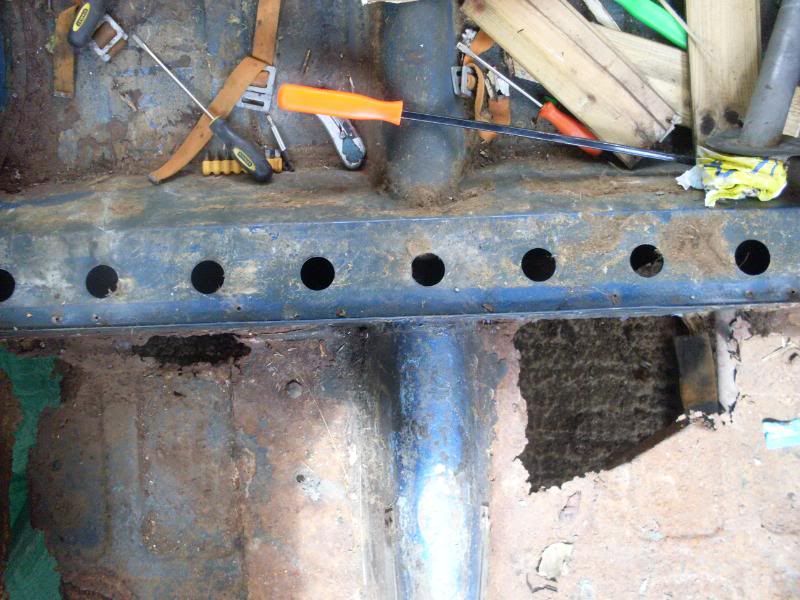
underside of the passenger sill (taken from a gearbox perspective)
and the drivers side (from the same location)
This fell off by knocking the floor with a tape measure!
He used to have a bit of a history from what I understand, I believe that he was the test bed for the wooden toungue and groove style panels
Im off out there in a minute to get the sill covers off.
So far the structural concerns are
both rear floors
Both sills
N/S A pillar
Centre cross member ends
I havnt removed anything yet so this is what I can see from the surface.
Once he is solid I'm planning on adding additional strengthening to keep everything straight with all the extra grunt.
Well thats all the pics ive got so far but ill try and remember to take pics as I go.
His stable mate is Mona, a '63 4 door originally from the isle of man with a 1098 in her.
Thanks to all who have helped so far. Phillip, Linda and Rob.
Cant wait to get things assessed and get stuck in!