Snak makes door panels for his pickup
Posted: Mon Mar 02, 2009 3:29 am
Thought I'd give it a go, since it wouldn't cost much. New ones were pricey here from the US and UK ones, though less, had the high shipping cost to California.
Let me preface this by saying that I wasn't going for concours...
Old panels were torn, warped and held together with duct tape.
Bought a sheet of pressboard from the local lumber shop, dismantled my old panels and traced (the best I could) the old panels and clip holes, etc.

Used straight-edge top clean up edge (had missing areas).

Cut out all panels with a jigsaw and drilled the appropriate holes. Sanded edges and holes as needed.

Did sort of hold in place to make sure these would work. Okay.

I figured that the each panel would mirror the other (almost right on that) so made 2 panels identical.

Also had a couple other interior bits to make, so did these too.

For the padding, the old door material was almost good enough to reuse, but I happened to have some extra fabric you can buy to use as underlining of fish ponds that use the butyl rubber lining. Same thickness and easy to work with. Cheap, too.

Cut rough pieces and then spray-glued them to my cut pressboard pieces.
Easy then to take an Exacto knife and trim the piece.

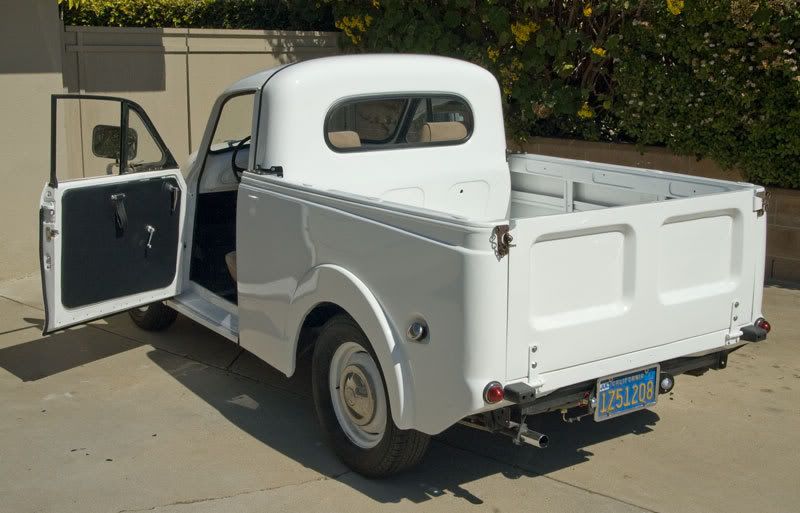
Here are the finished door panels

Next covering the vinyl. Since I had some usable vinyl from my old panels, I cut up a bit to use on those two odd interior pieces.
A little delicate after 40+ years, but okay. Spray-glued the vinyl to the piece.

The vinyl I use for the door panels was new, and cost about $20. Bought from a local top-shop.
Then, for all the pieces, it was a matter of allowing enough material to glue (contact cement, the black stuff) and staple (have a good electric staple gun - use the short staples.
End result was okay. Not stellar. Knowing what I know now, I would have measured more off the door impression. Because the original vinyl had a large collar, it covered more area than the board. Also, as much as I got the clip holes properly drilled, the pressboard that I used was thicker, and did not allow the clips to always be able to line up with holes easily once installed.
Got them to work, but took some finesse.
Bottom line. this was inexpensive, and certainly works for me.
Fun project for my sunny Saturday, yesterday (a little warm, almost 80 F)

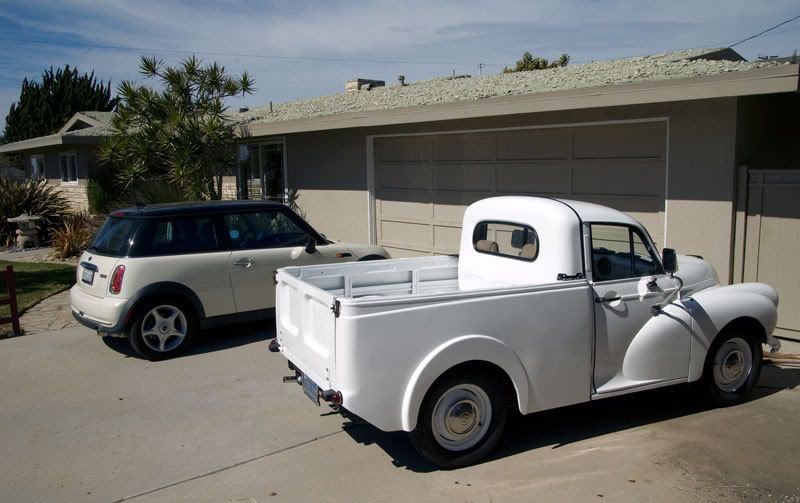
BTW- interesting that my Moggy was made in the same factory building that made my wife's Mini.
Let me preface this by saying that I wasn't going for concours...
Old panels were torn, warped and held together with duct tape.
Bought a sheet of pressboard from the local lumber shop, dismantled my old panels and traced (the best I could) the old panels and clip holes, etc.
Used straight-edge top clean up edge (had missing areas).
Cut out all panels with a jigsaw and drilled the appropriate holes. Sanded edges and holes as needed.
Did sort of hold in place to make sure these would work. Okay.
I figured that the each panel would mirror the other (almost right on that) so made 2 panels identical.
Also had a couple other interior bits to make, so did these too.
For the padding, the old door material was almost good enough to reuse, but I happened to have some extra fabric you can buy to use as underlining of fish ponds that use the butyl rubber lining. Same thickness and easy to work with. Cheap, too.
Cut rough pieces and then spray-glued them to my cut pressboard pieces.
Easy then to take an Exacto knife and trim the piece.
Here are the finished door panels
Next covering the vinyl. Since I had some usable vinyl from my old panels, I cut up a bit to use on those two odd interior pieces.
A little delicate after 40+ years, but okay. Spray-glued the vinyl to the piece.
The vinyl I use for the door panels was new, and cost about $20. Bought from a local top-shop.
Then, for all the pieces, it was a matter of allowing enough material to glue (contact cement, the black stuff) and staple (have a good electric staple gun - use the short staples.
End result was okay. Not stellar. Knowing what I know now, I would have measured more off the door impression. Because the original vinyl had a large collar, it covered more area than the board. Also, as much as I got the clip holes properly drilled, the pressboard that I used was thicker, and did not allow the clips to always be able to line up with holes easily once installed.
Got them to work, but took some finesse.
Bottom line. this was inexpensive, and certainly works for me.
Fun project for my sunny Saturday, yesterday (a little warm, almost 80 F)
BTW- interesting that my Moggy was made in the same factory building that made my wife's Mini.

