Page 1 of 2
bonnet motifs - gaskets?
Posted: Wed Oct 15, 2008 9:26 am
by wibble_puppy
when you fit your bonnet motif (badge and flash), should you put a thin gasket under them like you do the bonnet hinges?
wibble

Posted: Wed Oct 15, 2008 9:40 am
by alex_holden
I don't think so.
Posted: Wed Oct 15, 2008 9:44 am
by wibble_puppy
Posted: Wed Oct 15, 2008 11:27 am
by ferret76
I concur. Need gaskets under your bonnet hinges though.
Posted: Wed Oct 15, 2008 11:35 am
by ASL642
When we refitted the bonnet we bought some thin rubber matting off ebay and we now use this to make washers for all the chrome bits which stops them scratching the paint. You cannot buy rubber boot and bonnet washers now only paper. I think a metre cost £15 - enough for the fleet!

Posted: Wed Oct 15, 2008 6:23 pm
by bmcecosse
I suppose thin flexible plastic as sold by Ikea for kitchen cutting boards would do nicely - and being clear/translucent won't be obvious.
Posted: Wed Oct 15, 2008 6:45 pm
by wibble_puppy
bmcecosse wrote:I suppose thin flexible plastic as sold by Ikea for kitchen cutting boards would do nicely - and being clear/translucent won't be obvious.
Ah, clear plastic makes a lot of sense. Was trying to image the bonnet flash and badge with black gaskets like the hinges, and being unhappy

Posted: Wed Oct 15, 2008 6:49 pm
by aupickup
you will find i think that putting anything under the bonnet flash, that the back will not hook in the bonnet
Posted: Wed Oct 15, 2008 6:58 pm
by wibble_puppy
ah. Right ho. Thanks, dude

Posted: Wed Oct 15, 2008 7:02 pm
by jock299
Don’t shoot me down on this one as i know it has been abused in the past

but what about some clear silicone spread thinly and left to dry overnight off car stops metal against paint vibration

Posted: Wed Oct 15, 2008 7:02 pm
by ASL642
No the plastic is v. thin and by the time the bonnet hinge is bolted down is not at all visible. It is cut slightly smaller than the hinge so doesn't squeeze out. I know the chopping boards you mean and it is much thinner.
Posted: Wed Oct 15, 2008 7:13 pm
by Luxobarge
I've used bicycle inner-tube for this sort if thing before - nice and thin, and the rubber gives good paint protection. As it's black, the very thin line of black that will show if it's trimmed carefully looks fine on most body colours.
Posted: Wed Oct 15, 2008 8:56 pm
by linearaudio
For Gods sake don't be tempted to remove any excess gasket... with a stanley knife... in situ! Thats the sort of thing an eeijit like me does (surely, if I'm careful.....aaaargh!) I'm sure they modelled Dougal in Father Ted on me- I can just see how his "brain?" ticks!
Posted: Wed Oct 15, 2008 10:49 pm
by callyspoy
when i fitted the brake light into my boot motif i put bike inner tube as a gasket as there is a hole behind it now! it doesn't look too bad, but i would imagine clear plastic would be good for wibble...NOTHING CAN TAKE AWAY FROM THE VIBRANCY!
Posted: Thu Oct 16, 2008 2:04 am
by alainmoran
Umm ... dont use silicone sealant ... the plasticiser is made from acetic acid, which isnt very kind to paintwork ;)
Posted: Thu Oct 16, 2008 4:19 am
by wibble_puppy
thanks very much for all the excellent tips, everyone
Posted: Wed Oct 22, 2008 7:16 pm
by Luxobarge
This thread got me thinking - our bonnet mascot is a bit loose, and as it has no gaskets it's starting to damage the paint - so I took my own advice and made some out of bicycle inner tube!
First I touched up the slight paint damage, so it could dry.
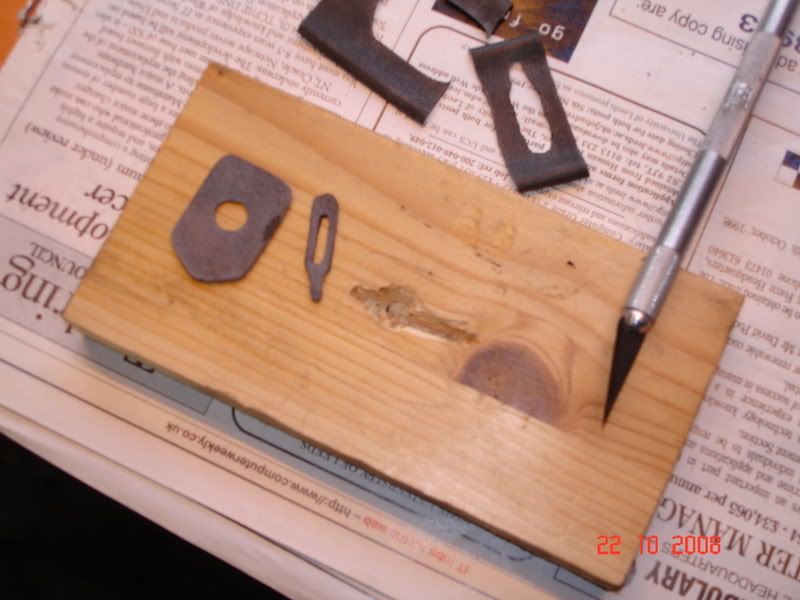
Then I cut up some inner tube, and made a recess in a piece of wood for each end of the mascot, so it could sit with the mating surfaces flat on the wood. Then with a very sharp surgical scalpel I cut out a hole in the centre for the main mounting boss to poke through, then placed the mascot on the wood and cut around the edge of the mascot to precisely cut out the shape of the gasket.
Here you can see the block of wood with the recess cut in it, the scalpel and both the gaskets:
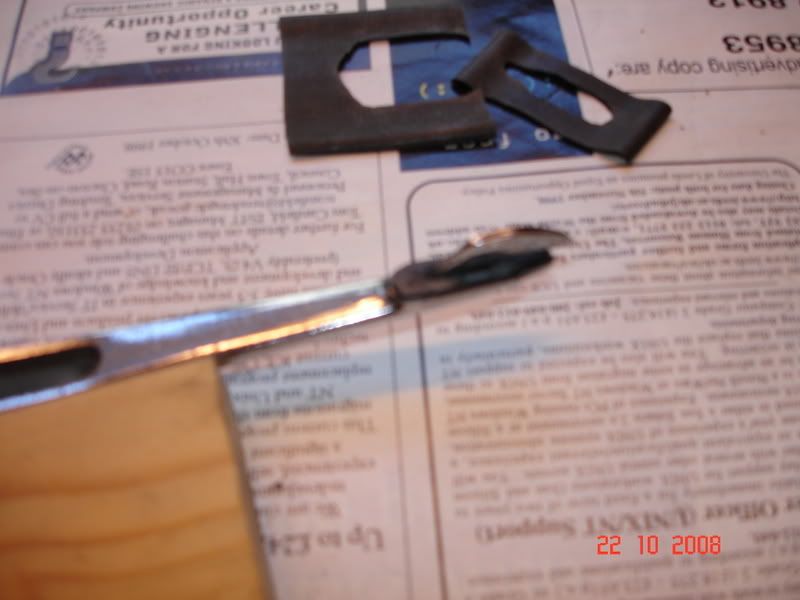
Here's the large end with the gasket fitted:
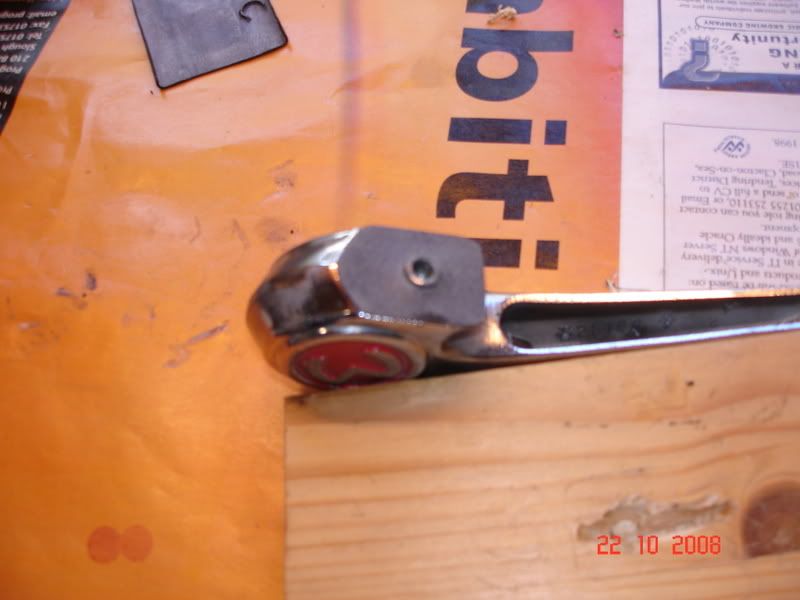
And the small end - this is a bit more fiddly but do-able:
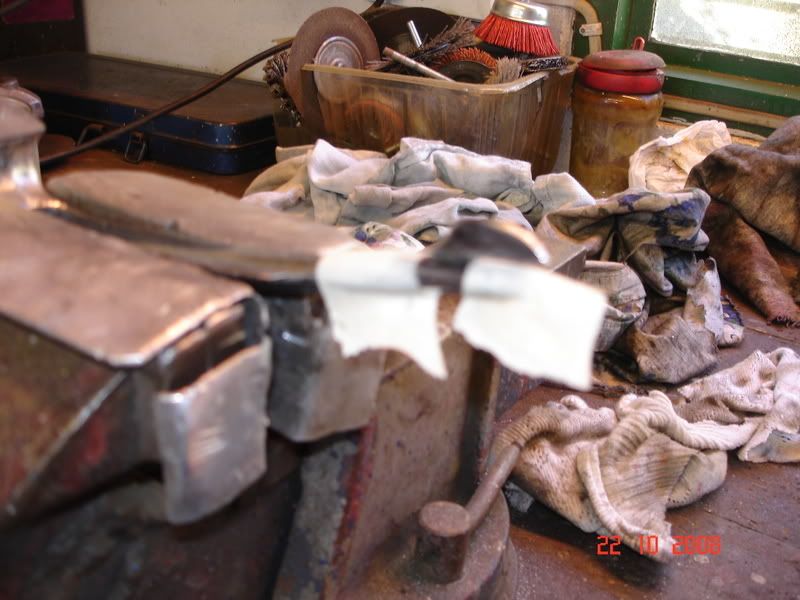
I decided the small end might slip sideways when it's on, so I "glued" it down with some black silicone gasket sealant, and used a bit of masking tape to hold it there while it went off:
And here it is back on the car!
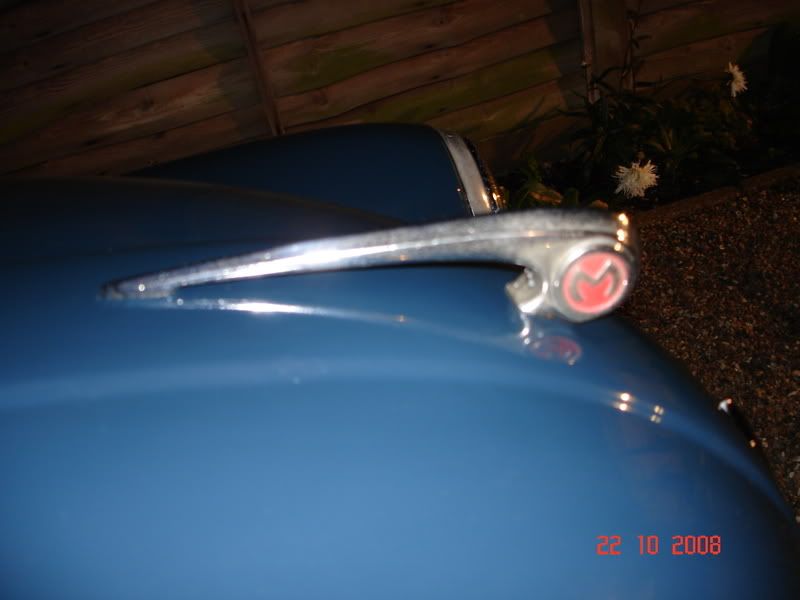 ***Sorry about the rubbish photo quality!!***
it's really difficult to take close-ups with my camera, it doesn't want to focus properly! - Hopefully you get the idea.
The mascot now fits snugly with no movement, and you can hardly see the gaskets - just a very thin black line where it meets the bonnet. I'm sure it will now protect the paintwork too, especially as I use this as a handle to open and shut the bonnet, so it gets a bit of stress!
Hope this is of use/interest!
Cheers - Rick.
Posted: Wed Oct 22, 2008 7:25 pm
by polo2k
have a look on your camera for a button with a flower on it. This should be the macro mode, for shooting close up
Posted: Wed Oct 22, 2008 7:42 pm
by Luxobarge
polo2k wrote:have a look on your camera for a button with a flower on it. This should be the macro mode, for shooting close up
Found it! Nuts - I wish I'd known that before!
Many thanks - I'll remember that in future!
Cheers
Posted: Wed Oct 22, 2008 7:51 pm
by wibble_puppy
that's great work, rick, and looks to be an excellent result - now that you've found the macro setting on your camera, take a close-up of the mascot in situ
thank you for posting the account and pics of how you did it
am still pondering how to do mine - it's a van so the bonnet trim is different.
wibble xx