Page 1 of 9
completed resto
Posted: Sun Sep 10, 2006 3:22 am
by flying
Posted: Sun Sep 10, 2006 2:43 pm
by flying

cheers steve for the help
Posted: Mon Sep 11, 2006 11:45 am
by chickenjohn
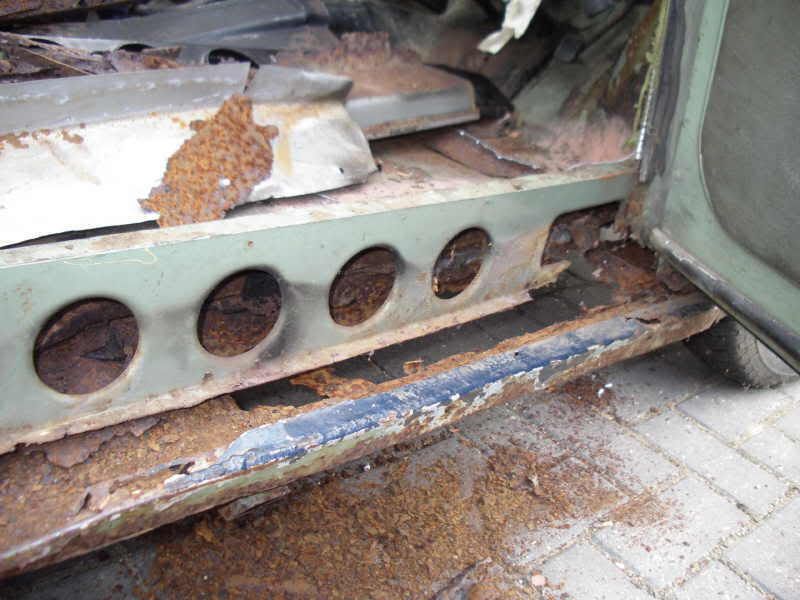
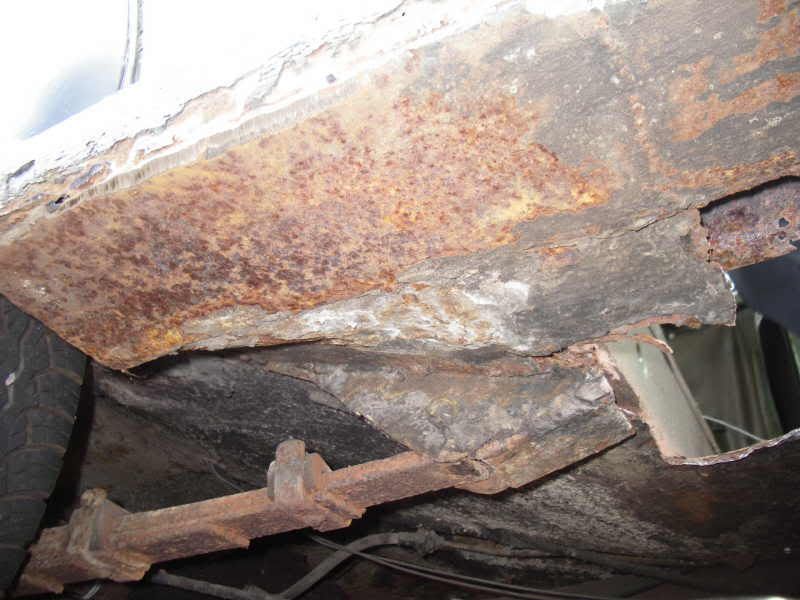
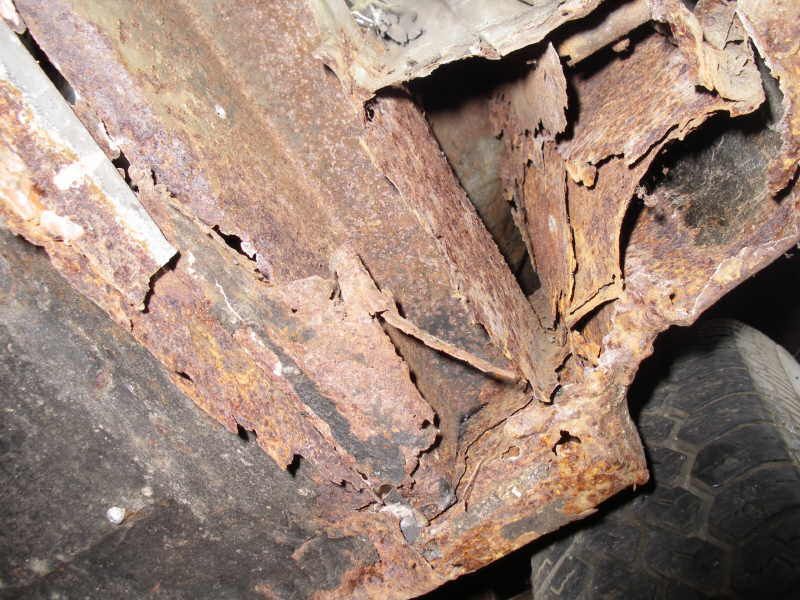
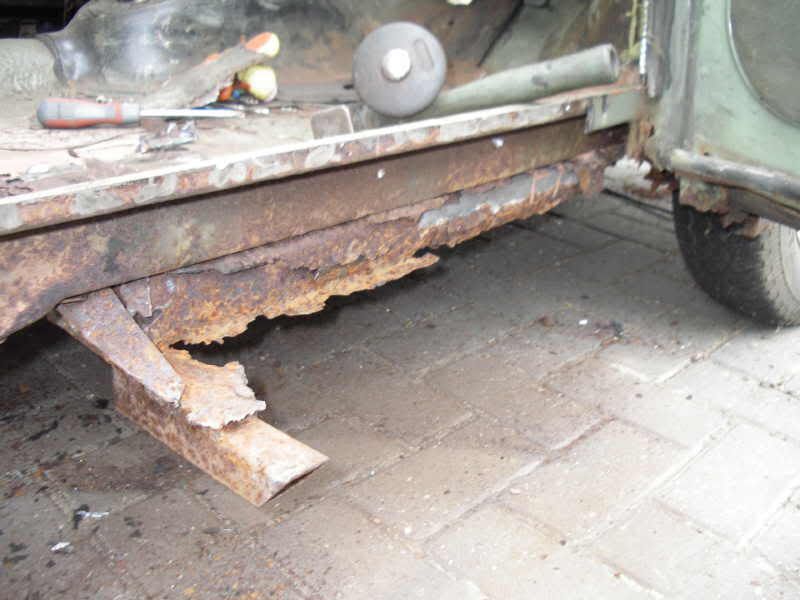
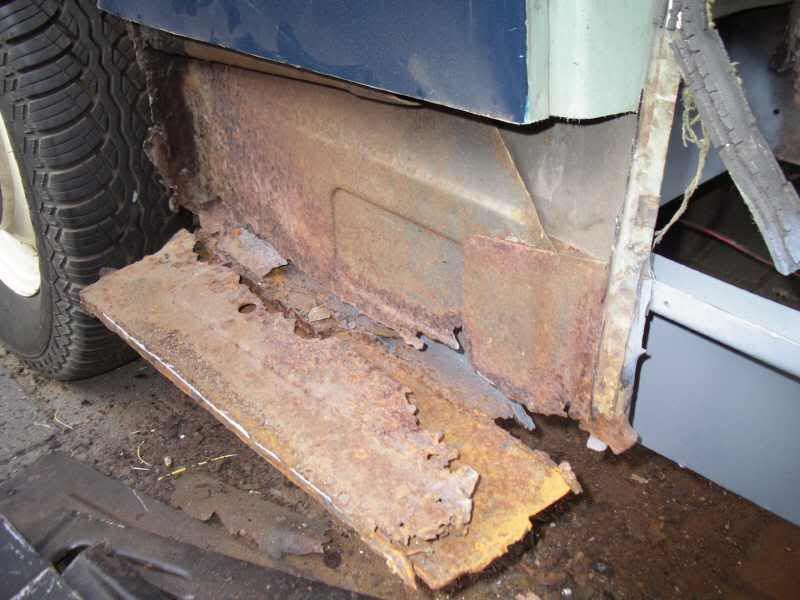
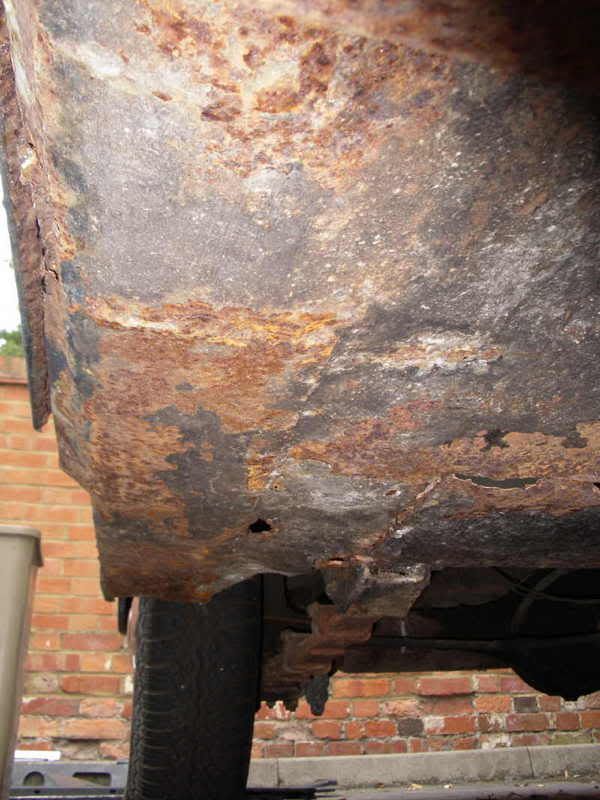
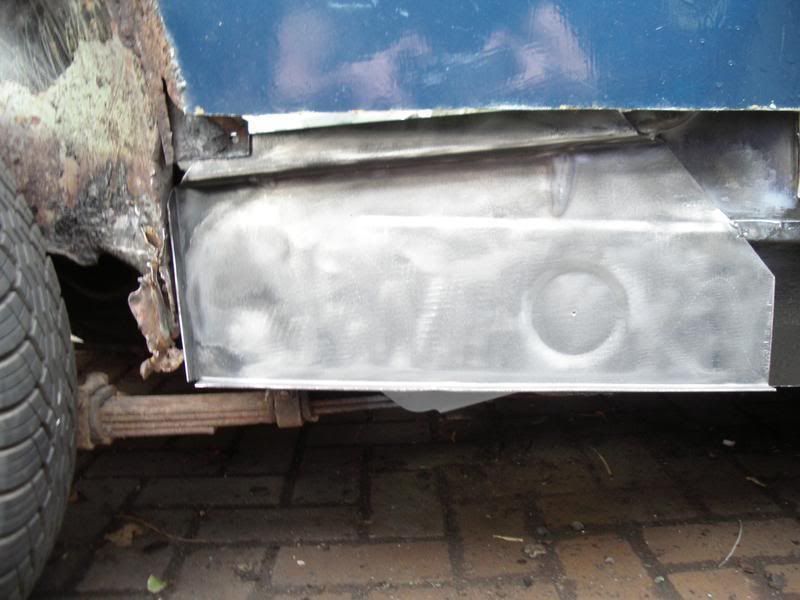
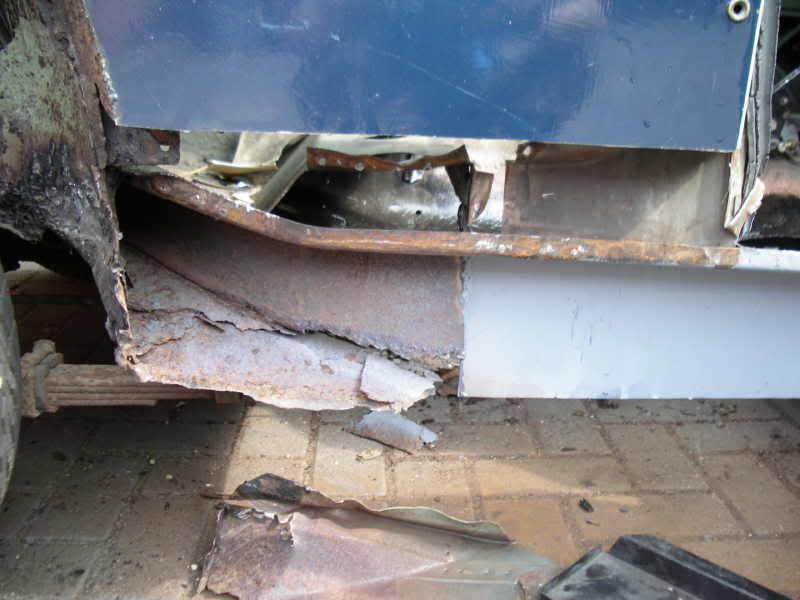
I would strongly advise you to brace up the door gaps (weld angle iron across the gaps) before cutting away more of the sill- helps stop the gap closing up! The inner sill looks quite rusty too so some of that may need to be repaired (with 2mm steel).

is that a help?
Posted: Mon Sep 11, 2006 6:35 pm
by flying
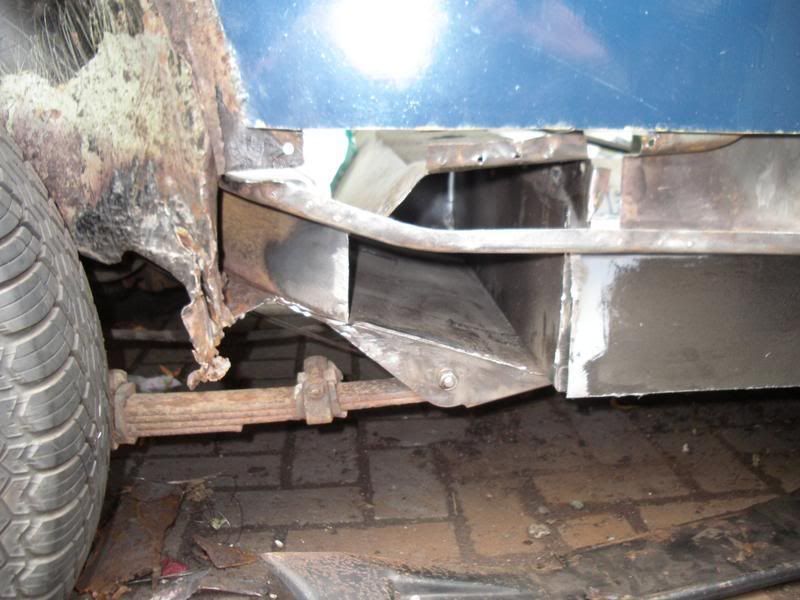
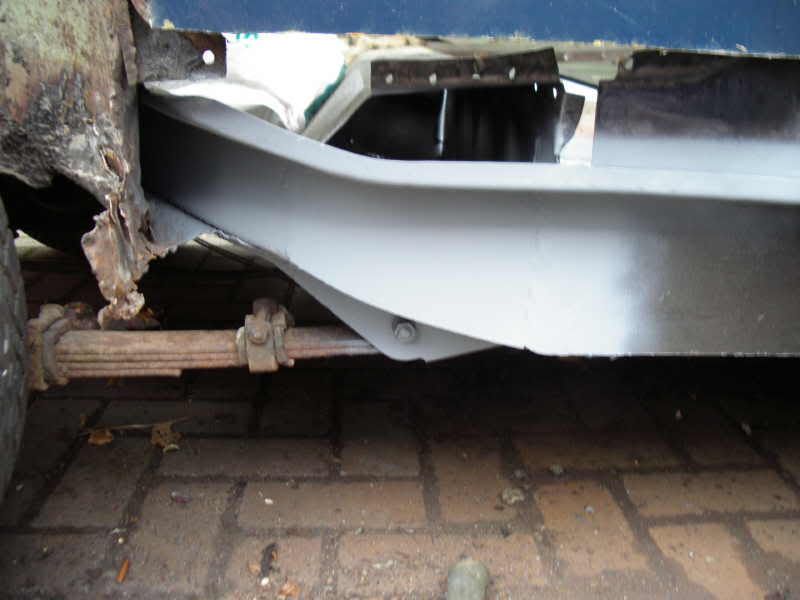
hi, y i was given the pic which showed me where they lie, i all ways chop out rust when i see it,atm it has no sill what so ever because its having new panels..all over..did some more to it today and got the a couple of panels in.....thanks for reply
Posted: Mon Sep 11, 2006 6:44 pm
by alex_holden
Thanks for posting that diagram John, it's made things a bit clearer for me too.
Posted: Mon Sep 11, 2006 6:47 pm
by chickenjohn
Yes, although it only becomes crystal when the sparks start flying!
Flying- I would also advise covering the glass on your car- I've heard of a few cars with weld splattered windscreens.- the go rusty ;)
He's done a lot of work- flying seems to be living up to his name!!

Posted: Mon Sep 11, 2006 7:18 pm
by alex_holden
I also had rusty angle-grinder spots embedded in the windscreen of my Land Rover (done by a previous owner).
Posted: Mon Sep 11, 2006 7:42 pm
by flying
chickenjohn wrote:Yes, although it only becomes crystal when the sparks start flying!
Flying- I would also advise covering the glass on your car- I've heard of a few cars with weld splattered windscreens.- the go rusty ;)
He's done a lot of work- flying seems to be living up to his name!!

y already covered the front windscreen has ive learnt in the past doing my 1972 mini and Mk1 escort....i sertainly dont hang about when it comes to do bodywork ...strip and replace ..simple
ill keep people posted has work progresses
Posted: Tue Sep 12, 2006 8:02 am
by chickenjohn
Good! I can see you're doing good work- and amazingly quick too! keep the pics coming. Its nice to see another Moggie being saved
Posted: Tue Sep 12, 2006 4:35 pm
by flying
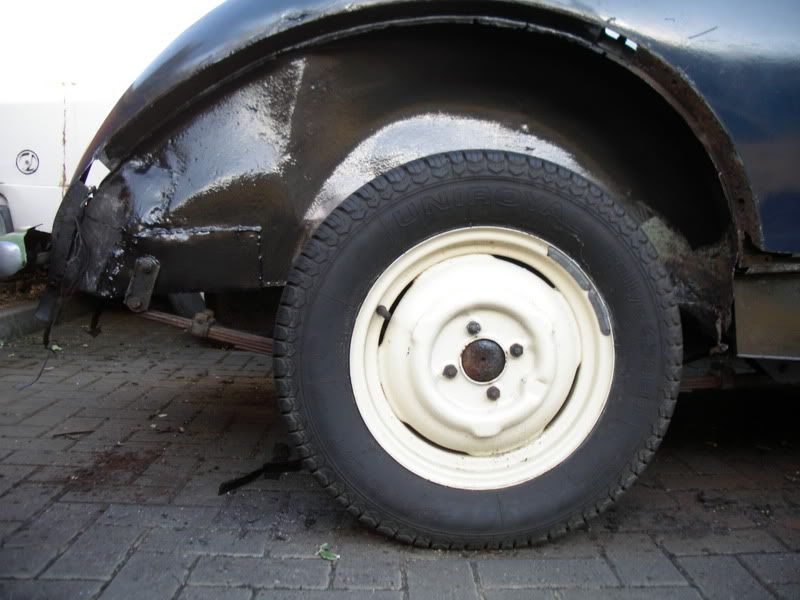
ive set my self a target to try and get it done asap hopefully before december....so far ive spent about 3 days on it when i get time free and the weather permitting has its done outside.....got the other side to rip off yet,inside boot area,some chassis rail by front suspension...ive seen a few other holes here and their...but its having a complete strip down...under neath is the worst part..all getting sandblasted etc and got to rub all the paint off because the owner b4...hand painted it!!!!!.....honstly some people dont have a clue.....and when we got the car...they had pot rivted alloy sheets to the floor

and they thought it would pass the mot ....wishfull thinking
Posted: Tue Sep 12, 2006 4:42 pm
by Ratbag
When I picked up my first car from the scrappy (a Wolseley Hornet (Mini)) it had had cover sills brazed over two other cover sills!
In spite of this, and not having any rear hubs, it had a current MOT.
Good first restoration project though - I took out nearly twice as much metal as I put back.
Phil.
Posted: Fri Sep 15, 2006 4:44 pm
by 8009STEVE
Thanks for posting that diagram John, it's made things a bit clearer for me too.
Alex, do you want a parts diagram?
Posted: Fri Sep 15, 2006 4:58 pm
by alex_holden
That would be interesting to see, but John's diagram cleared up the bit I was unsure about. There's an extra layer of rotten metal above the plate labelled as 022/3 on the poorer of my two sills. I think it must be a left-over from a previous repair, and not the remains of a double skin that's supposed to be there for structural reasons.
Posted: Fri Sep 15, 2006 8:52 pm
by flying
Posted: Wed Sep 27, 2006 1:29 am
by flying
Posted: Thu Sep 28, 2006 9:53 am
by millerman
Flying
Good tidy work, are you self taught?
Posted: Thu Sep 28, 2006 11:40 am
by flying
yep all self taught...i brought my welder about 7/8 years ago now,from when i 1st brought my escort
Posted: Thu Sep 28, 2006 12:58 pm
by chickenjohn
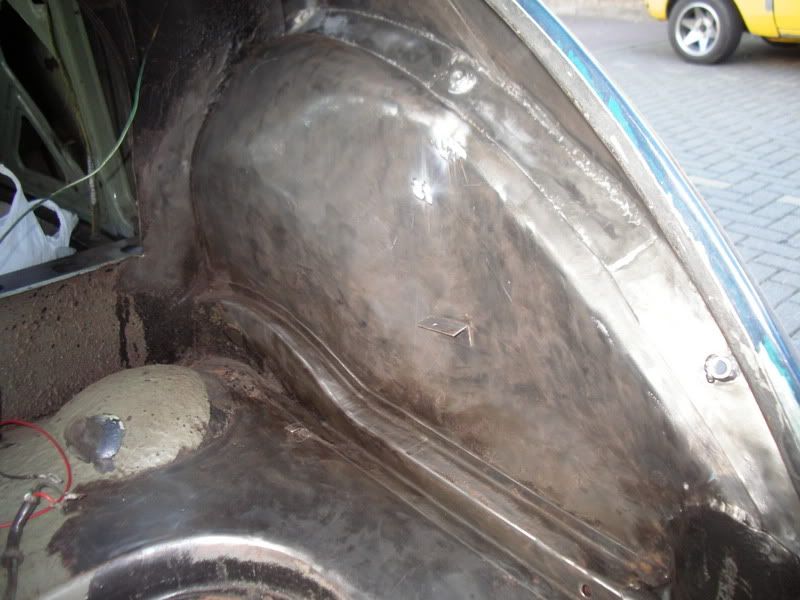
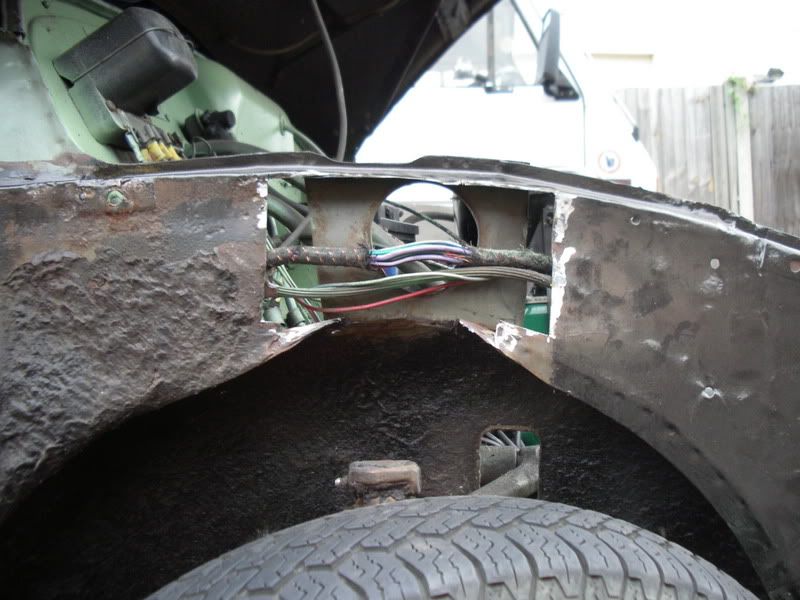
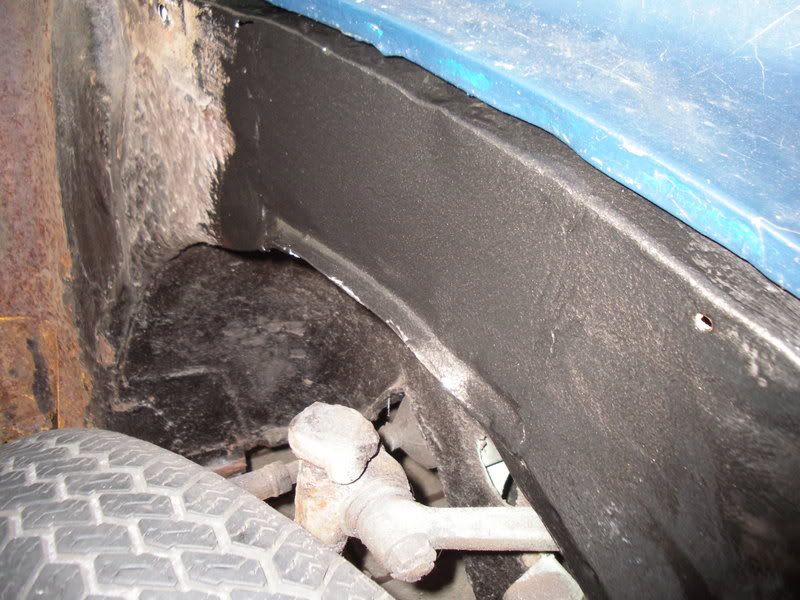
Wow! Thats amazingly quick work. The only thing I would suggest is to re-fit the front inner wing bump stop rubber or the top trunnion will start hammering away at the inner wing over every speed bump. Other than that, keep up the pace!
Nice one!
cheers
John
Posted: Thu Sep 28, 2006 7:11 pm
by flying
cheers for all your comments...the bump stop will be going back in once ive finshed the inner wing area...the car aint going any where just yet

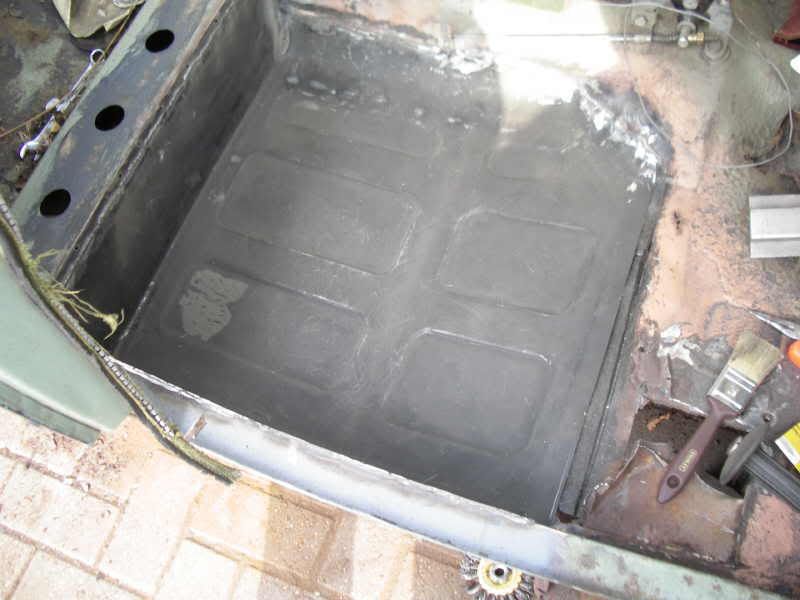
...sertainly getting there now...front floor will be going in next.....just chopped out all the old floor rdy for the new one
Posted: Thu Sep 28, 2006 8:05 pm
by plastic_orange
I used to work quick like that - welding (gas) anything and everything to augment my income (20 years ago). Now it takes me as long to get motivated to do anything. Jobs I would not have given a second thought to are now being left to another day - a sign of age.
Keep up the good work.
Pete
 ....like i dont have my own classics to do...love or hate