Page 5 of 7

Re: 1970 Trav "IGOR" (modified) PIC HEAVY! Ancilleries going on!

Posted: Sun Apr 10, 2011 12:15 pm
by morrisfixer
Hi mate
I've been following your build, looks brill. I've got a couple of questions, why didn't you cut the crossmember back abit to give you more clearance and is there anough room at the front of the engine for a radiator! Looking foward seeing more pictures
stevie

Re: 1970 Trav "IGOR" (modified) PIC HEAVY! Ancilleries going on!

Posted: Sun Apr 10, 2011 11:13 pm
by polo2k
Hi Morris fixer,
Thanks for the compliment :)
Ive tried to avoid touching the X member as it has aged very well! I also want to avoid too much bulkhead related work to keep the original "feel" and to make things easier come MOT time.

I am probably going to do one of 2 things with the Rad,
1) 2 seperate rads either side of the engine, then the intercooler and oil cooler horizontally in the front panel
2) 1 main water rad inside the front panel then intercooler on one side and oil cooler on the other.

I am also making an oil filer relocation system as I refuse to pay £90 for a bit of hose and some fittings! the oil filter will live under the passengers feet under the floor, this will put it just out of the back of the engine bay, But I think it will be easier for access, and changes later (just reach behind the wheel)

Re: 1970 Trav "IGOR" (modified) PIC HEAVY! Ancilleries going on!

Posted: Tue Apr 12, 2011 12:21 pm
by morrisfixer
I forgot to ask you, why have you bolted the suspension brackets rather than welded them onto the car. What are you doing about the exhaust down pipes if you've put the radiators either side of the engine :D . Sorry for asking just curious :lol:
stevie

Re: 1970 Trav "IGOR" (modified) PIC HEAVY! Ancilleries going on!

Posted: Tue Apr 12, 2011 8:47 pm
by polo2k
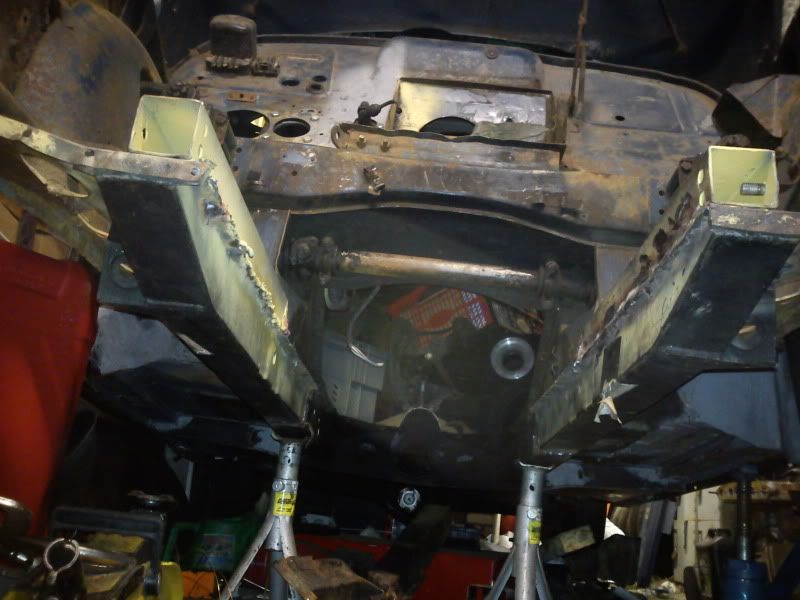
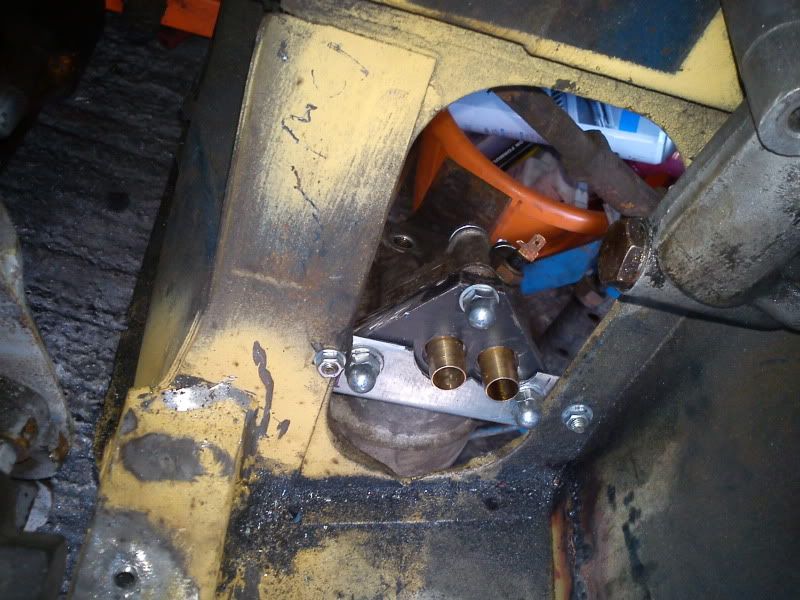
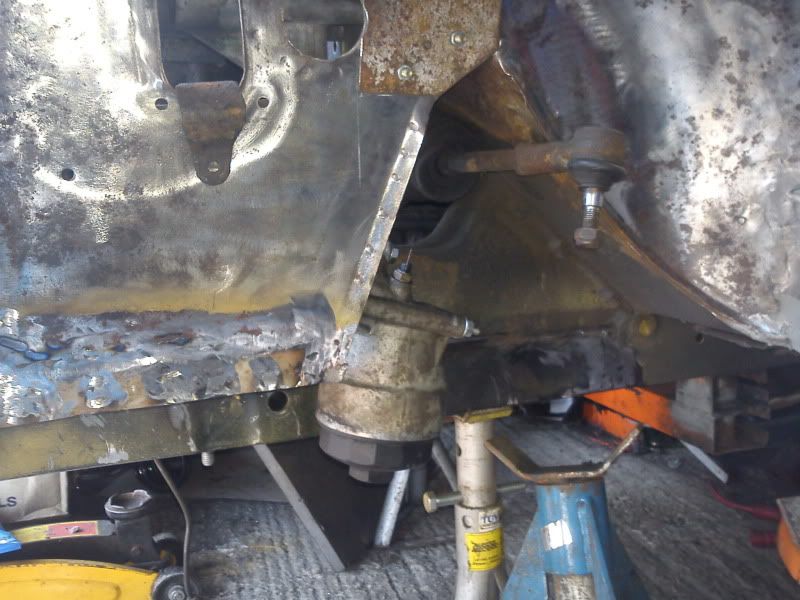
the suspension brackets are going to be bolted to minimise any work down the line, if I decide to change anything later on. I have also bolted the inners for the same reason. Plus it makes finishing them easier :)

If I go for a rad either side of the engine, I will probably try to go for a 1.5-2" thick Rad, quite far forward.
Initially I will use the original manifolds (possible spaced off the engine for clearance) then the twin outlets will go into one as they leave the manifolds, this will then go to a flanged joint under the pedals then then go back from there.
Where the floor pan rises I am planning on a "cut off" valve which will allow me to 'open up the pipes' when I feel like it :evil:

The reason for the short section between the manifolds and the first flange is so that I can change manifolds and later add a turbo into the downpipe, without too much additional work.

I was thinking of adding an exhaust flexi, but I dont thing it will be nessesary.


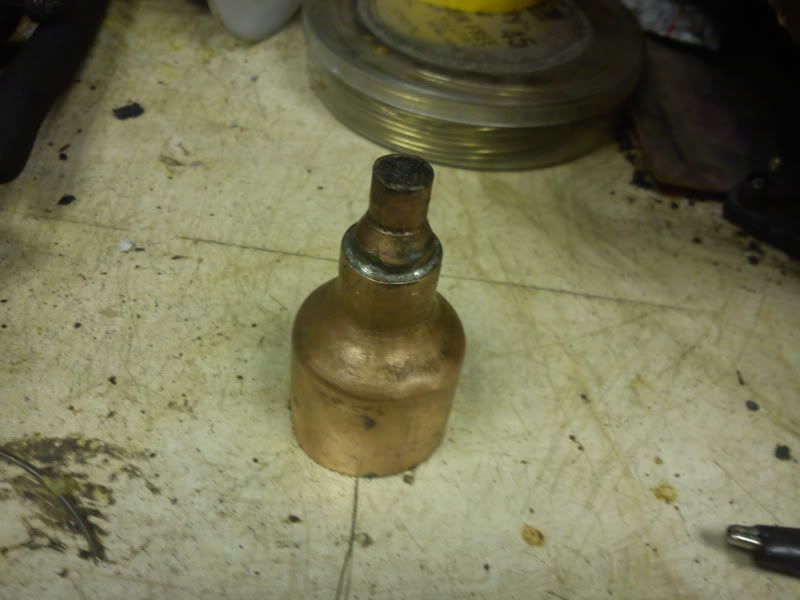
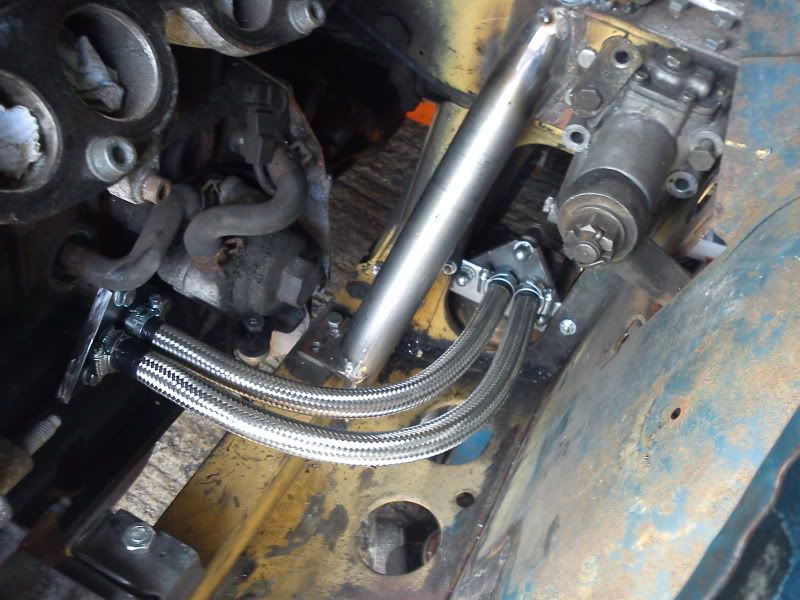
I have now ordered the steel for my remote oil filter, recieved the end fittings, and recieved the 1/2" ID stainless braided line for the relocation.
Cant wat to get started on that :D
Im hoping to get a fair bit of time in over the next few weeks with all the bank holidays coming up.

The next few steps will be:
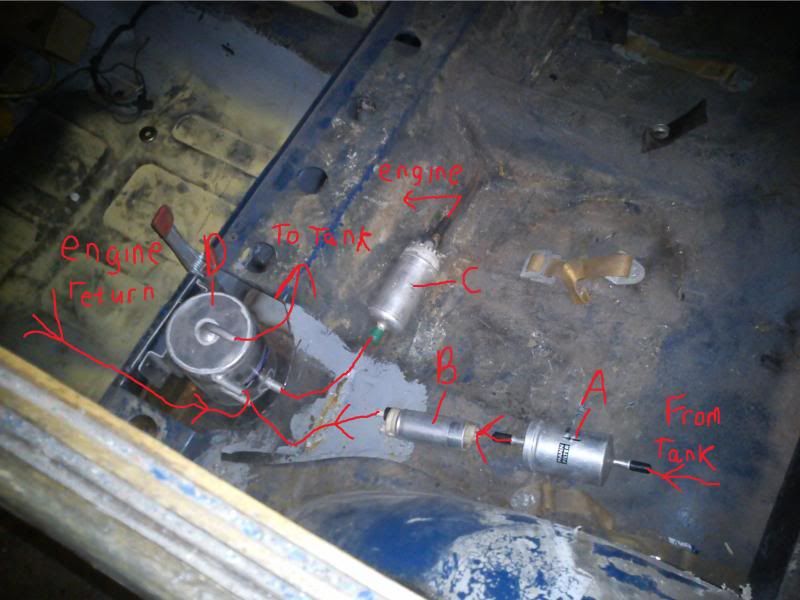
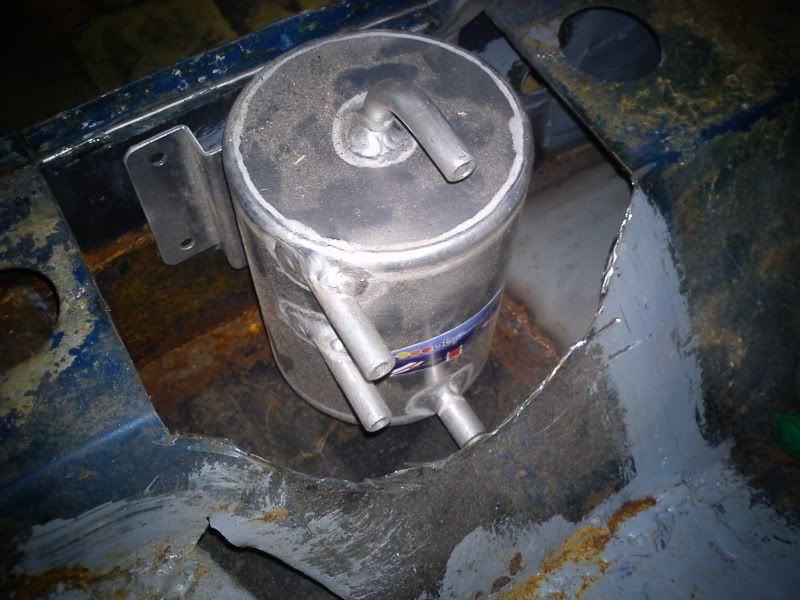
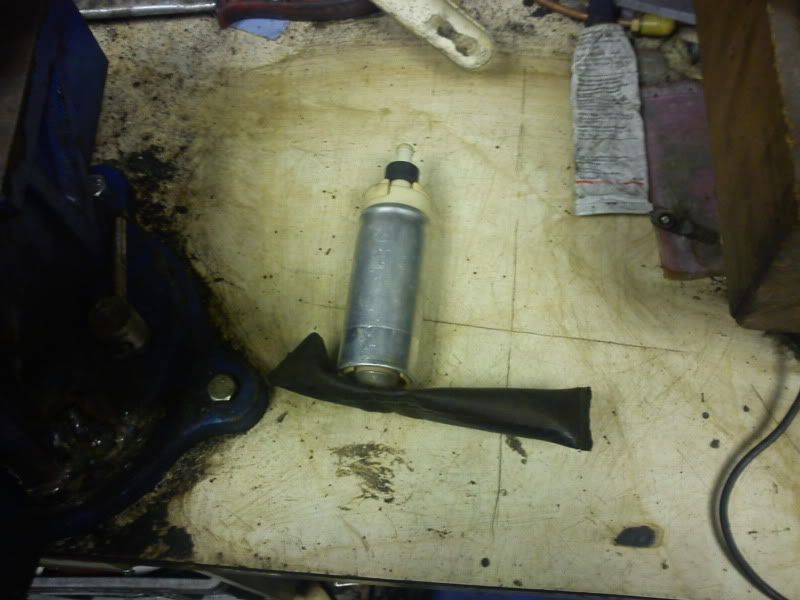
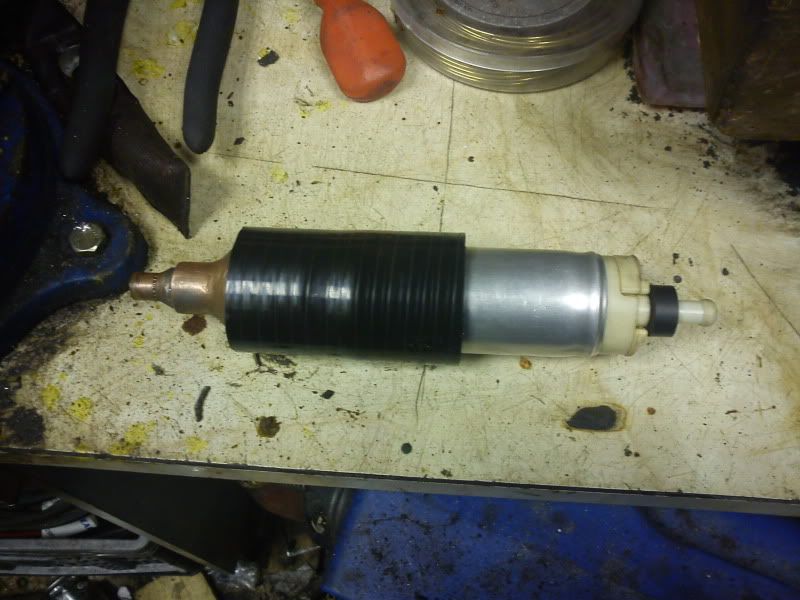
- Fuel system (incl pumps and swirl pot, I just need to get hard lines and clips.
- 1st draft of the exhaust (I will only take it to the rear of the floorpan at first (probably in 2.5-3" depending on whats available)
- oil filter relocation (just need to recieve steel and make the end plates out of it)
- Make the rear water take off and figure out the pipe out of the water pump.
- Buy and figure out my ECU (going for Megasquirt 2)
- design and make the brace plate, and bracket mounts for the pedals.
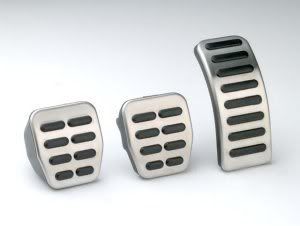
- modify the minor accelerator pedal to work with the audi pedals, possible extending the audi pedals slightly for "ergonomics" , I may also add the audi accelerator pedal pad so I can fit the TT pedals (I have them in my golf and they look good while being fantastic for grip.
Image

I think thats enoughh planning for now, its getting daunting lol

Re: 1970 Trav "IGOR" (modified) PIC HEAVY! Ancilleries going on!

Posted: Tue Apr 12, 2011 9:09 pm
by irmscher
looking great :D

Re: 1970 Trav "IGOR" (modified) PIC HEAVY! Ancilleries going on!

Posted: Tue Apr 12, 2011 10:07 pm
by polo2k
irmscher wrote:looking great :D
Cheers

I just hope I can pull it off :D

Re: 1970 Trav "IGOR" (modified) PIC HEAVY! Ancilleries going on!

Posted: Tue Apr 12, 2011 10:40 pm
by morrisfixer
Phew!! That's a lot of late nights lol. I'm fitting a Ford Focus ST170 with bike carbs into my car at the moment, I've had to cut the crossmember for clearance. Your engine must be really short in length not to cut the crossmember?
Stevie

Re: 1970 Trav "IGOR" (modified) PIC HEAVY! Ancilleries going on!

Posted: Tue Apr 12, 2011 10:53 pm
by polo2k
Its actually quite long for a vee :(

Image

Its a daunting moment when you come to cut it out, isnt it!

I read somewhere that you were doing the ST conversion, that should be pretty mad!
I see a track day in my future (a really long way into my future!)

Re: 1970 Trav "IGOR" (modified) PIC HEAVY! Ancilleries going on!

Posted: Tue Apr 12, 2011 11:03 pm
by morrisfixer
Sounds like a plan :lol: :lol: i've posted some pictures in the custom section under fitting a zetec into a Morris :lol:
stevie

Re: 1970 Trav "IGOR" (modified) PIC HEAVY! Ancilleries going on!

Posted: Wed Apr 13, 2011 8:59 am
by Alex'n'Ane
Looking very good, getting through it at a good pace! Lots of pics and info on the fuelling system when you get round to installing it please, as this is probably going to be the most complex part for my 1.4 conversion :)

Re: 1970 Trav "IGOR" (modified) PIC HEAVY! Ancilleries going on!

Posted: Wed Apr 13, 2011 12:52 pm
by morrisfixer
Are you using the standard injection system, on my engine I'm using a megajolt ignition from Triggerwheels i asked for it to only power the coil pack and crankshaft sensor, but I'm sure it'll wire up your fuel sensors aswell. I've got to work out how to wire the vvt sensor so it comes in at low revs :-? The joys!!
Stevie

Re: 1970 Trav "IGOR" (modified) PIC HEAVY! Ancilleries going on!

Posted: Wed Apr 13, 2011 7:29 pm
by polo2k
Alex'n'Ane wrote:Looking very good, getting through it at a good pace! Lots of pics and info on the fuelling system when you get round to installing it please, as this is probably going to be the most complex part for my 1.4 conversion :)

Not getting through it as fast as I would like though :(

Ill make sure I add plenty of pictures when I get to the fuelling.
The plan is to have a standard tank with the output running to a low pressure pump, the output of this goes into the mid height connection on the swirl pot
Image
Then the bottom connection in the swirl pot feeds the high pressure pump, the output from this end goes to the fuel rail with stock injectors and fuel pressure regulator (may upgrade to an adjustable one at some point). The fuel return from the fuel rail is connected to the upper fitting on the side of the swirl pot. The top connection on the swirl pot is the return to the tank, I will probably T into the rubber filler hose for this fitting

Re: 1970 Trav "IGOR" (modified) PIC HEAVY! Ancilleries going on!

Posted: Wed Apr 13, 2011 8:15 pm
by polo2k
morrisfixer wrote:Are you using the standard injection system, on my engine I'm using a megajolt ignition from Triggerwheels i asked for it to only power the coil pack and crankshaft sensor, but I'm sure it'll wire up your fuel sensors aswell. I've got to work out how to wire the vvt sensor so it comes in at low revs :-? The joys!!
Stevie
Im not using any of the Golf ECU, just the sensors and some wires (to a point). Instead, I am going to use Mega squirt to do all the jiggery pokery for me. I will be running tripple wasted spark of the stock 36-1 (i think) triggerwheel. I think its also possible to get the knock sensor functioning on the MS2. There is the MS3 but its another £200 and I dont need Anti lag, launch control, sd downloads etc. This will cost be about £450 delivered, plus about £50 for a wideband lambda.
The intake is monitored by using the Throttle position sensor and a built in map sensor. This same map sensor is good for about 20psi of boost too!
One feature that may get complicated, is if I start using the ECU for boost control.

For VVT im sure that a megasquirt could help. Its the big brother to the Mega jolt, if not take a loot at an ardunio, They can do all sorts with those units.

Re: 1970 Trav "IGOR" (modified) PIC HEAVY! Ancilleries going on!

Posted: Thu Apr 14, 2011 12:40 am
by polo2k
I just re read my fuel explanation and it was pretty poor, good luck I took these pics earlier.

Excuse the mess!

Image

Oh and excuse my art too lol

A is a Corsa fuel filter I had laying about
B is a generis in tank pump
C is a saab injection pump (generic bosch)
D is pictured below.

A and B are goig to be under the car. B is actually an intank pump with the strainer removed, im planning on using a silicone couple the 36mm body to a 36-25mm resucer, then ill silver solder this (with a sleeve) to a 25-8mm reducer and then I should be able to use fuel line from there.

C will be inside the box section

Image

I am planning on renfording the ares, it already has folded edges but thats not enough!

Im trying to keep use the higher, side fitting for the return line as the hotter fuel will gravitate to the fuel return line so it disperces the heat into the fuel in the tank

Re: 1970 Trav "IGOR" (modified) PIC HEAVY! Ancilleries going on!

Posted: Fri Apr 22, 2011 10:36 am
by polo2k
I got out in the garage for a little bit last night and got my in tank pump converted to an out of tank pump.

Here is the in tank pump (pre modification) you can see thhe filter "sock" on the end
Image


Here is the complete selection of parts that you need, clockwise from 12 o'clock:
pump with sock removed, 36mm ID silicone pipe, 15mm - 8mm copper adaptor, 36mm to 15mm adaptor, and in the middle is the sock that I removed earlier
Image

Solder the 2 adaptors together
Image

and assemble
Image

This will live near the tank outlet (hopefully with a filter between the tank and the pump) and feed the swirl pot.

Hopeing to get out there today and get some bits and pieces done :)

Re: 1970 Trav "IGOR" (modified) PIC HEAVY! Ancilleries going on!

Posted: Sat Apr 23, 2011 12:51 am
by polo2k
WoW! its quiet in here!

I have been relocating the oil filter today!
you can get a 90 quid kit on Ebay, but I begrudge paying that much for something so simple, so I made my own!

I got some 10mmx 60mm Steel bar.
Marked it up and drilled and cut it. Then using a combination of O rings and various fittings you get the following!

Enging end:
Image

Relocated filter:
Image
Image

Then I added some braided lines:
Image


I have also stuck a list to the windscreen, I need to cross off number 1 already!
Image

Re: 1970 Trav "IGOR" (modified) PIC HEAVY! Ancilleries going on!

Posted: Wed Apr 27, 2011 2:32 pm
by pskipper
Oil filter fitting looks great! Gutted we won't be around for the engines first firing!

Re: 1970 Trav "IGOR" (modified) PIC HEAVY! Ancilleries going on!

Posted: Wed Apr 27, 2011 4:00 pm
by ASL642
You'll probably hear it from where you're going! :wink: :lol:

Re: 1970 Trav "IGOR" (modified) PIC HEAVY! Ancilleries going on!

Posted: Thu Apr 28, 2011 12:09 am
by polo2k
ASL642 wrote:You'll probably hear it from where you're going! :wink: :lol:
HAHA
Odds are that the first firing will either be on a straight pipe, or possibly through one silencer. I highly doubt that I will have a full exhaust on by then :D

Ill try to get it on video though :) (not that its going to be happening soon :( )

I have had a tidy in the garage so I can get in there without my mountaineering gear! I have made the brace plate for the pedal box, just got to adjust the pedal "arms" as there isnt enough room around them for my liking.

Re: 1970 Trav "IGOR" (modified) PIC HEAVY! Ancilleries going on!

Posted: Thu Apr 28, 2011 1:59 pm
by Alex'n'Ane
Looking good, thanks for those fuel injection explanations. Is there any reason your mounting the lift pump outside rather than inside the tank? or is just easier that way. Also what have you done about the rear water take-off, as it looks like i too will be having to custom make something for the 1.4. Like how you've done the tele dampers too.