Page 5 of 9
Posted: Thu Nov 16, 2006 11:32 pm
by flying
chickenjohn wrote:Amazing amount of work done in the time! How do you manage to get so much done so quickly?
Keep it up and keep the posts coming

well ive had a few years pratice now...and a few different cars to weld...after a while you can easly decided where to chop and not to chop, & the main key is you have too put 100% committed and be focus on the job at hand....it still takes time but the 1st side was slower than the 2nd side has i had to learn how the panels were fused together so the 2nd side only took 7 days to complete

...im sort of still on my target for december...but will hopefully be fully done by new year and be on the road
PAULJ wrote:Hi flying, again nice work. Im thinking of starting my first restoration soon and I just wanted to ask what you think you have spent on bought panels and where you get yours from?
looking forward to starting now!!!!
to be honest i dont know the cost of the panels, my sister has paid for them as its her car...im just restoring it for her .....im quessing prob between £200 - £300 and the panels were brought from ESM ..i found the rear boot floor pan had 2 bits missing just under where the bumper bar sits and also that the door a post /inner wing has the top part missing but apart from those two things quite a good fit
Posted: Fri Nov 17, 2006 7:14 pm
by PAULJ
last daft question, where you have cut out areas and patched do you butt the two edges or overlap? good luck with the rest of the job
paul
Posted: Fri Nov 17, 2006 7:54 pm
by chickenjohn
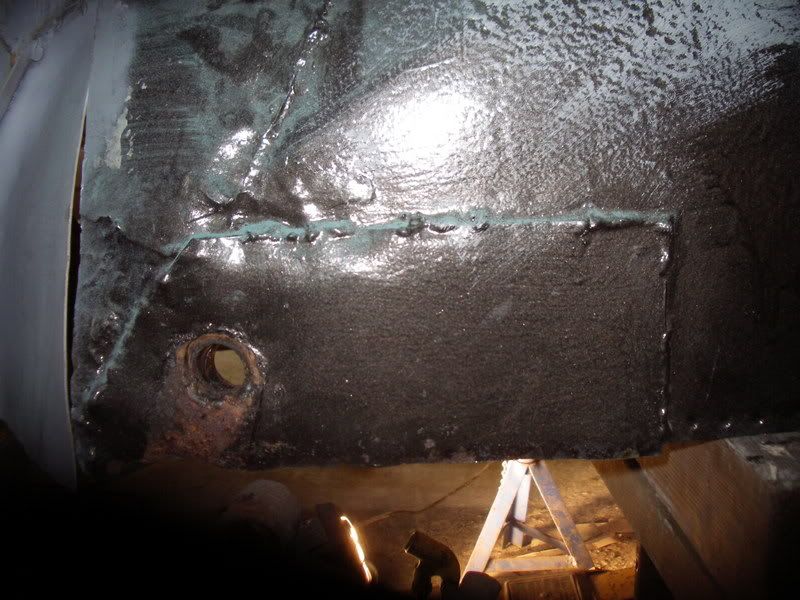
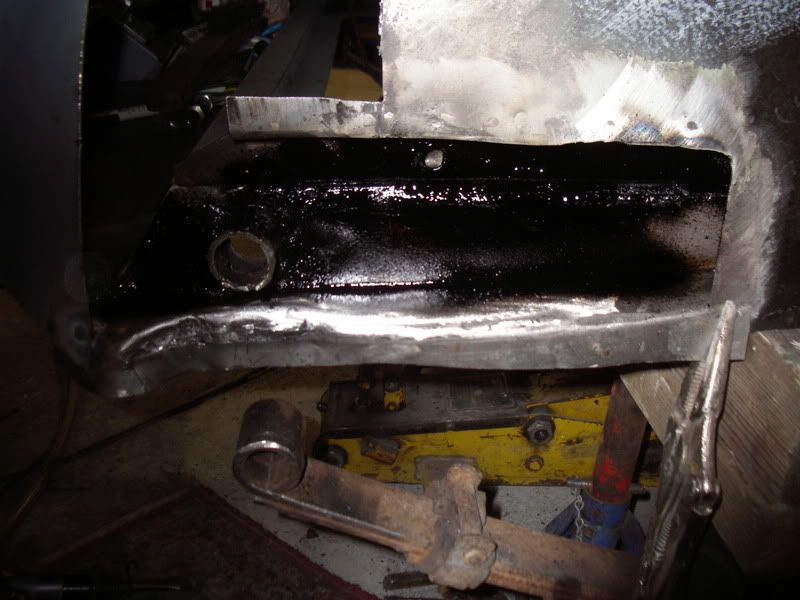
It looks like very neat butt- welding to me, and even better, the bottom of the inner wing to chassis leg flange- looks like he has plug welded it.
Its nice work!
Posted: Fri Nov 17, 2006 8:44 pm
by flying
Posted: Sun Nov 19, 2006 8:35 am
by SR
great work mate , steve
Posted: Wed Nov 22, 2006 8:35 pm
by nebogipfel
Flying,
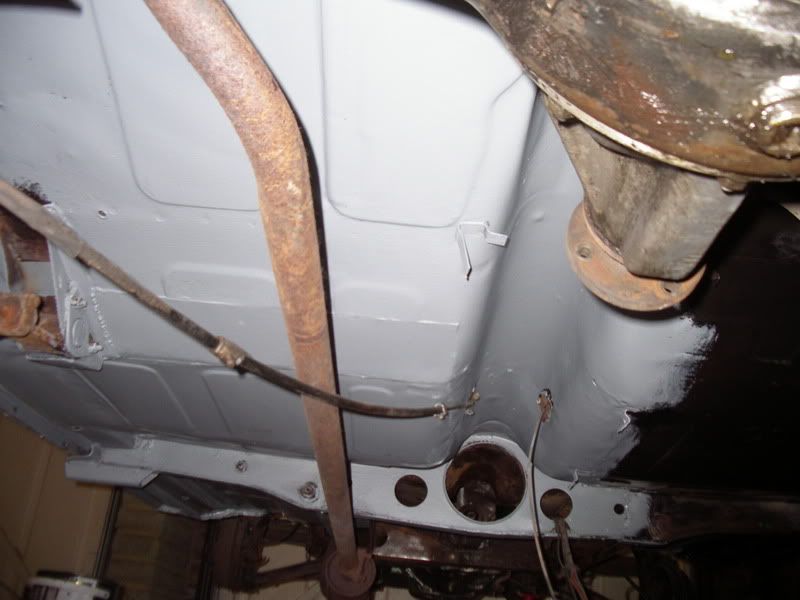
I was just looking at your excellent pictures trying to work out how the area around my rear floor and floor extension panel (around the spring hanger) should look and it struck me how clean you are managing to get the original steel on the car.
Surely that is not just wire brush on a grinder? It's not just clean, it shines!
Posted: Thu Nov 23, 2006 12:11 am
by flying
nebogipfel wrote:Flying,
I was just looking at your excellent pictures trying to work out how the area around my rear floor and floor extension panel (around the spring hanger) should look and it struck me how clean you are managing to get the original steel on the car.
Surely that is not just wire brush on a grinder? It's not just clean, it shines!
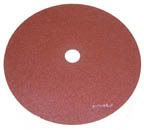
yes the knotwheels do a good job on cleaning metal,some of the area has been replaced,i also use the paper sanding type grinding disk ,they are also quite good on cleaning panels
been having fun cleaning the rest of the underneath for all the protection

Posted: Thu Nov 23, 2006 7:28 am
by alex_holden
flying wrote:i also use the paper sanding type grinding disk ,they are also quite good on cleaning panels
You mean a flap disk? They're good, except I find they clog up very quickly if you try to remove paint with them.
I know what it's like doing the underside, it took me bloomin' ages.
Posted: Thu Nov 23, 2006 9:17 am
by stevey
looking good, brillant welding
Posted: Thu Nov 23, 2006 9:31 am
by chickenjohn
Or does flying use the Zirconium abrasive disks that fit to a plastic backing plate on your grinder. These are cheaper than flap discs and seem to last well. You can get them from Screwfix or Toolstation etc....
Posted: Thu Nov 23, 2006 1:27 pm
by nebogipfel
Whatever he uses, it don't half shine (as we say in sunny Norfolk)

Posted: Fri Nov 24, 2006 6:19 pm
by flying
this type of paper disk,also needs a plastic backing,not has many pictures will come atm has it now getting rubbed down to be ready for spraying,but has i get pictures ill post them up
Posted: Thu Nov 30, 2006 8:57 pm
by wanderinstar
Well, I have just read through complete post. Brilliant work. What do you do for a living? Cos I think you could make a very good living repairing Minors.
It was in a right state when you started, I've seen better cars in scrapyard.
What was the light grey paint you used after welding? You have certainly inspired me to get started on mine. As Plastic Orange says, as you get older you need a lot more motivation. Well you have certainly given me that.
Well done that man.
Posted: Fri Dec 01, 2006 3:28 am
by flying
wanderinstar wrote:Well, I have just read through complete post. Brilliant work. What do you do for a living? Cos I think you could make a very good living repairing Minors.
It was in a right state when you started, I've seen better cars in scrapyard.
What was the light grey paint you used after welding? You have certainly inspired me to get started on mine. As Plastic Orange says, as you get older you need a lot more motivation. Well you have certainly given me that.
Well done that man.
i used to work in garages for a few years but i found that i started losing intrest working on my own cars by the end of the week ,so i decided to have a change & i now drive lorrys, ive thought & been told to start restoring cars for a living but there is too much hassle that comes with it which deters me away from doing it....
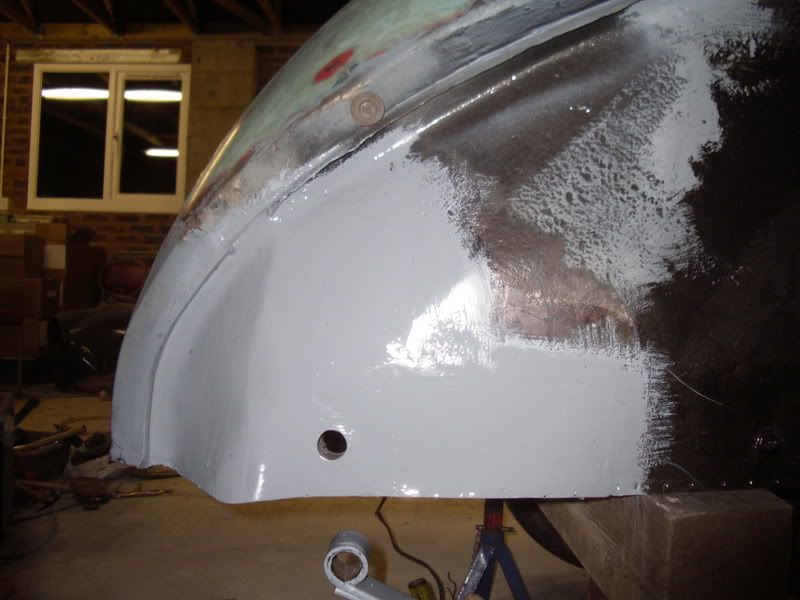
the light grey is zinc primmer one coat of many,& many coats of other things on top
maybe you could start your own restro thread & also give people the boost of motivation to restore the classic cars of today.......

plastic is not so fantastic

well atm i'd say its about 80% rubbed down & ready for the spray
Posted: Fri Dec 01, 2006 5:23 am
by wanderinstar
Snap to driving wagons. My trouble is I have to do my welding on back street, so I have to be very careful how much I take off because everything has to go back on for evening.
Posted: Fri Dec 01, 2006 10:56 am
by plastic_orange
I'm unfortunately doing a similar job to flying on my son's minor (story on minor mania site), and I still find it hard to get out and get on with it. I have my V8 project sitting in my garage just now - shell is at blasters - and I need the room to get on with it but I've to finish son's one first - moral of story - never buy unseen off Ebay
Pics to follow (photobucket site down - so out to garage
).
Pete
Posted: Fri Dec 01, 2006 11:24 am
by chickenjohn
Yes, I'm also doing simmilar work on Gill's convertible, only at a much slower pace than Flying. I'm trying to see of I can speed myself up a little, maybe the secret is to drink lots of strong coffee before going out to the garage;-)
Posted: Fri Dec 01, 2006 12:52 pm
by alex_holden
From watching the FenchurchCam time-lapse videos I've learned that I'm actually fairly quick when I get into the garage, but there are huge periods inbetween when I'm off doing other stuff (like reading this message board). If I could manage to drag myself away from all other distractions for a few hours I'd progress much faster...
Posted: Fri Dec 01, 2006 7:21 pm
by plastic_orange
I'm fine once I start, but it's getting started - got a fair bit done today though.
Here's some pics from a few days ago - more to follow:
Front inner wing area - car is still MOT'd by the way - just shows what a bit of tack welding, filler and underseal hides.

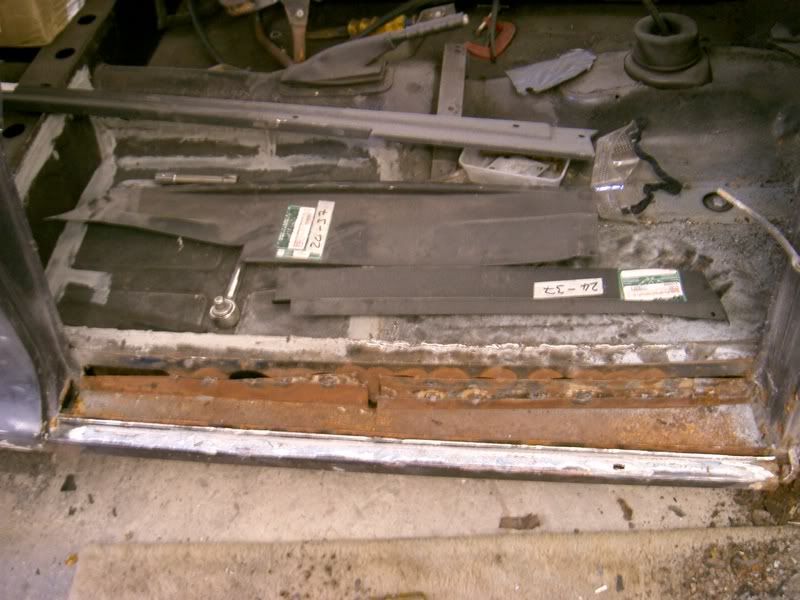
Only reason I started work was because rear spring hanger had cracked - new rear floor:
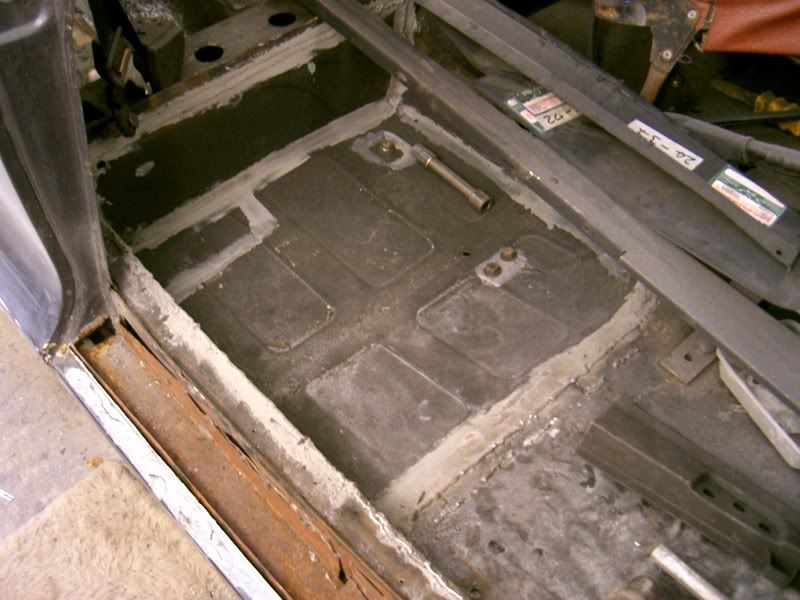
Front floor prior to removal:
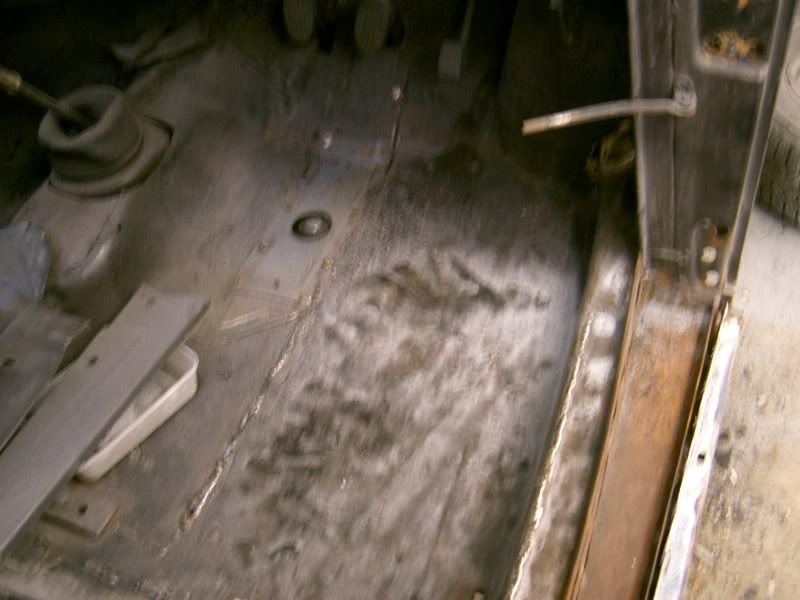
A pretty sight
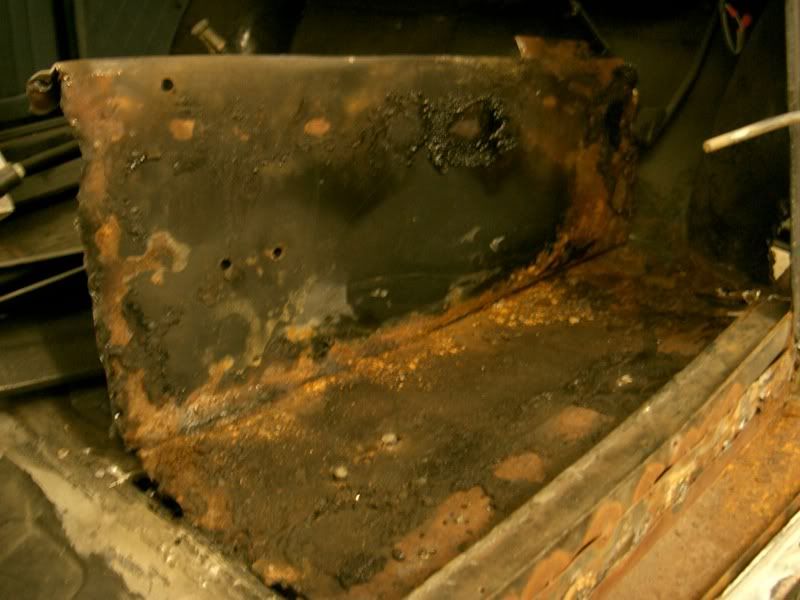
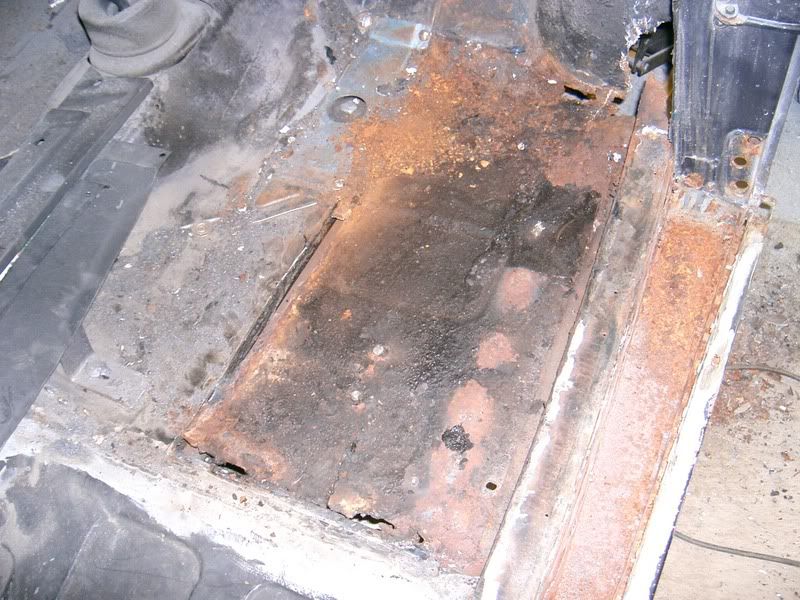
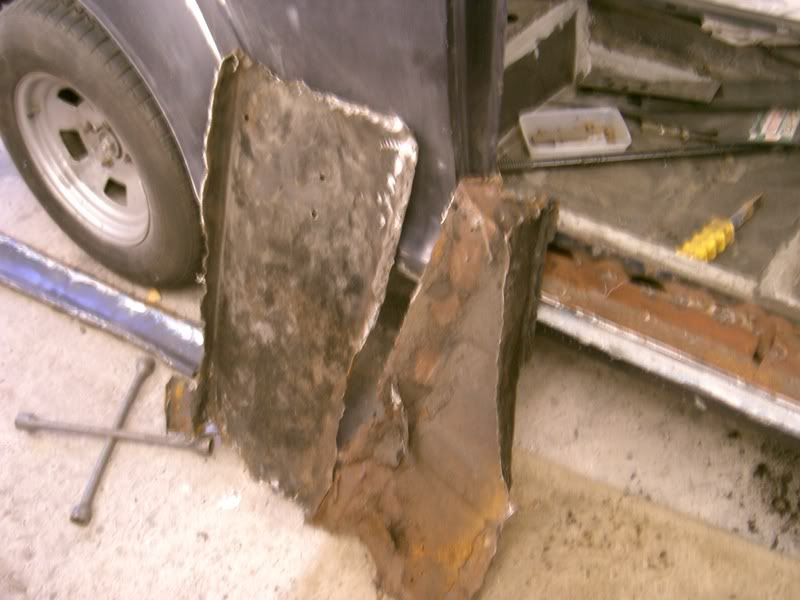
Removed:
An original method of repairing inner sill - it's gone now though:
Scrap Metal
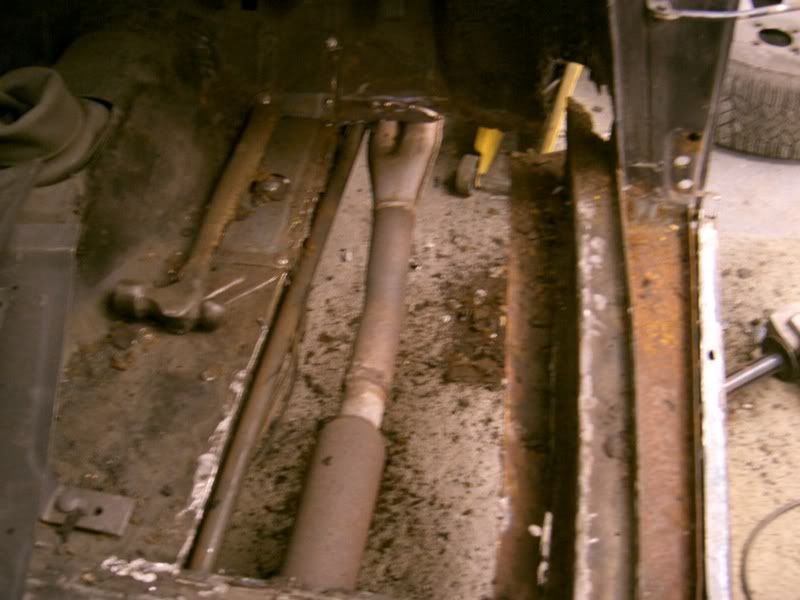
I've now replaced sills, floors, A post, rear half of inner wing, spring hanger. I've got about half a days work to finish it off, then it's the same for the other side.
Pete
Posted: Sat Dec 09, 2006 7:17 pm
by flying
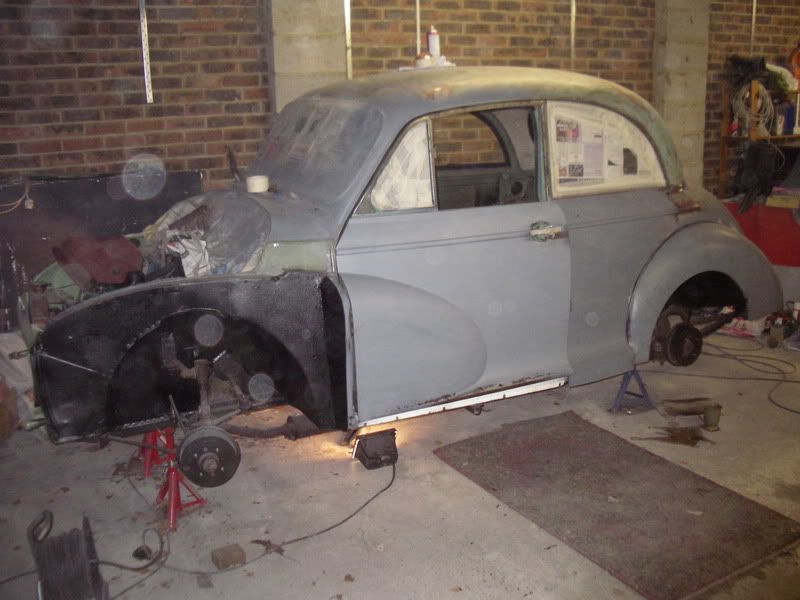
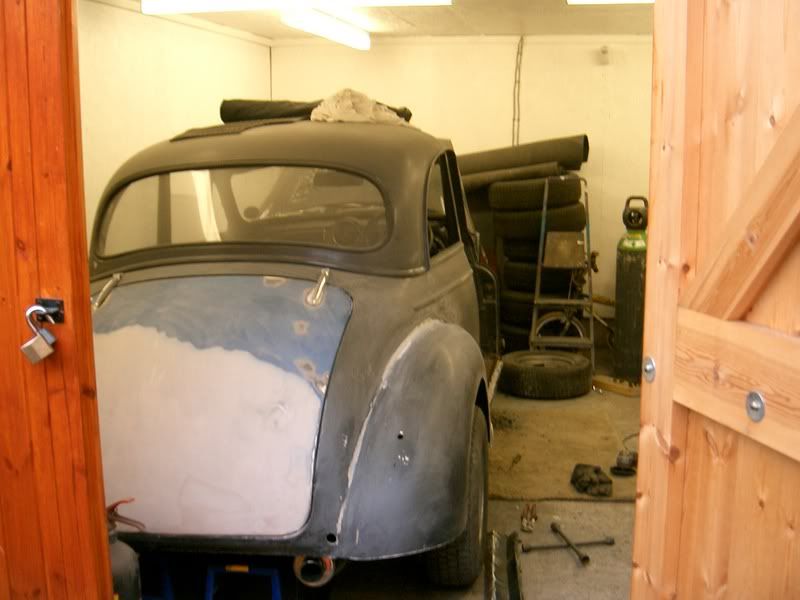
just slight update...hopefully will have it sprayed in the next 2 weeks...body work is near completed,unfort the picture aint perfect has the lens was a bit dirty