Page 4 of 6
Re: 1966 2 door saloon Milly restoration project
Posted: Mon May 19, 2025 3:43 pm
by Bill_qaz

- Screenshot_20250519-153827_Samsung Internet.jpg (139.31 KiB) Viewed 4158 times
Your axle stands under the rear axle would be far safer rotated 90 degrees and the wood removed, so the axle case sits in the
U-shape of the stand. Great progress with the rebuild, stay safe

Re: 1966 2 door saloon Milly restoration project
Posted: Mon May 19, 2025 9:22 pm
by David JM
Good point Bill, you never can be too safe working under a car.
The next parts to be fitted, what I call a clean series of jobs. the green box's on the left are a replacement wash pump and push button, this replaces the laudable pump button issued from factory, they are so unreliable it's best to strip it out and wire in an electrical one. Quite a simple task if I remember from when I fitted one to my Pickup back in 2009, I can check out how I did it by studying my truck. The HT leads and spark plugs will go in one at a time. The engine is running and I don't want to mix them up.

Re: 1966 2 door saloon Milly restoration project
Posted: Wed May 21, 2025 6:17 pm
by David JM
starting on the last rust hole here at the head of the front passenger floor. The more I applied pressure with a wire brush, the more debris came out.

stage A completed, now for stage B to the right, bending a new capping piece over that rusty gaping hole.

Re: 1966 2 door saloon Milly restoration project
Posted: Sat May 24, 2025 10:59 am
by David JM
looking through my HAYNES manual, thew sparkplug gap should be .025 of an inch.so where do we say the .025 is on this scale 1.2.or 3, anyone help me out here?

Re: 1966 2 door saloon Milly restoration project
Posted: Sat May 24, 2025 12:23 pm
by panky
I would say No3. Handy little tool.
Re: 1966 2 door saloon Milly restoration project
Posted: Sat May 24, 2025 4:07 pm
by David JM
Thanks Panky, got one of these on order, soon as it arrives I'm gapping some new sparkplugs from ESM.
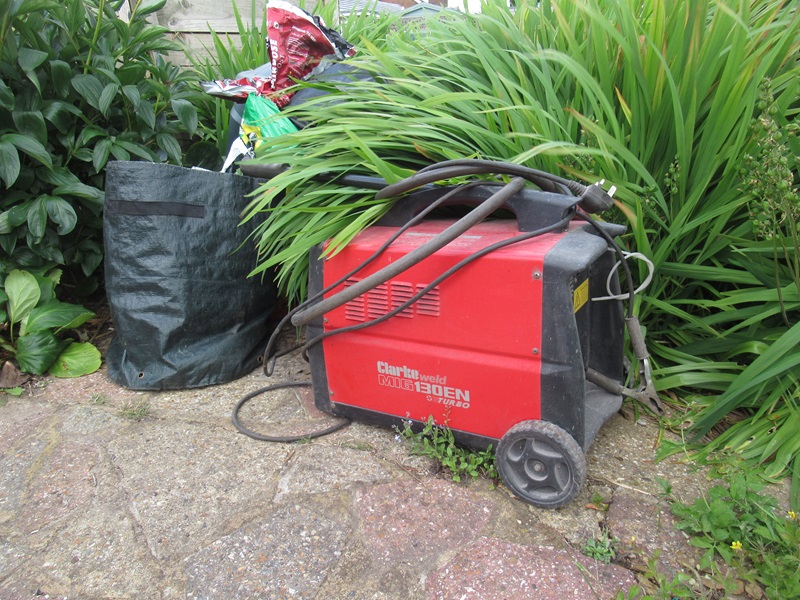
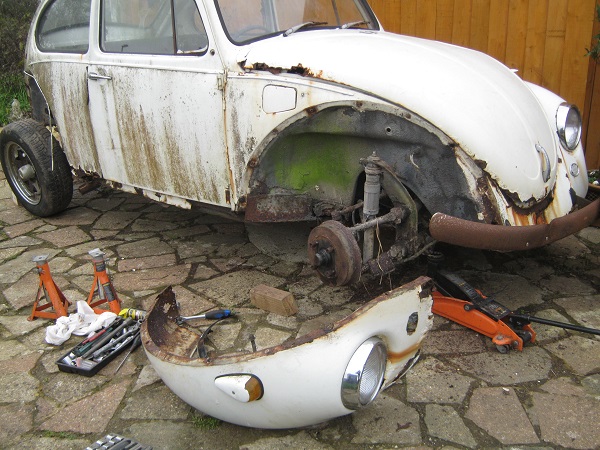
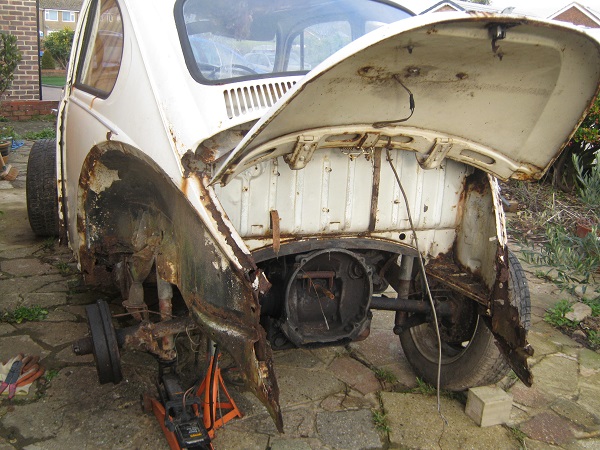
Most of the welding is done now, just the Bonnet brace piece I've still to fabricate, and here at the boot, the frame came undone when I took out the plywood panels to get at the fuel sender unit on top of the petrol tank. welded 1, then the welder spool motor packed up on my Mig Welder, right near the end as well, it's been a good unit, done three cars since 2009

annoying, so no more welding till I either fix this one or replace it with a new one££££!


Re: 1966 2 door saloon Milly restoration project
Posted: Mon May 26, 2025 9:36 am
by David JM
Re: 1966 2 door saloon Milly restoration project
Posted: Mon May 26, 2025 9:45 am
by David JM
Re: 1966 2 door saloon Milly restoration project
Posted: Mon May 26, 2025 9:46 am
by David JM
Re: 1966 2 door saloon Milly restoration project
Posted: Mon May 26, 2025 9:47 am
by David JM
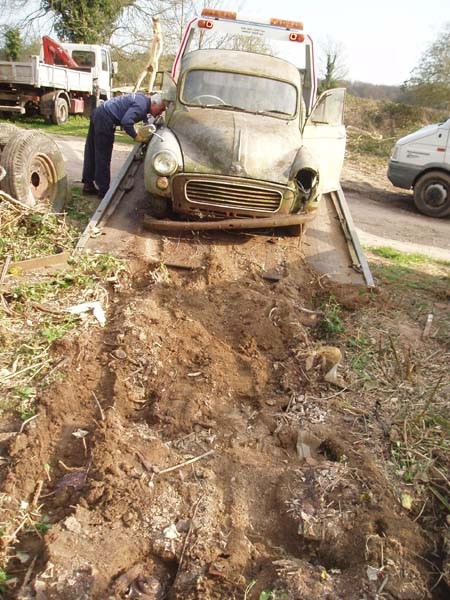
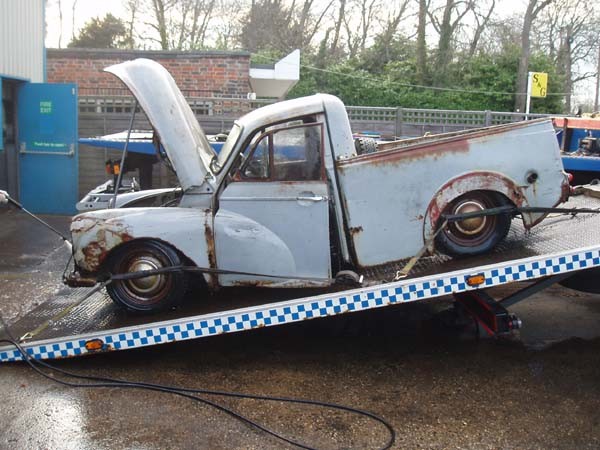
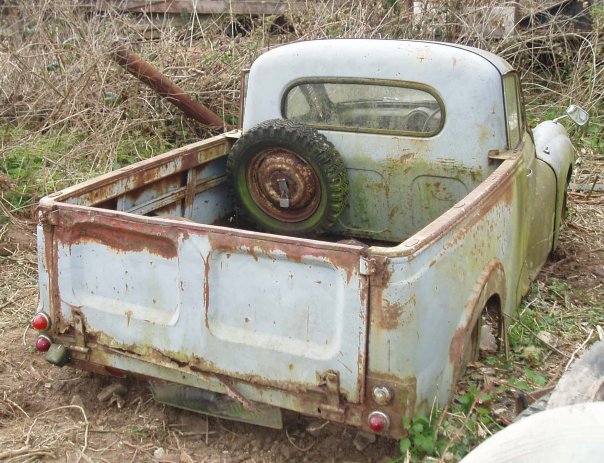
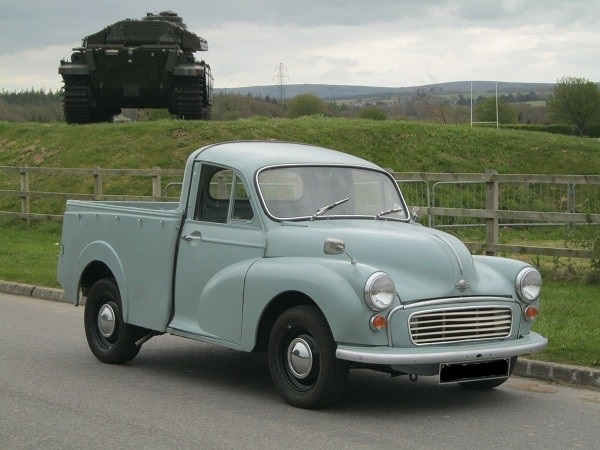
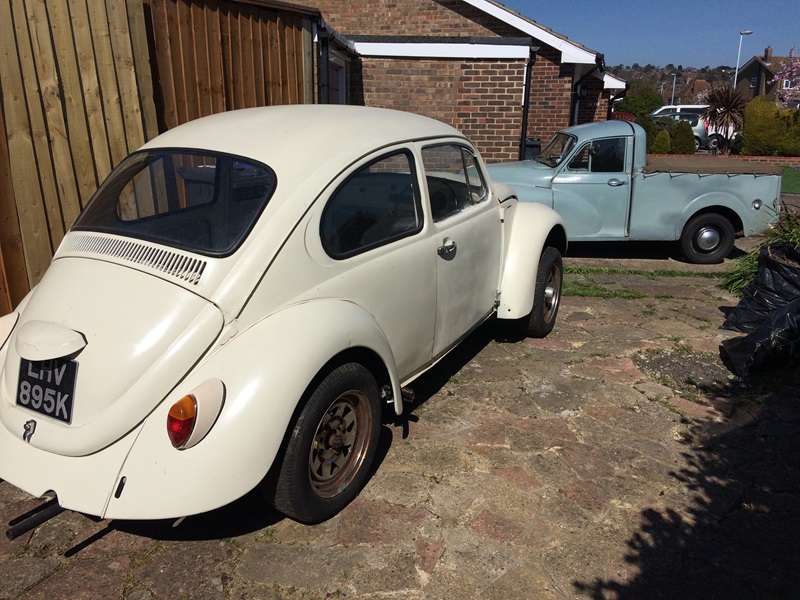
then of course my latest project TTB.

Re: 1966 2 door saloon Milly restoration project
Posted: Mon May 26, 2025 11:24 am
by panky
That's got to be a few miles of wire

Re: 1966 2 door saloon Milly restoration project
Posted: Fri May 30, 2025 7:41 am
by David JM
Today my new Sealey Gasless Mig arrives, so I'm indoors all day, under here brushing off the dust and surface rust, rust converter and a coat of chassis black, Dark Grey, my favourite colour at the moment. If a car can look strong and together underneath where it really counts, then the future looks bright.

I have a lot of work to do topside, so when I'm finished under here I'll return to the land of the living and get going up there.....

Re: 1966 2 door saloon Milly restoration project
Posted: Sat May 31, 2025 9:11 pm
by David JM
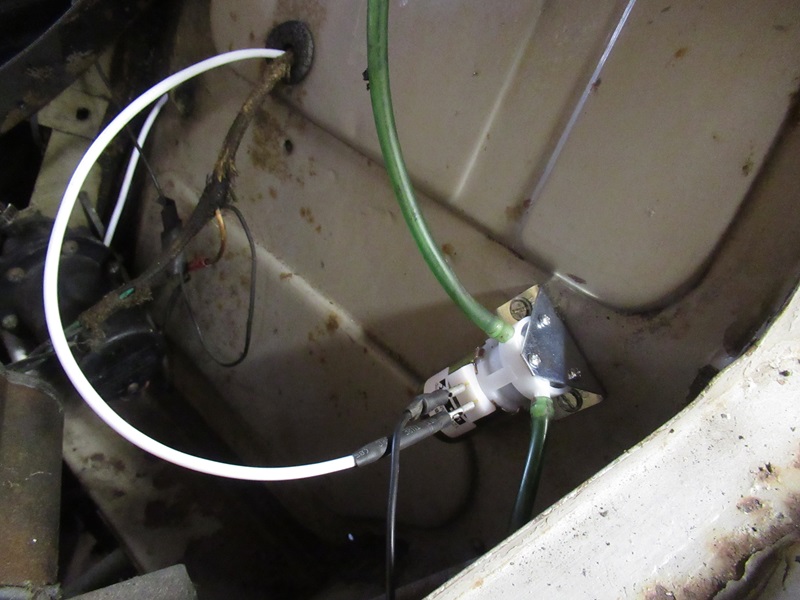
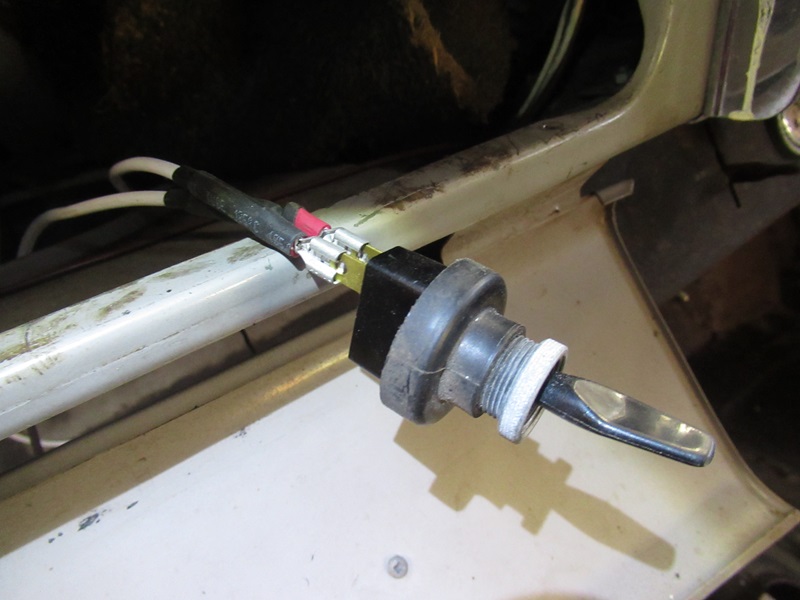
Today was swap out the non working original windscreen wash pump and replace it with a kit from ESM. Unscrewing the bezel that fits the push to the dash.

the switch in the kit is a bad fit in the same hole, it's a far narrower gauge, so I need to find a way to pad it out a bit so it fits.

the pump has a pair of spade terminals and a water in and out port.

I cut the push pump off 10mm from the end.I know the purists are thinking "oh you piece of work" but it's a nod to the old push pump.

Re: 1966 2 door saloon Milly restoration project
Posted: Sat May 31, 2025 9:17 pm
by David JM
the switch is a perfect fit inside the cut out portion of the push pump, no need for resin glue, it's a perfect interference fit in there.

from the front the switch is recessed inside, it's spring return, so you push for water and release and the switch returns to the off position.

the bezel tightens the switch firmly against the dash, as it sits further back, it protrudes the same length as the other switches.

Re: 1966 2 door saloon Milly restoration project
Posted: Sat May 31, 2025 9:21 pm
by David JM
the positive terminal from the pump should I think go to A or B, and the Negative to earth with the body, hold on, the other way around the car is positive earth. I think? must be it has a dynamo generator.

Re: 1966 2 door saloon Milly restoration project
Posted: Sun Jun 01, 2025 11:08 am
by panky
Like that, nice bit if ingenuity
Re: 1966 2 door saloon Milly restoration project
Posted: Sun Jun 01, 2025 12:04 pm
by David JM
Thanks Panky, the switch only has two terminals, from the pump and to the electrical junction box, the switch body isn't earthed to the panel as it's insulated by the original push pump plastic body, do you think I need to earth the switch some way?
Re: 1966 2 door saloon Milly restoration project
Posted: Sun Jun 01, 2025 1:06 pm
by panky
I wouldn't have thought so, the switch doesn't ground through the metal casing. Similar switches on various installations are mounted on plastic panels so I don't see the need.
Re: 1966 2 door saloon Milly restoration project
Posted: Sun Jun 01, 2025 1:50 pm
by David JM
Fair logic, thanks again.
The pump with water in and out, black wire to earth and white wire to the switch
earth from pump to body.
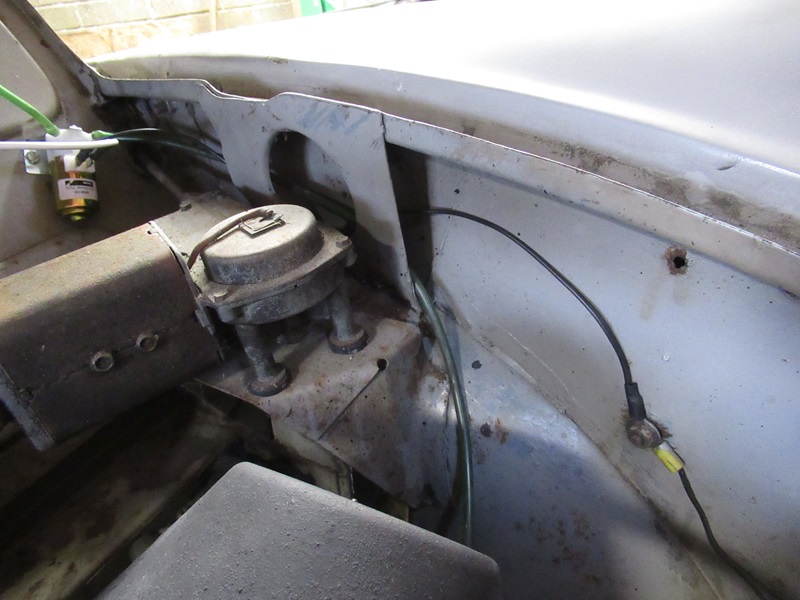
Fused terminal to switch
finally the switch to fuse and pump.
so, battry re connected, key turned one position, annddd, nothing, I must have my wires on the wrong terminals, four possible options, at least the glass in line fuel filter filled with fuel from the dregs in the fuel line as the tank was drained, at least I know that works ok.
Re: 1966 2 door saloon Milly restoration project
Posted: Sun Jun 01, 2025 8:33 pm
by StillGotMy1stCar
It should work, a few things to check, the modified switch mount might have limited the switch travel, join the two wires on the switch together to see if the pump starts, if it does then the switch needs investigating.
If not, does the courtesy light and horn work, the fuse and holder terminals are a bit notorious for bad connection due to corrosion/tarnishing, may need cleaning, the supply terminal you have used is the permanently live one, not the ignition switched one.
I think it will be one of the above, if not it just leaves the earth, a poor crimped terminal or faulty washer pump
Regards John