Page 3 of 4
Posted: Sat Dec 20, 2008 11:59 am
by markattard
It also reminds me of my sitting room..., kitchen, .... bed rooms,.... and bathroom!!


Posted: Sat Dec 20, 2008 12:34 pm
by jonathon
Should look stunning when all fitted up, well done


Posted: Sun Dec 28, 2008 9:05 am
by markattard
While refurbishing this steering column bracket I noticed this copper "brush" presumably to close the earth circuit on the horn push. Could anyone advice on what the counterpart on the steering column looked like cause mine is kinda missing

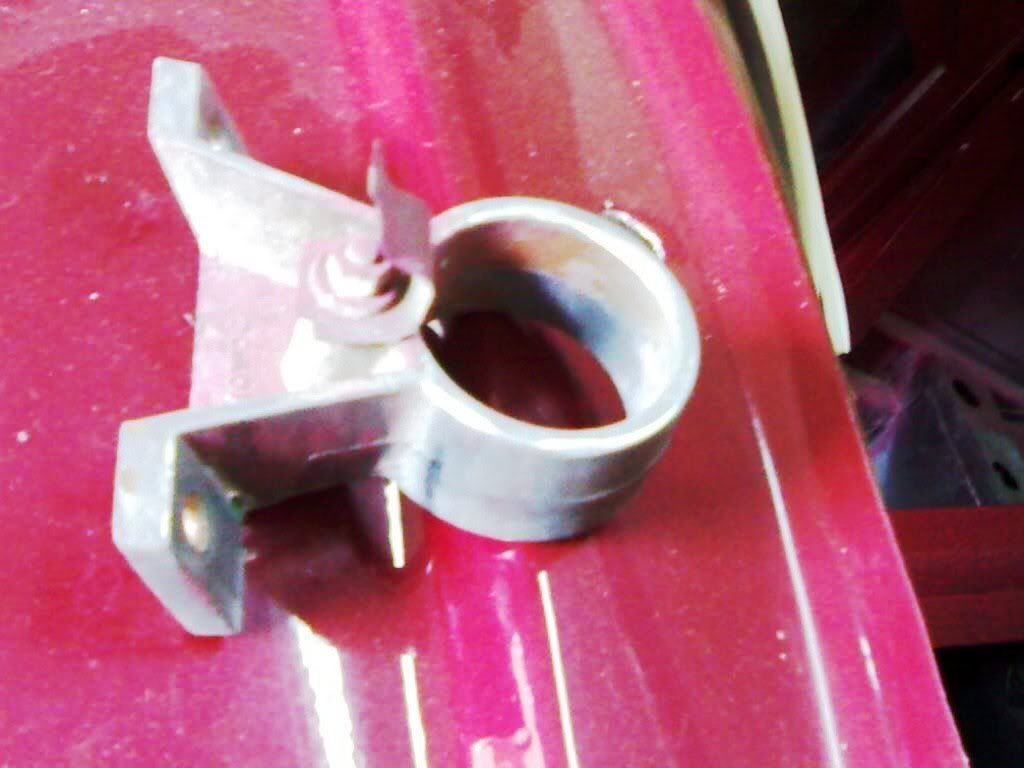
In the meantime wish u all a happy new Morris Motoring Year!
Posted: Sun Dec 28, 2008 7:41 pm
by Dean
Simply inspirational!!!
Happy New Year Mark....
Posted: Mon Dec 29, 2008 6:07 pm
by youngun
Looking great mark, hopefully one day my Mog will be looking a bit like that......i.e. partially finished!
Posted: Mon Dec 29, 2008 9:34 pm
by bpr81a
That 'Brush' is insulated from the bracket (or should be). The cable attached run from the horn(s). The brush rides on a slip ring on the oustside of (and again insulated from) the column. Iirc there is a hole in the side of the column for the wire that runs up the center to the horn push. The horn push earths the wire to the column. Similar to the later cars, but with no static outer column. The pictures in the manual don't really help much. I've got a SII column, but its in the greenhouse... and its dark and cold. I'll see if I can get to it tomorrow
Posted: Tue Dec 30, 2008 5:58 am
by Longdog
Car looks superb,can't wait to see end result.
Posted: Tue Dec 30, 2008 7:47 am
by markattard
Tanx to you all for the encouraging comments! I'm planning to finish Lucy by Easter (hopefully before!!) so to be in time for the lovely spring weather.
I shall be posting pics of all the re assembly details and I shall also be asking loads of questions to the kind series II owners and experts to make sure this moggy gets the best resto possible

Also, tanx Jon,
Yes I noticed that the brush is insulated, and I also noted the slip ring bracket but all the copper has disintegrated

, Kindly pm me with the cost should you get hold of a spare.
Posted: Sun Apr 19, 2009 12:51 am
by markattard
So the easter deadline has been blown but.... here's some progress:
Radiator now fits it's fixing panel although it shall be disassembled again to fit the the front series 2 grille and chrome top finisher..

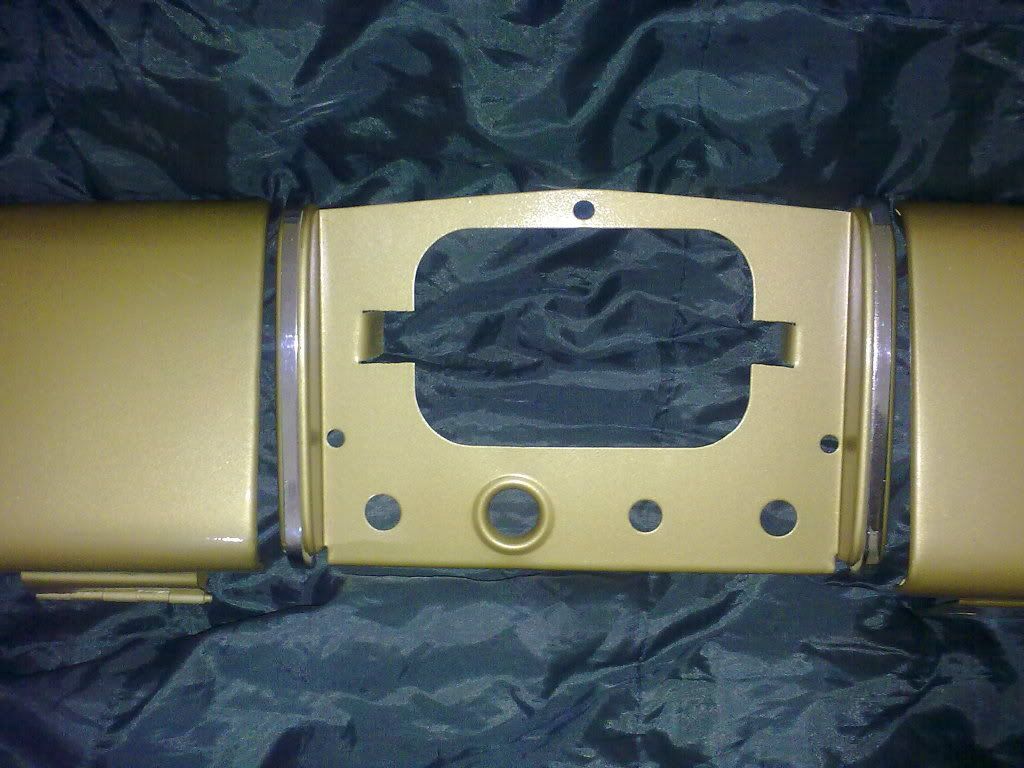
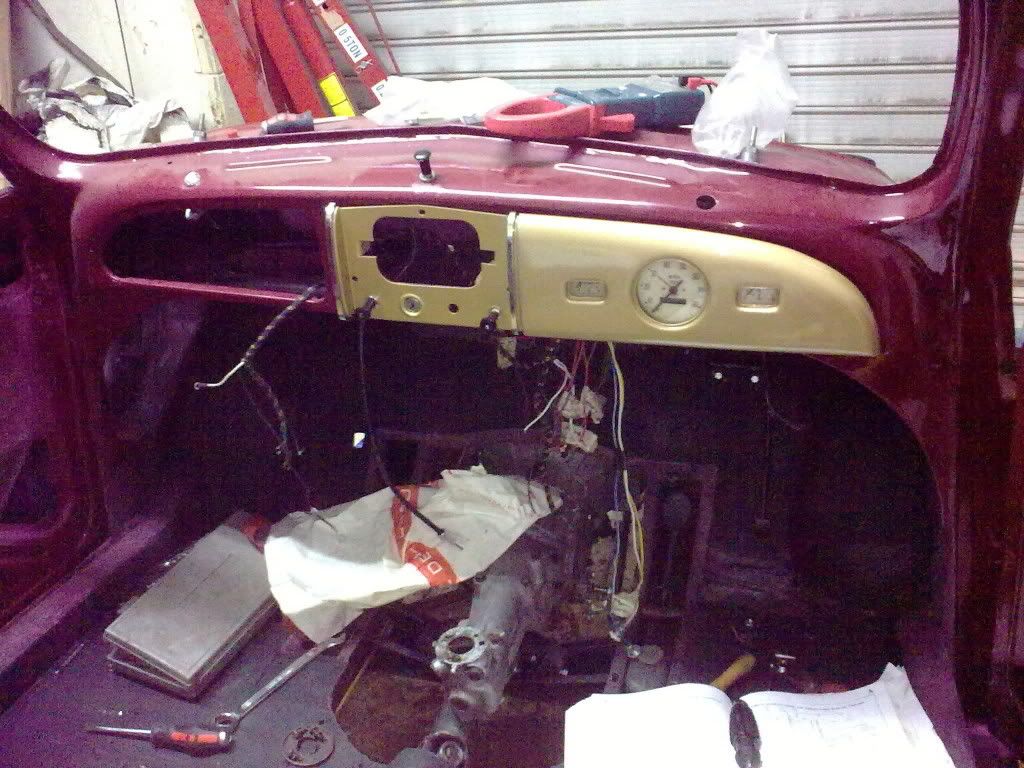
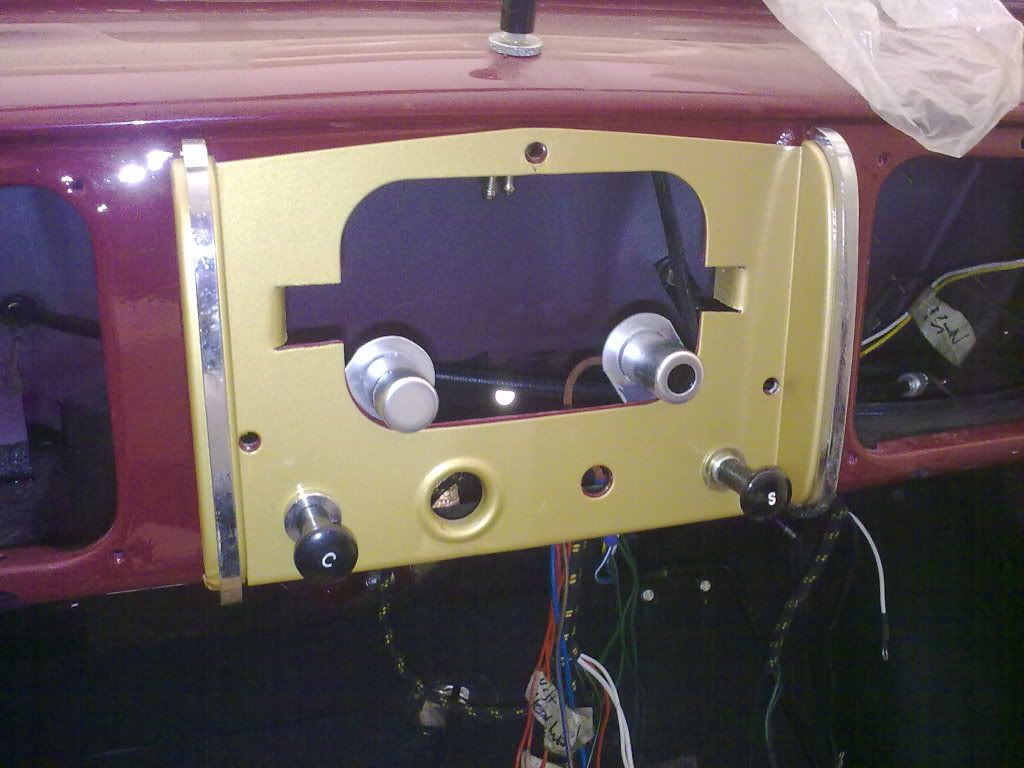
Golden Dreams of the dash ....

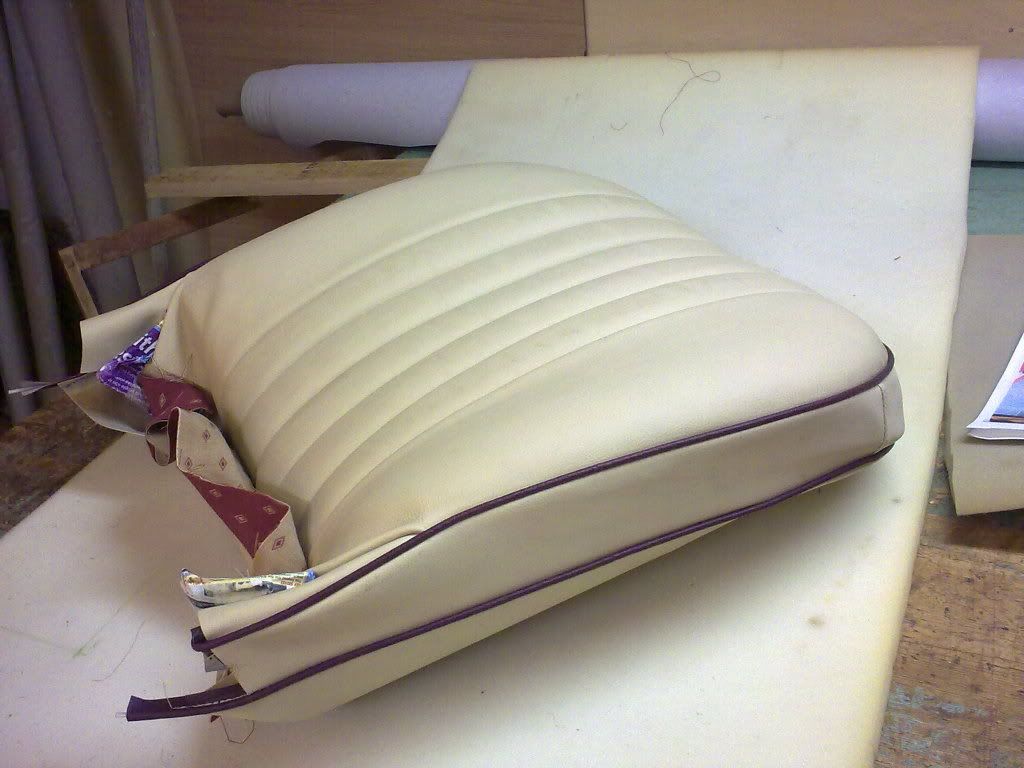
The saga of the early series 2 seats is nearer to its end!
Also the wiper motor was installed successfully this week... well my new deadline hopefully by mid June
Posted: Mon Apr 20, 2009 2:22 pm
by ASL642
Seat looking good Mark!
Posted: Mon Apr 20, 2009 4:06 pm
by markattard
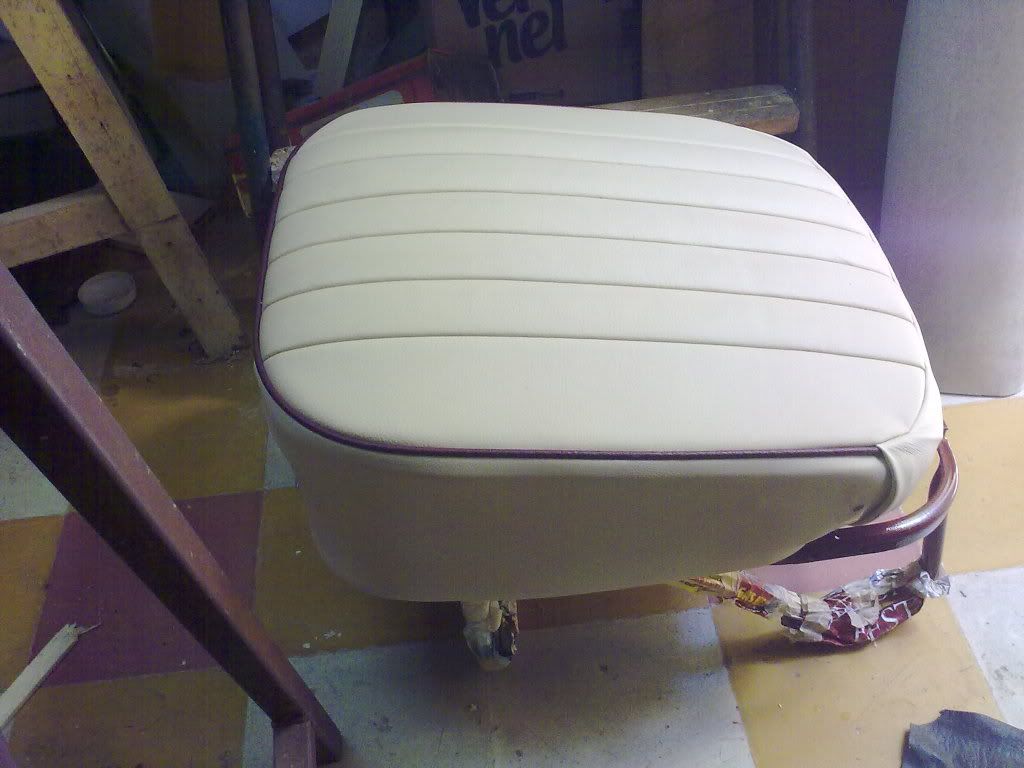
And this is the finished product thanks to Mr Gouder, in this case the Guru of recovery from lost cases!


Posted: Mon Apr 20, 2009 4:38 pm
by ASL642
Pity Mr G is so far away! If he was in the Uk I think he would get a lot of business
He's made a fabulous job of them especially after all the problems you had. Can't wait to see the finished interior.
Posted: Thu Apr 30, 2009 1:21 pm
by markattard
Posted: Thu Apr 30, 2009 1:33 pm
by markattard
This is what I found whilst cleaning the under rear seat panel through the airing holes, must have been missed by my late grandad! There's enough buying power for four "pastizzi" in the early 1970's!

Posted: Sun May 31, 2009 9:36 am
by markattard
Posted: Wed Jun 10, 2009 7:11 am
by oliver-morrisminor
Mark, your cars are fantastic, and yes your SeriesII Convert, could almost be the twin of my Series MM Tourer. They have even got the same colour upholstry! My car colour is actually a Hyundai colour called Bluish Red, as I thought the original maroon's where too dark in colour.
Good luck with the Travellers, and mate if you can do it I would urge you to restore both as outside offthe UK there is just not enough of them around. Here in Oz they are very rare. Is the low light as series MM or one that has been fiddled with?
Posted: Wed Jun 10, 2009 8:57 am
by MColes
Mark I am thinking of respraying the dash on my series II. What colour did you use because that looks a good match

Posted: Thu Jun 11, 2009 8:40 am
by markattard
Posted: Thu Jun 11, 2009 10:52 am
by MColes
Thanks Mark
Posted: Sun Jun 21, 2009 1:23 pm
by markattard
So these are the warning lights of the series II.... for those like me who never knew about them...till recently
<img src="
http://i98.photobucket.com/albums/l245/ ... 009445.jpg" border="0" alt="Photobucket"></a>
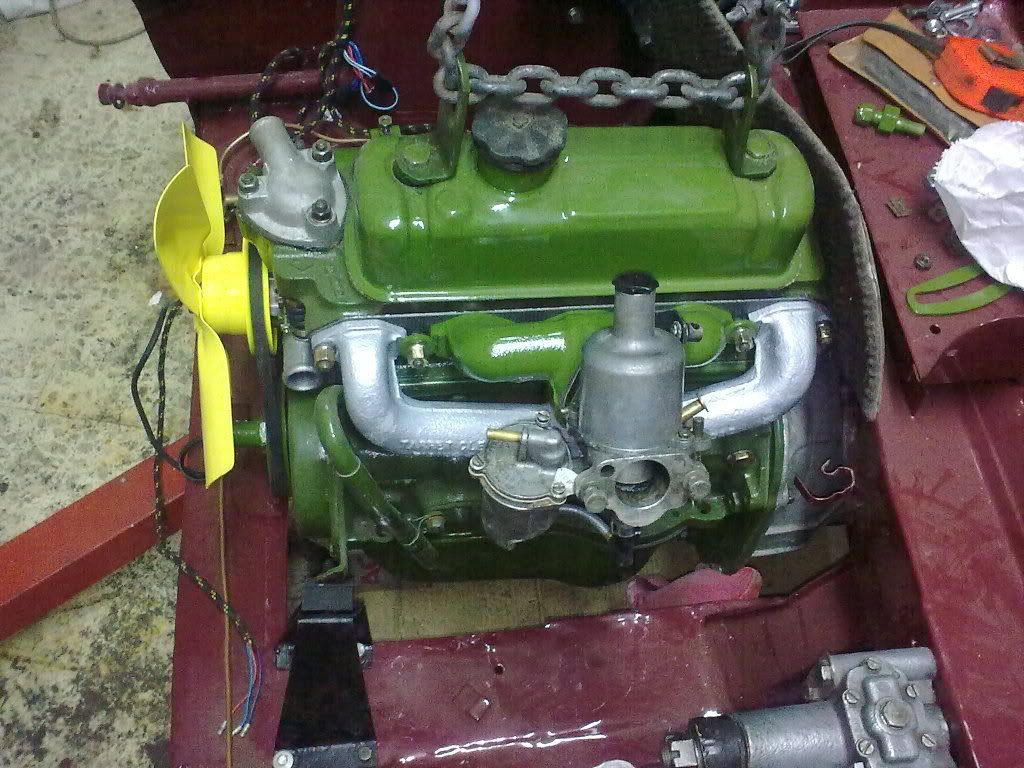
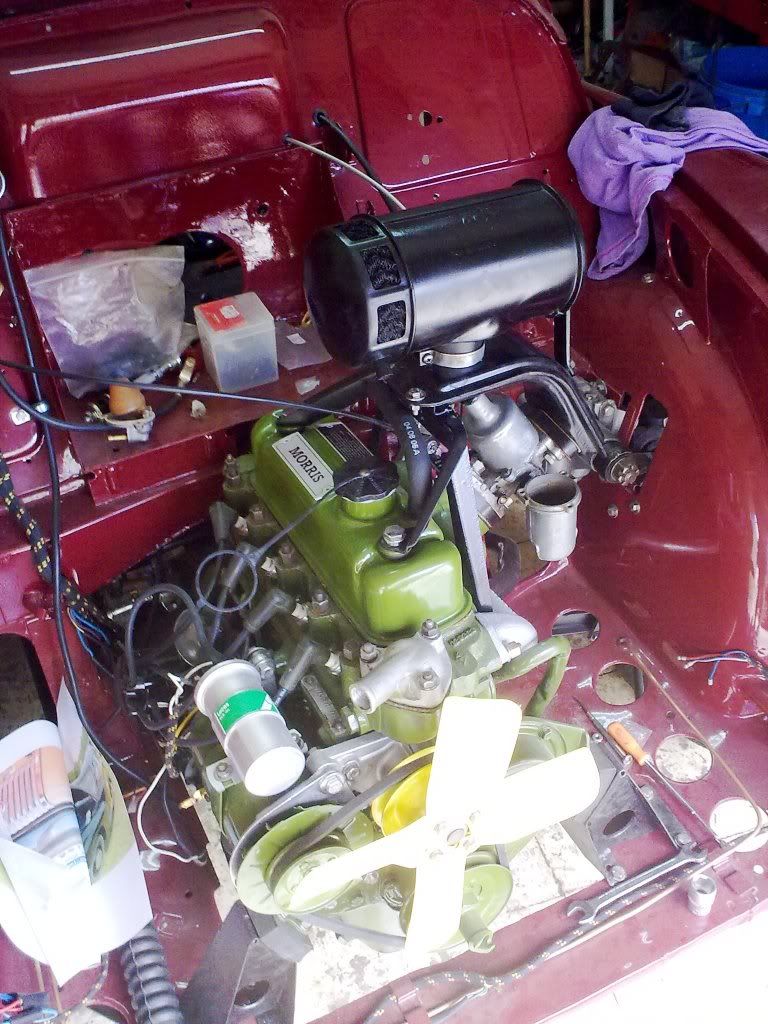
and this is the series II type air filter
<img src="
http://i98.photobucket.com/albums/l245/ ... 009448.jpg" border="0" alt="Photobucket"></a>