Page 2 of 2
Posted: Wed Oct 22, 2008 8:34 pm
by ASL642
WP, very fine slivers of rubber with a hole in to attach the trim to the bonnet should do it and so protect your paint. Try it out using paper first to get the perfect template.
Posted: Wed Oct 22, 2008 8:43 pm
by wibble_puppy
cheers, lou

Posted: Wed Oct 22, 2008 8:52 pm
by Luxobarge
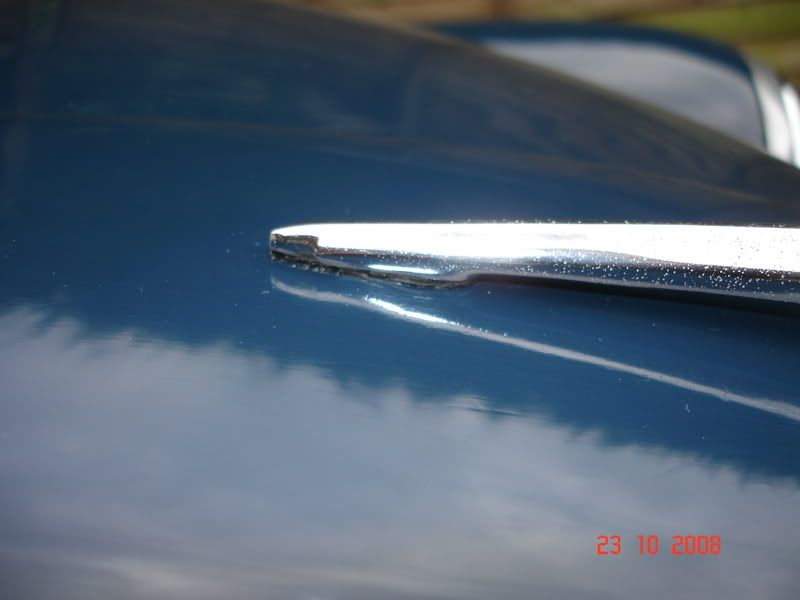
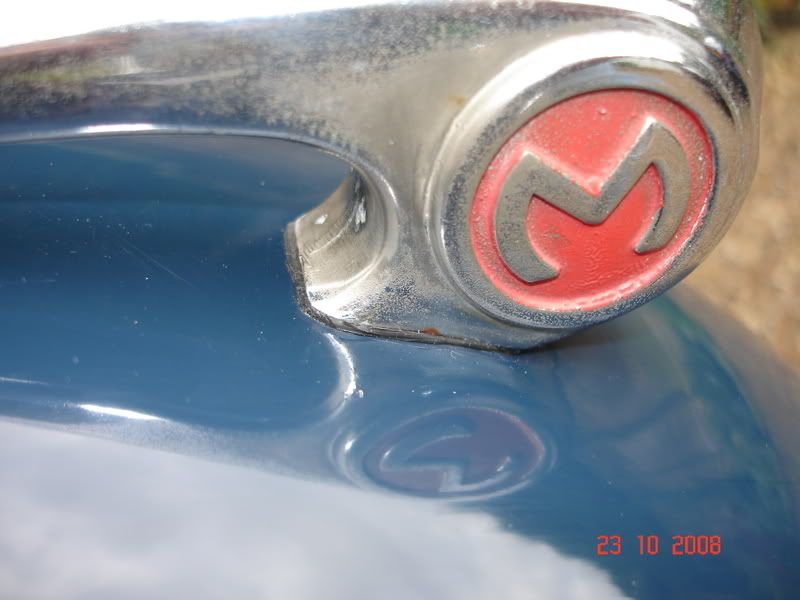
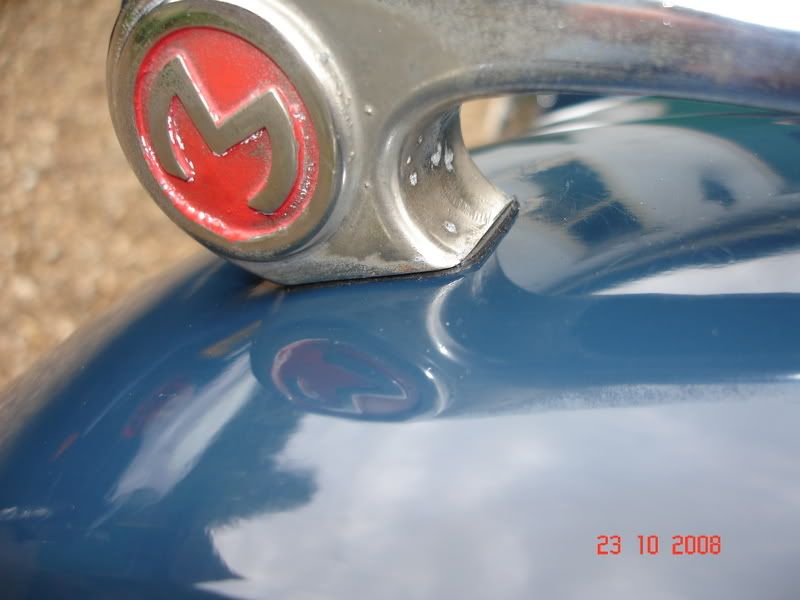
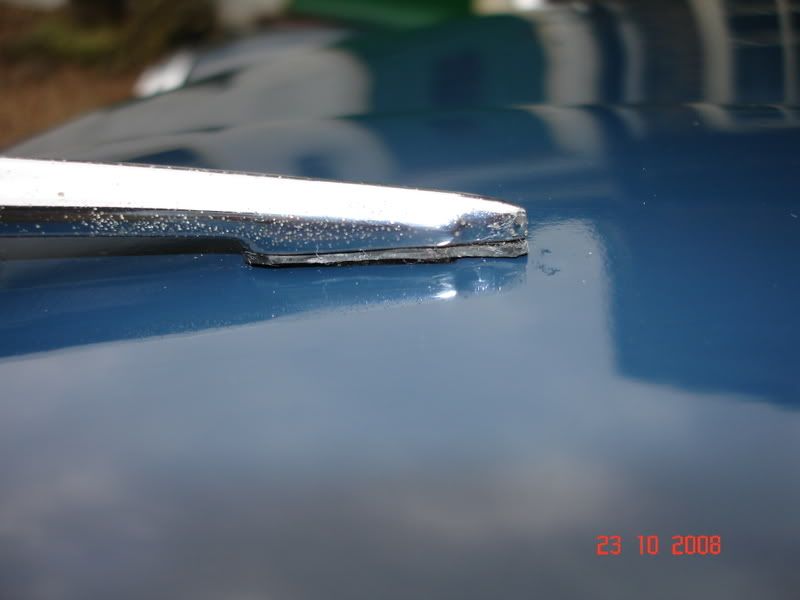
wibble_puppy wrote:that's great work, rick, and looks to be an excellent result - now that you've found the macro setting on your camera, take a close-up of the mascot in situ

Thanks - no problem, my pleasure!
Will do - but it's dark and cold out there now, so I'll try and take some decent shots tomorrow in the light. I feel a real twit not knowing about that button - I'm a bit of a Philistine when it comes to technology - a bit worrying as I work in IT!!
Cheers for now
Posted: Wed Oct 22, 2008 8:55 pm
by Sidney'61
While we're on the subject of gaskets I was fitting bits to the car today and wondering is there supposed to be a gasket between the inner front panel and the inner wing that it bolts onto?<br>

<br>
Posted: Wed Oct 22, 2008 8:58 pm
by wibble_puppy
Sidney'61 wrote:While we're on the subject of gaskets I was fitting bits to the car today and wondering is there supposed to be a gasket between the inner front panel and the inner wing that it bolts onto?
Tidy engine bay
Yes, there are supposed to be two vertical pieces of rubber flange which fit on to the front of the inner wing. You can get them from spares suppliers like ESM or Bullmotif.
wibble xx
Posted: Thu Oct 23, 2008 10:49 am
by Luxobarge
Posted: Thu Oct 23, 2008 11:34 am
by wibble_puppy
Good job
thanks for the extra pics xx
Posted: Thu Oct 23, 2008 11:46 am
by tortron
ive just made a full set for the bonnet and boot
i find that if you cut them out about 1mm too small they will spread out nicely when tightened down so you wont have any overlapping rubber
Posted: Thu Oct 23, 2008 12:37 pm
by ASL642
Yeh, thats what we did.
Posted: Thu Oct 23, 2008 11:34 pm
by stag36587
Ok, I can't resist this any longer and it's nothing to do with this thread but here goes - wibble, can I ask if your hair is now going to be coloured to match your beautiful van?
Posted: Fri Oct 24, 2008 8:24 am
by alex_holden
stag36587 wrote:wibble, can I ask if your hair is now going to be coloured to match your beautiful van?

Posted: Fri Oct 24, 2008 10:10 am
by wibble_puppy
stag36587 wrote: wibble, can I ask if your hair is now going to be coloured to match your beautiful van?
Er......
Of
course!

And may I say how nice it is to see a thread I am involved in staying on topic, for once

Posted: Fri Oct 24, 2008 10:08 pm
by stag36587
yippee, can't wait to see the photographs, though you definitely will not need to wear a gasket.