Page 2 of 2
Posted: Mon Sep 22, 2008 11:10 pm
by Redmoggy
Those tabs are to allow for a quick MOT repair. Listen to the voice in your head,he is right.<br>

<br><br>

<br>
Posted: Tue Sep 23, 2008 7:36 am
by Dean
Velocemitch wrote:
The plan is to do the bits of welding that are hidden myself and let someone who know how to do it properly do the visible bits. Mine look a bit rough but should hold OK... I hope!
Keep posting and keep those piccy's coming, it's great you are sharing your experiences. This is a great topic and we are all learning from it not only yourself. Remember welding was a trade in itself some years ago, it's not a five minute job to pick up, but it's great watching you learn.

Posted: Thu Sep 25, 2008 6:50 am
by chickenjohn
Redmoggy wrote:Those tabs are to allow for a quick MOT repair. Listen to the voice in your head,he is right.<br>
<br><br>
<br>
Good work! I would suggest, however before welding the seat base back in place, remove the overlap of old rusty floor to spring hanger plate. Thats a new rust sandwich in the making- best to butt weld and keep one layer of steel where one existed before.
Posted: Sat Nov 15, 2008 5:36 pm
by Velocemitch
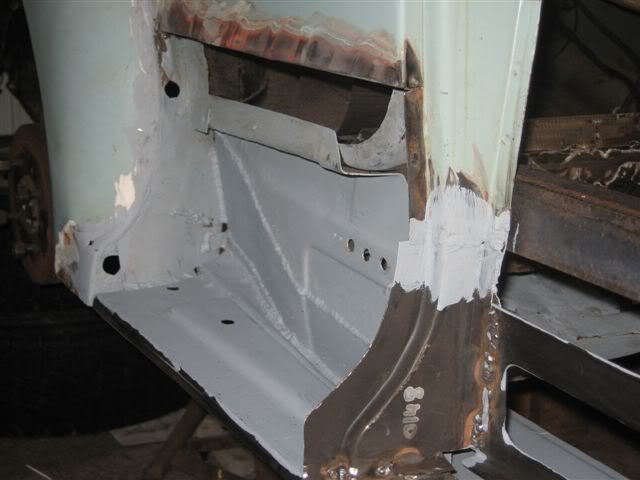
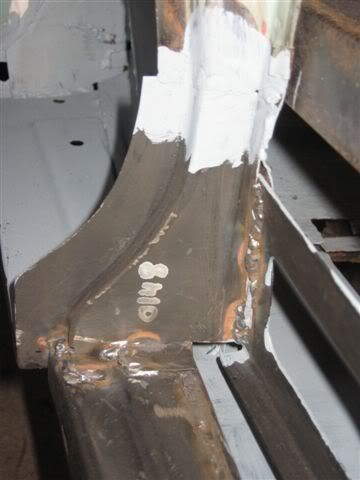
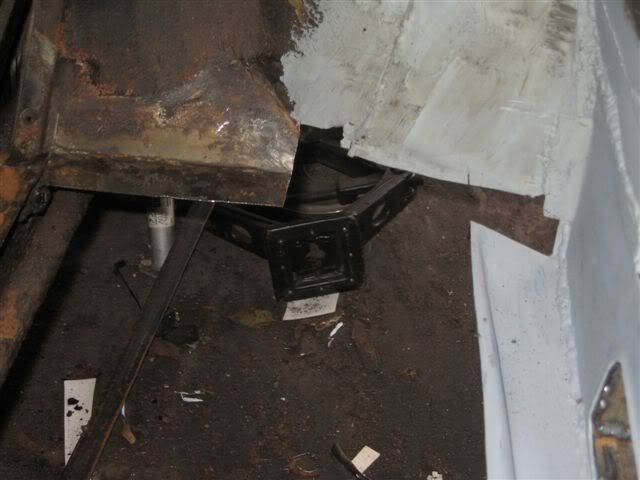
Just thought I would bring this thread up to date with some more photos. I'm starting to see the light at the end of the tunnel now, just hope it isn't an oncoming train

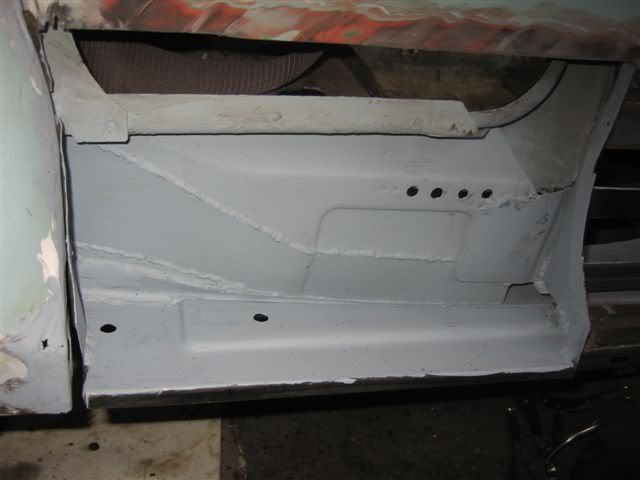
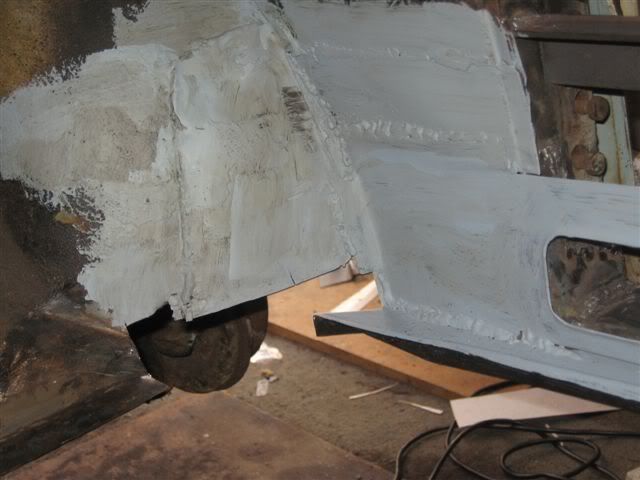
Completed plate work behind the B piller, I was struggling to figure this area out, but it's come together quite well I think.
B Post welded up now.
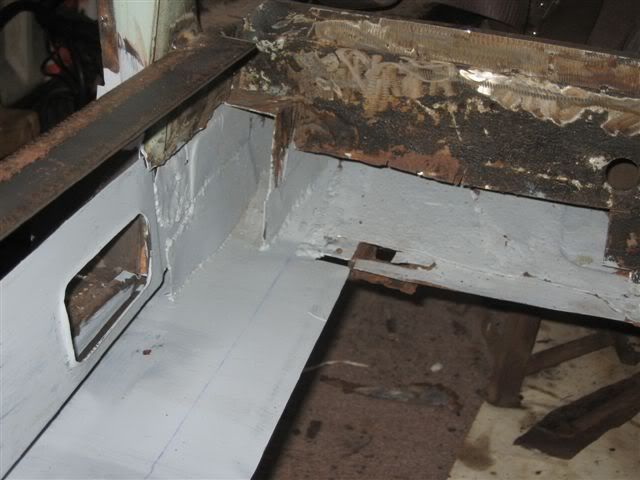
Floors cut out ready for the new sections.
Cross member repaired
Inside of the A post
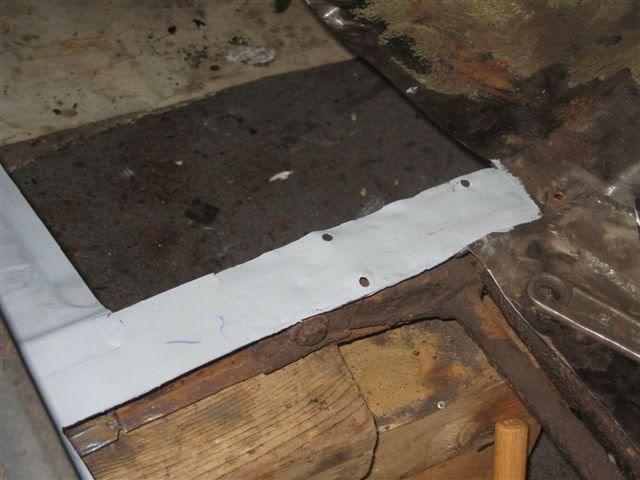
All the floor sections are cut and ready to fit and I have cut the sill to shape, so I can butt weld it to the remains of the old one at the rear. The repair section for the body area in front of the rear arch is cut and ready to weld too. With a bit of luck and a fair wind, I reckon another couple of days welding will see it off.
Just got to figure out how I'm going to paint it now...

Posted: Sat Nov 15, 2008 6:01 pm
by aupickup
looking good kep up the good work
Posted: Sun Nov 16, 2008 9:14 am
by morris62
does this help at all<br>

<br>
Posted: Sun Nov 16, 2008 5:30 pm
by Velocemitch
Good diagrams those, I've cut everything to suit diagram A, which I think is the correct one.
Posted: Sun Nov 16, 2008 8:08 pm
by rayofleamington
Good diagrams those, I've cut everything to suit diagram A, which I think is the correct one
Diagram 'A' is certainly normal. However the floor was originally one piece including the inner lower part of the sill.
There are a few other variations possible:-
If the floor edge is gone, you can get inner lower sill repair panel including the outer 4" of floor.
You can also get a floor panel including the vertical edge of the inner step.
Posted: Tue Nov 18, 2008 10:22 pm
by Velocemitch
My floor repair panels have got an upstand on them, I've cut it down in height and intend them to be inside the main sill section, not doing much really, but not in the way either.