Page 2 of 9
Posted: Thu Sep 28, 2006 8:09 pm
by nebogipfel
Ahh Gas Welding - a warm glow of nostalgia just washed over me

Posted: Thu Sep 28, 2006 8:13 pm
by plastic_orange
Funny thing is, I have a mig welder, and don't really like it - keep meaning to get my gas set back from my mate. Only thing is I've been to too many 'incidents' in my fire service career, and would hate to cause a 200 metre exclusion zone for 24 hours around my house - I'd get an asbo.
Pete
Posted: Thu Sep 28, 2006 8:41 pm
by nebogipfel
Unfortunately MIG has become an economic neccessity these days and has made the job easier. There is no doubt that in addition to being much faster it reduces problems of distortion and also as you say, fire risk.
That said, I used to really enjoy gas welding - much more satisfying to do and when done well, so neat too.
I just got the warm glow again and there is no gas torch in sight

Posted: Sat Sep 30, 2006 9:18 pm
by flying
Posted: Sat Sep 30, 2006 9:19 pm
by flying
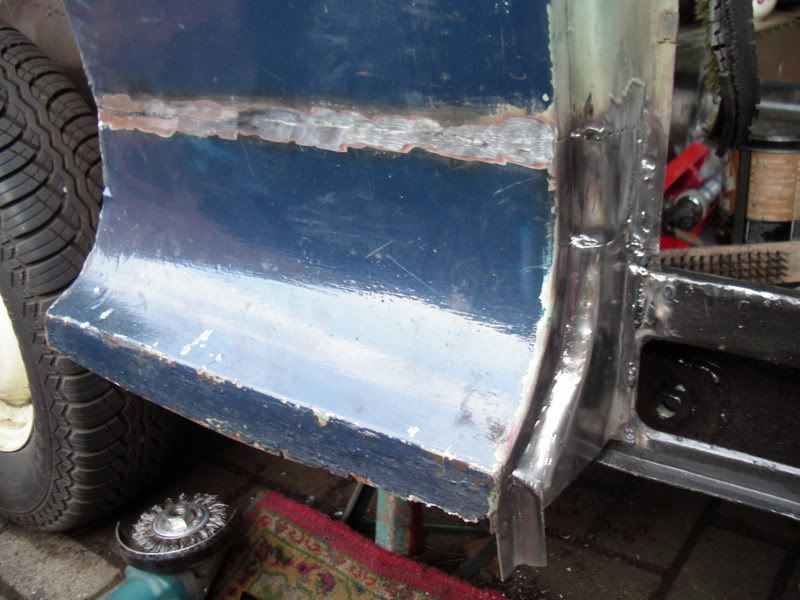
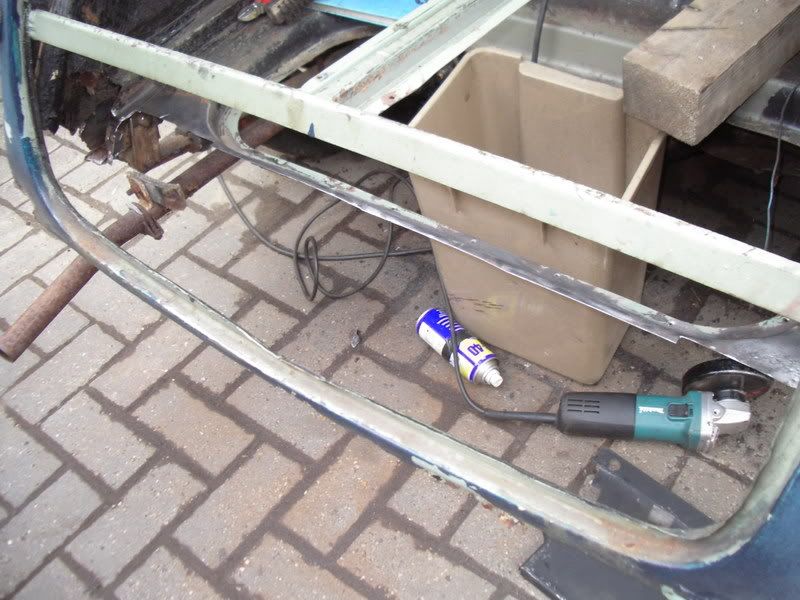
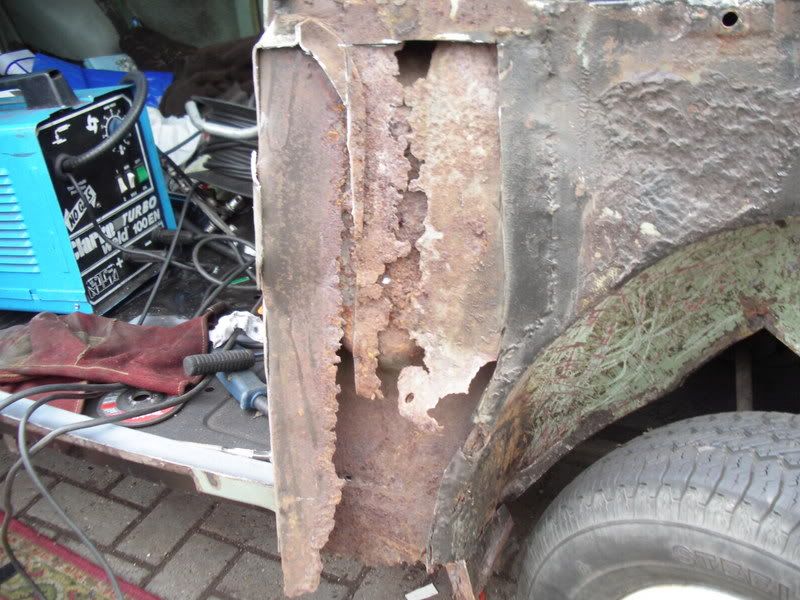
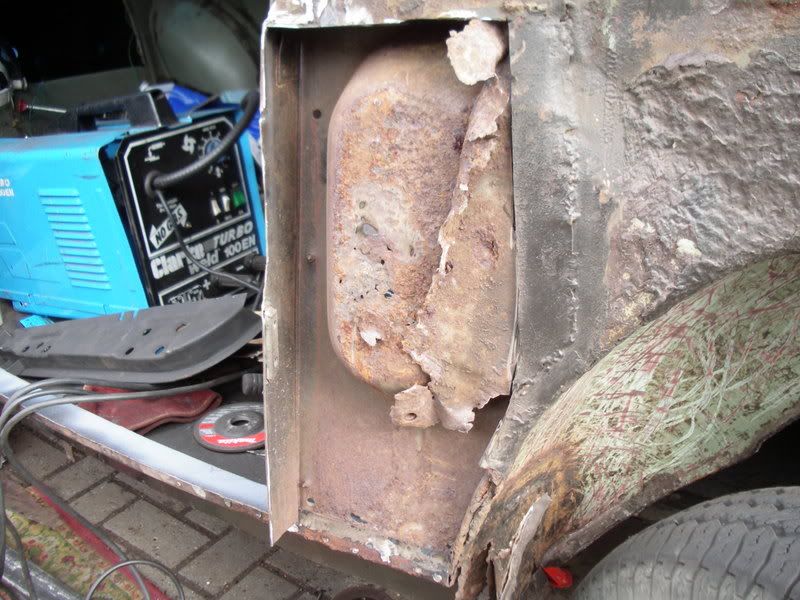
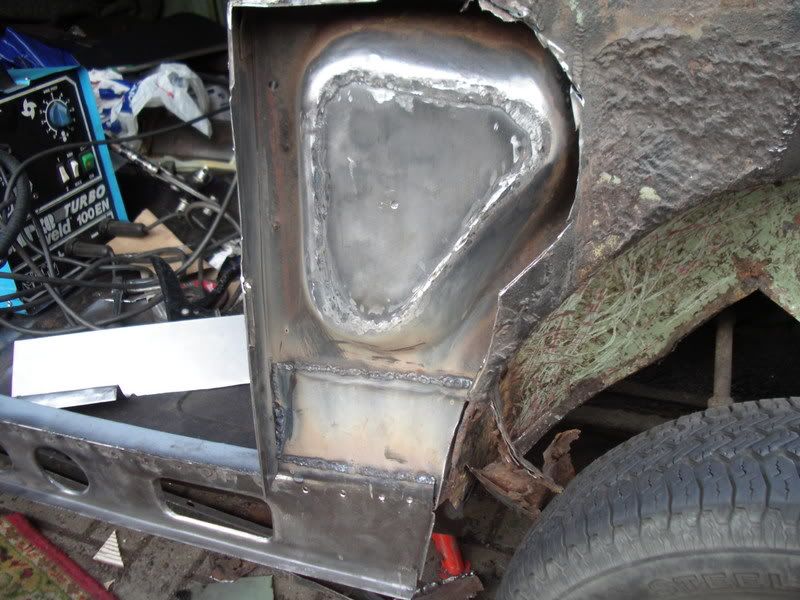
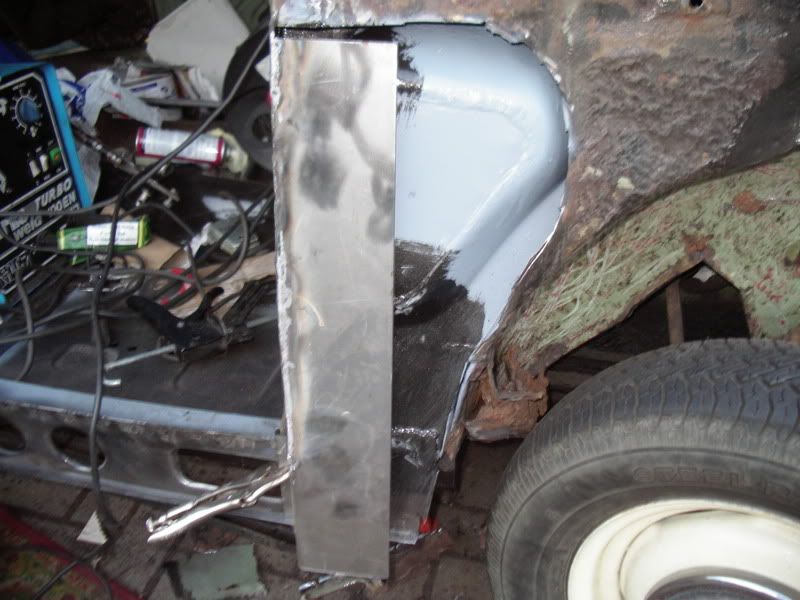
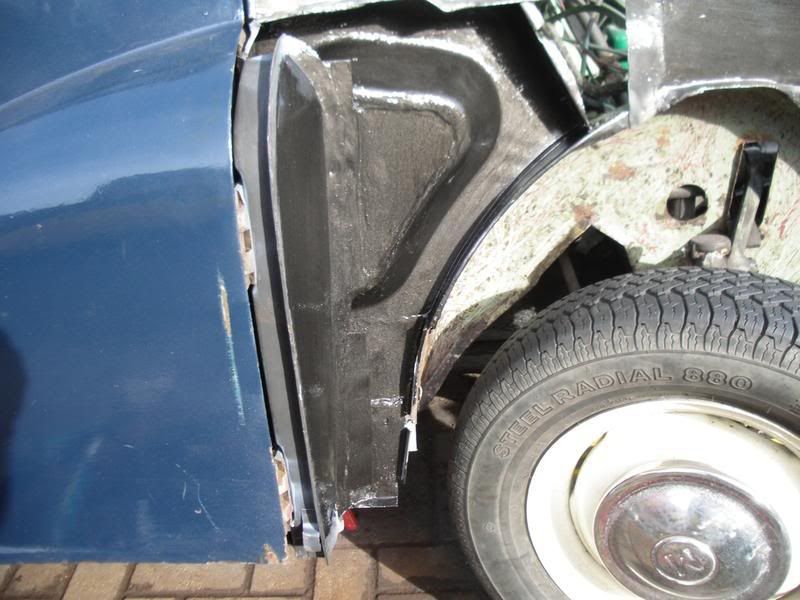
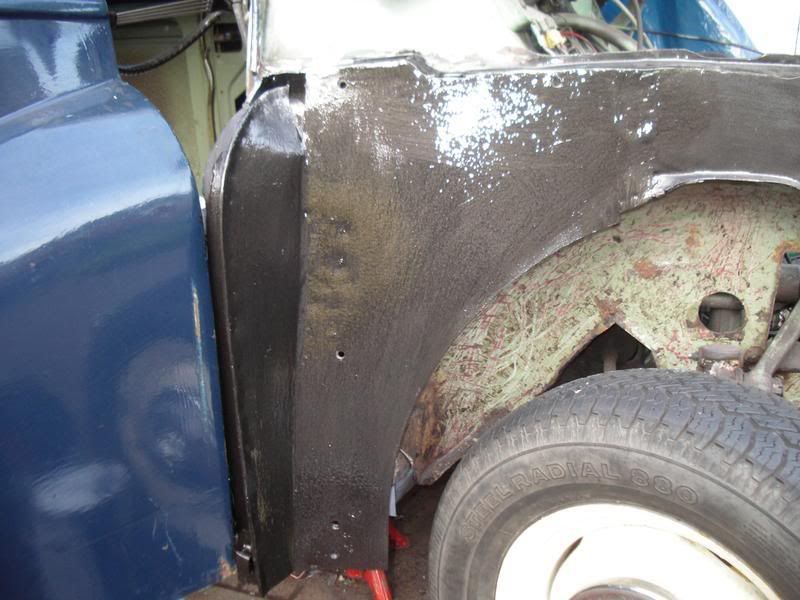
a post and inner wing next
Posted: Sun Oct 01, 2006 1:19 pm
by alex_holden
Good job! I wish I could weld as neatly as that.
Posted: Sun Oct 01, 2006 1:48 pm
by rayofleamington
Hi Flying - looks like you're storming ahead!
You've probably got most of it sussed by now but things like the A-post can need 6 or 7 sections repairing to do it properly

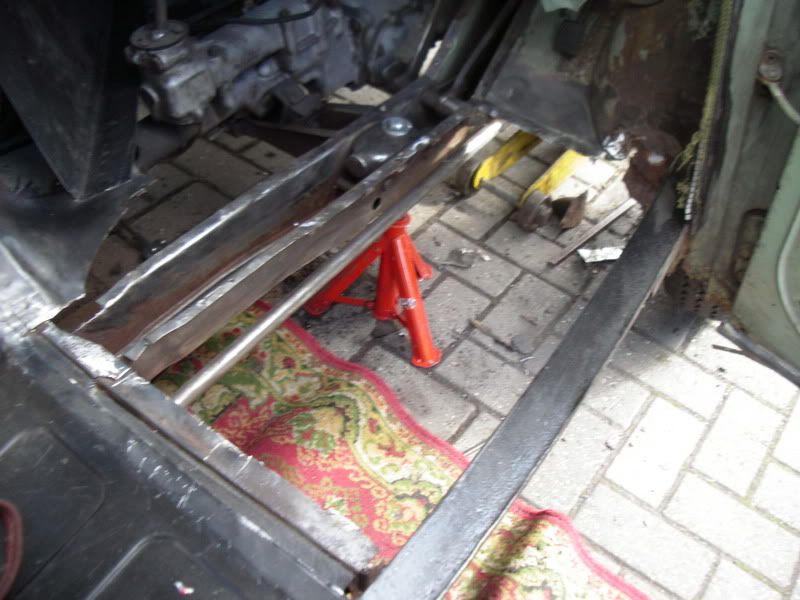
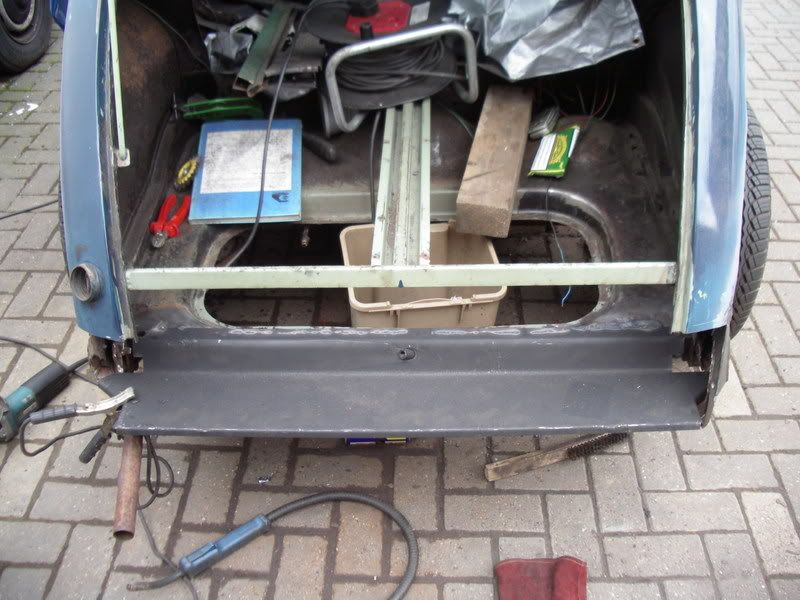
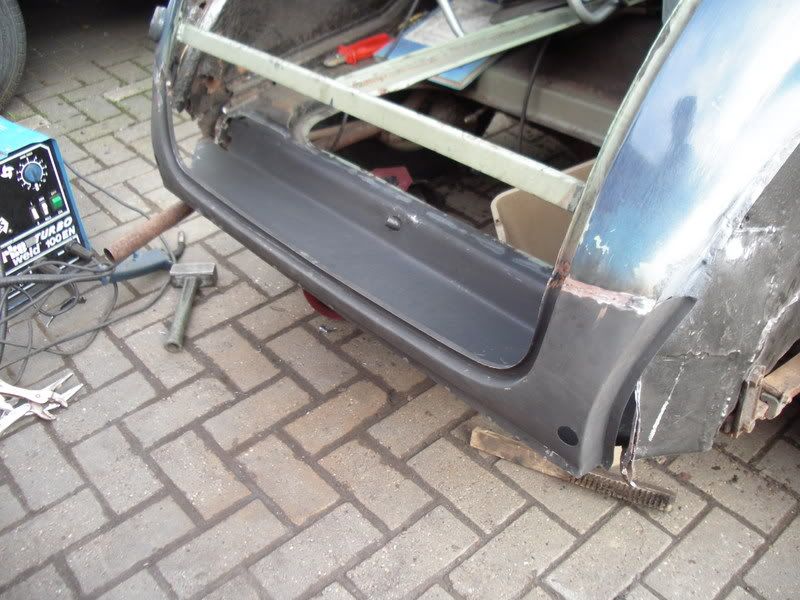
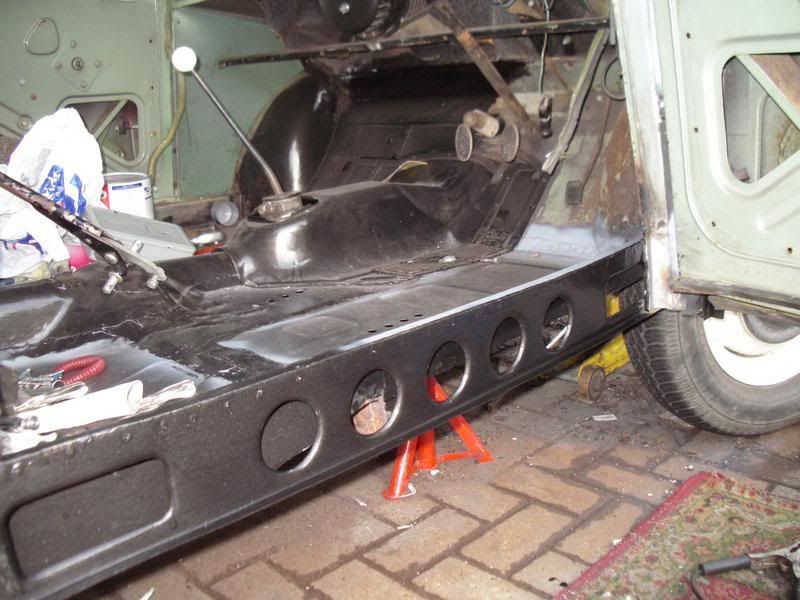
From what you've done already (eg repairing the inner box section under the rear seat box) it seems like you're heading for a nice solid car. Often these 'unseen' areas are ignored, even by the 'proffessionals'.
You can see one I did a year ago on this site:
http://minor-detour-car.mysite.wanadoo-members.co.uk/
Most of the welding is shown in the last few pages - I tended to leave as much metal in place until it had to be removed, but this was a 4 door and therefore nothing left to keep the car straight if you cut the floor sills and door posts out in one go.
I left the doors on so that I could check alignment when tacking in place before seam welding - with a 4 door this is even more critical, but even on a 2-door things can go wrong. I've seen some horrors (done by a Minor Centre) where the door didn't even close properly and you could see daylight.
Only one tip - the sill panels supplied by most traders have the (essential) drain holes missing so to make the car last longer you'll need to add a bunch of drain holes to the new sill panels - I tended to use an 8mm or 10mm drill for that. I also add extra ones at the back of the rear floor pan at the bottom of the section under the rear seat as these areas will fill up with water if there is any leak (rear window, boot hinges, doors, side windows, front doors etc...)
Posted: Sun Oct 01, 2006 2:12 pm
by flying
alex_holden wrote:Good job! I wish I could weld as neatly as that.
this might help you
http://www.mig-welding.co.uk/ ...pratice makes perfect
and rayofleamington , i feel you pain
it looks like yours (was) in the same sort of state has this moggy...nice work
The problem i have to sort before i do the a post is the door its self...rocking movement in it...pins most prob
Posted: Sun Oct 01, 2006 3:33 pm
by alex_holden
Thanks, that looks very useful. I bought an expensive textbook on welding which covered a lot of theory and exotic techniques, but turned out to be fairly useless as far as explaining the practical skills needed to MIG weld sheet steel together without blowing holes in it. Quite a bit of it I've had to figure out through trial and error (lots of error). After the recent patching I've done on my Moggy I'm starting to get a bit better at controlling the weld pool and choosing the correct settings for the circumstances. The result still looks fairly hideous, but it's hidden under the car and it ought to be strong enough.
When I started out I looked into going to night-school to learn welding, but the only courses the local colleges do along those lines are the ones leading up to the qualifications you need to become a coded welder. There's loads of them, and they cost an absolute fortune.
Posted: Sun Oct 01, 2006 3:53 pm
by rayofleamington
I did gas and arc welding as part of a college course - the problem with that is that welding clean thick (new) steel together on a bench is practically no help when it comes to welding the underneath of rusty cars.
Certainly it is always important to cut back enough - don't patch a sill as it takes about the same time to replace the complete panel and patching one area just means that next year the rest of the sill will need doing.
I've seen countless cars where the crossmember end repair section has been shortened. This is very short sighted and I've had to repair a few of these where the crossmember has rotted in the area adjacent to the repair section - ie the bit they removed from the repair panel before fitting

This makes the job quicker as they don't have to remove the crossmember where it connects to the chassis leg however the end result is not as strong and certainly not going to last nearly as long as using the complete repair panel as supplied.
Basically - cut back the car rather than shrink the repair panel.
and rayofleamington , i feel your pain

- thanks!
Posted: Tue Oct 03, 2006 9:59 pm
by flying
Posted: Thu Oct 05, 2006 9:35 pm
by alex_holden
Update on my welding practice: I read all the articles and many of the forum threads on
http://www.mig-welding.co.uk/, and decided to invest in
a Parweld XR914H reactive helmet. It arrived today and I just tried it out on some test pieces. Big improvement! I can see the weld pool and the joint much better than I could with the old heavily-spattered dual shade helmet I was using before, and the welds ended up looking a lot neater as a result. Still not perfect, and I haven't totally got the hang of the welder settings (at one point I found increasing the current made it less likely to burn through!?), but hopefully that will come with more practice. I feel more confident in doing butt-welds on thin metal now, which is the main thing I was having trouble with before. I think the poor visibility meant I couldn't follow the line of the joint accurately enough, and I couldn't see when the pool was about to melt through.
Posted: Thu Oct 05, 2006 9:48 pm
by flying
be carefull not to drop or bash the helmet because that can break them!!!!!!
Posted: Thu Oct 05, 2006 9:58 pm
by alex_holden
Yep, it seems to have an LCD panel between a couple of polycarbonate shields. It's a pretty nice piece of kit for the price.
Posted: Mon Oct 09, 2006 9:05 pm
by flying
Posted: Tue Oct 10, 2006 9:26 am
by stevey
oh thats nasty looking better though
Posted: Thu Oct 12, 2006 8:08 pm
by flying
Posted: Fri Oct 13, 2006 10:30 am
by chickenjohn
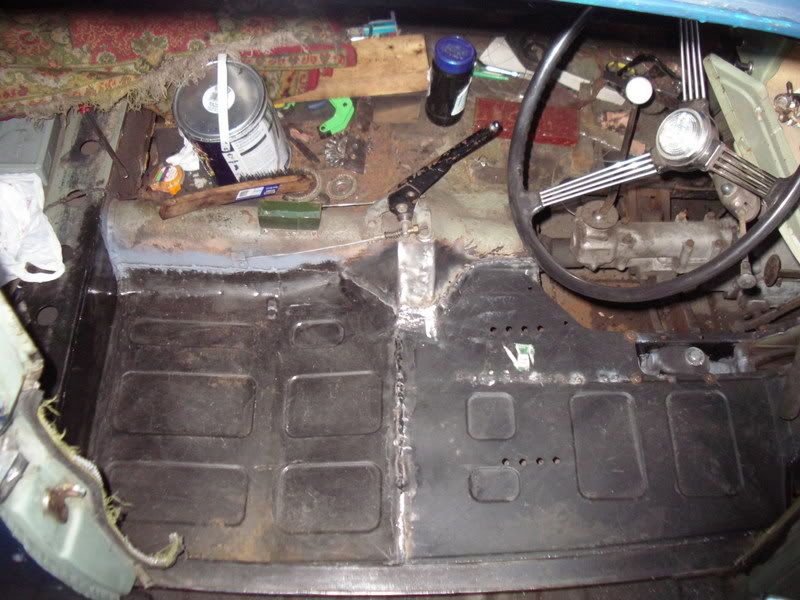
Thats an amazing amount of work for four weeks! and looks to be good quality too. It would take me 4 months of my weekends/evening spare time to do that much.
Keep it up! Nice one

Keep the pics coming.
Posted: Fri Oct 13, 2006 6:49 pm
by Onne
Wow... that is amazing, keep up the good work!
Posted: Sat Oct 14, 2006 8:48 pm
by flying
thanks for your kind words and encouragement
I was preping all the panels for the last bit today...spent about 1 1/2 from start to finshing making another a new homemade panel to replace the rotton bit another peice to replace yet ,went well in the end
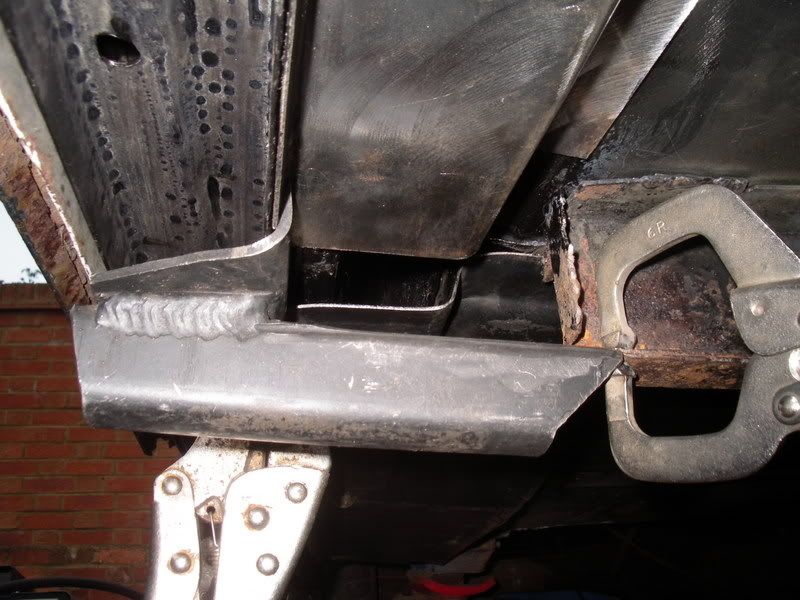
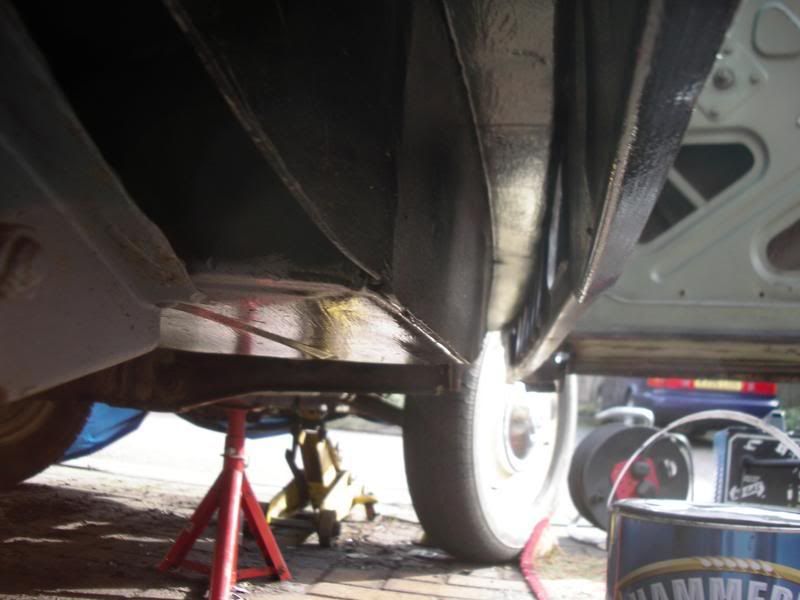
...but one thing that has got me wondering is how the jacking point arm fits...the new one is alot different from the one that came off....is this the right way it should sit

.. it seems the best way,
suggestions please,so i finalise the panels together