Page 6 of 11
Re: 1966 2 door saloon Milly restoration project
Posted: Thu Jun 26, 2025 1:38 pm
by David JM
Thank you both for the helpful comments, I cleaned off the brake light switch terminals with emery cloth, then re fitted a terminal connector and bingo, both brake lights working.

then the new one arrived. spare for the spares box. so I did a headlight check and the left side headlamp is off, could be just the bulb.

the wiring is a little old and showing it's age.


Re: 1966 2 door saloon Milly restoration project
Posted: Thu Jun 26, 2025 5:05 pm
by David JM
off with the headlamp to get a look at the bulb.

nothing wrong here, perfect condition.so it has to be a broken connection or blown fuse, but one headlight is working.so it must be isolated to a broken wire somewhere?

Re: 1966 2 door saloon Milly restoration project
Posted: Thu Jun 26, 2025 5:08 pm
by David JM
taking another look in here, there is a loose brown green wire and a loose connection block.

joining these two back together was like making a morse code lamp work, simple fixs are always the most satisfying.

Re: 1966 2 door saloon Milly restoration project
Posted: Thu Jun 26, 2025 6:59 pm
by David JM
I must be colour blind it was a green wire red tracer, anyway with a flame danced over the heat shrink sleeve it seals in the connection like it's vacuum packed.

both light working, if this had been a modern I'd still be out there chasing a fault and scratching my head. Great result.

Re: 1966 2 door saloon Milly restoration project
Posted: Thu Jun 26, 2025 7:39 pm
by David JM
the fog lamps in that picture above have two loose wires either side, I want to connect them up to a new switch, anyone advise me on what terminal I should run them off?
Re: 1966 2 door saloon Milly restoration project
Posted: Sat Jun 28, 2025 5:27 pm
by David JM
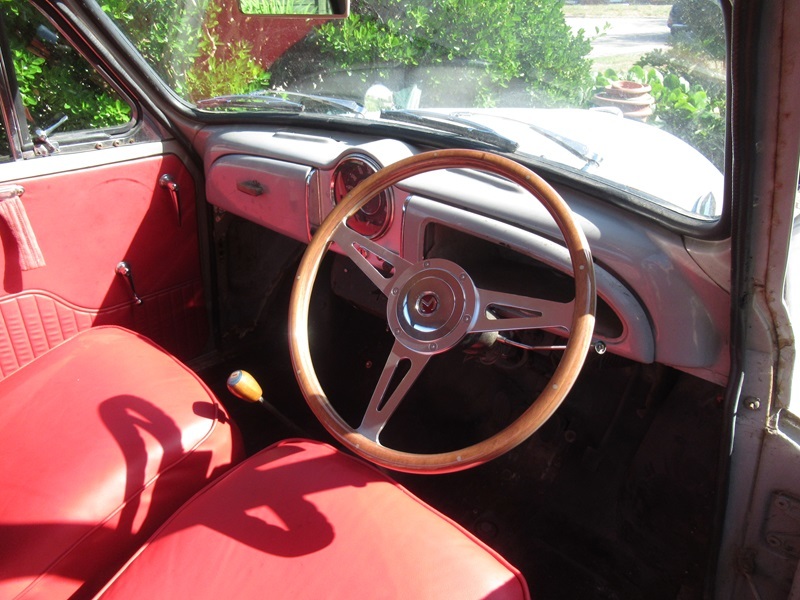
My son's first car, of course the first thing he wants is a aftermarket steering wheel. have to say it's quite snazzy, not my cup of tea as I'm old and into the original look. At least it's not some tiny teacup size. Badge of the boy racer, but it doesn't look too bad, large enough to look classic, can't stand those teacup size boy racer wheels. Probably cos I'm old.
Had to line it all up using black tape so the bolt holes lined up and the steering wheel looked right.
Re: 1966 2 door saloon Milly restoration project
Posted: Sun Jun 29, 2025 6:33 pm
by David JM
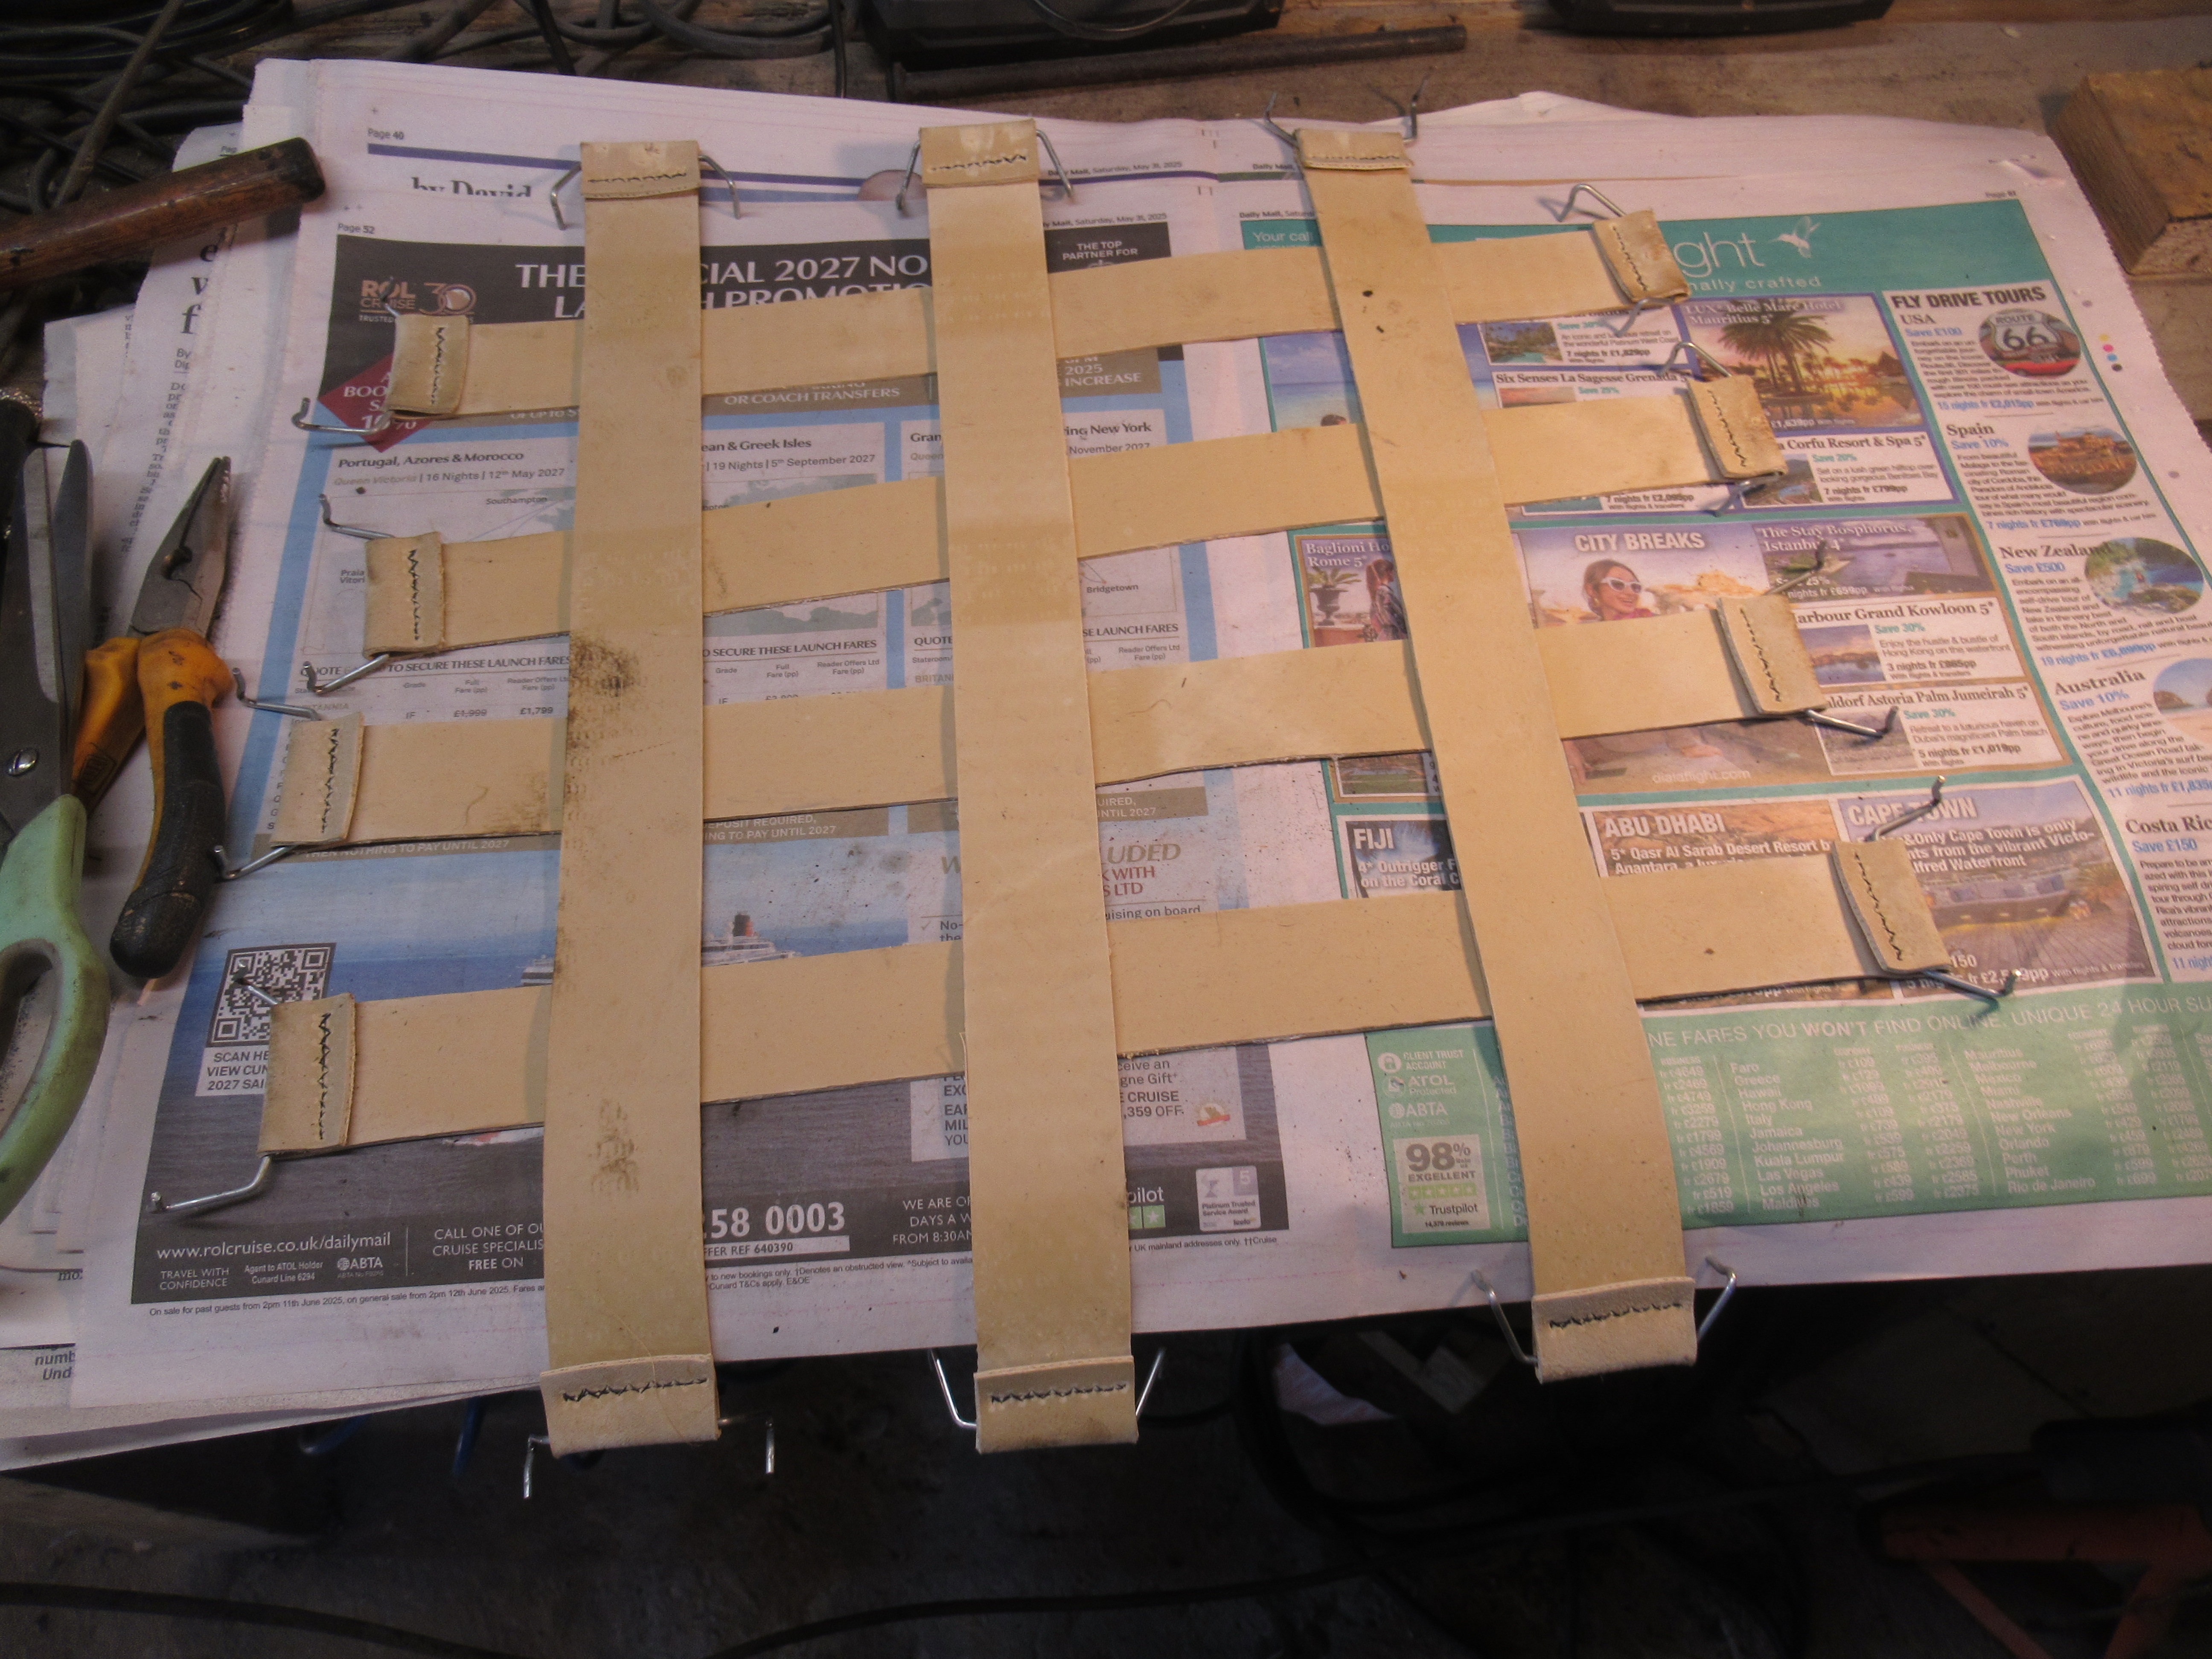
The Pickup seats getting an extra layer of foam to plump them up. Going in from underneath, first I'm gluing a patch under the seat where its beginning to go. Weights on that overnight to let it set.
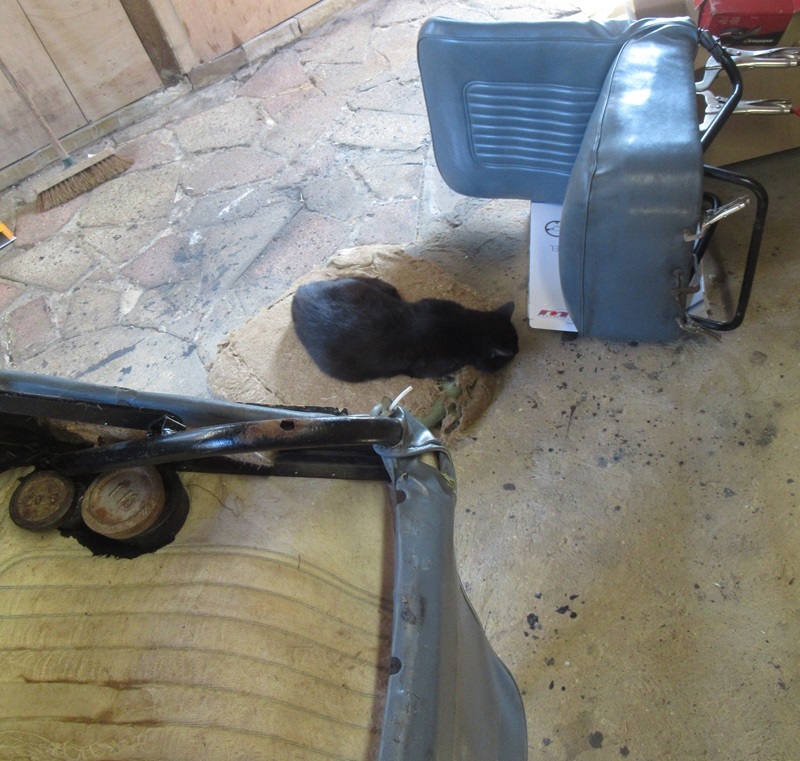
the bands out, taken out from underneath, they look like they are in good condition.
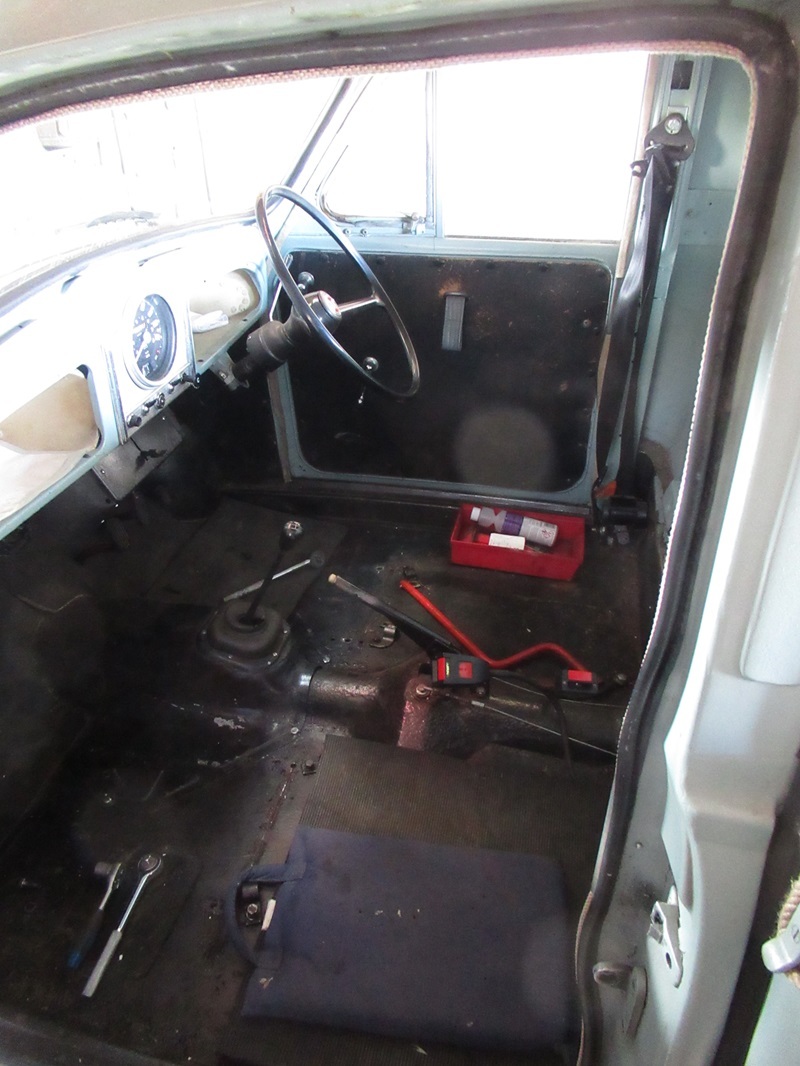
the cab looks odd with the seats out
Re: 1966 2 door saloon Milly restoration project
Posted: Thu Jul 03, 2025 11:19 am
by David JM
filling the seats out from below saves taking the covers off, but only any good if you are just filling out the seat base, hard on the hands, getting the clips into the holes using rat nosed pliers.

seats nice and plump, I feel like I'm sitting on the seats instead of in them now.

Working on my son's first car has made me look far closer at my own Pickup, cross over lessons and ideas, never a bad thing. And it's nice working on simple jobs in the warm weather.

Re: 1966 2 door saloon Milly restoration project
Posted: Thu Jul 03, 2025 11:55 am
by panky
That steering wheel adds at least another ten horses, looks good too

Re: 1966 2 door saloon Milly restoration project
Posted: Thu Jul 03, 2025 3:23 pm
by David JM
@panky interesting M logo avoiding any legal entanglements with the current owners of the bull motif logo, I guess it's also mounted off bonk too. The Bull motif is actually the county council of Oxford motif so that may be a legal get out.
Re: 1966 2 door saloon Milly restoration project
Posted: Thu Jul 03, 2025 3:31 pm
by David JM
seat belt shenanegans, this bolt isn't playing, the captive nut is just turning and making things difficult.

the inertia reel bolted in smoothly

Harry could sell the originals on ebay to pay for his bonnet insulation material, but I doubt there's a need for them by anyone.

Re: 1966 2 door saloon Milly restoration project
Posted: Thu Jul 03, 2025 9:35 pm
by ManyMinors
David JM wrote: ↑Thu Jul 03, 2025 3:31 pm
seat belt shenanegans, this bolt isn't playing, the captive nut is just turning and making things difficult.
I don't think it will be a captive nut on a 1966 car. Just a nut. You'll have to remove the trim panel to gain access and hold the nut with a spanner.
Re: 1966 2 door saloon Milly restoration project
Posted: Mon Jul 07, 2025 6:32 pm
by David JM
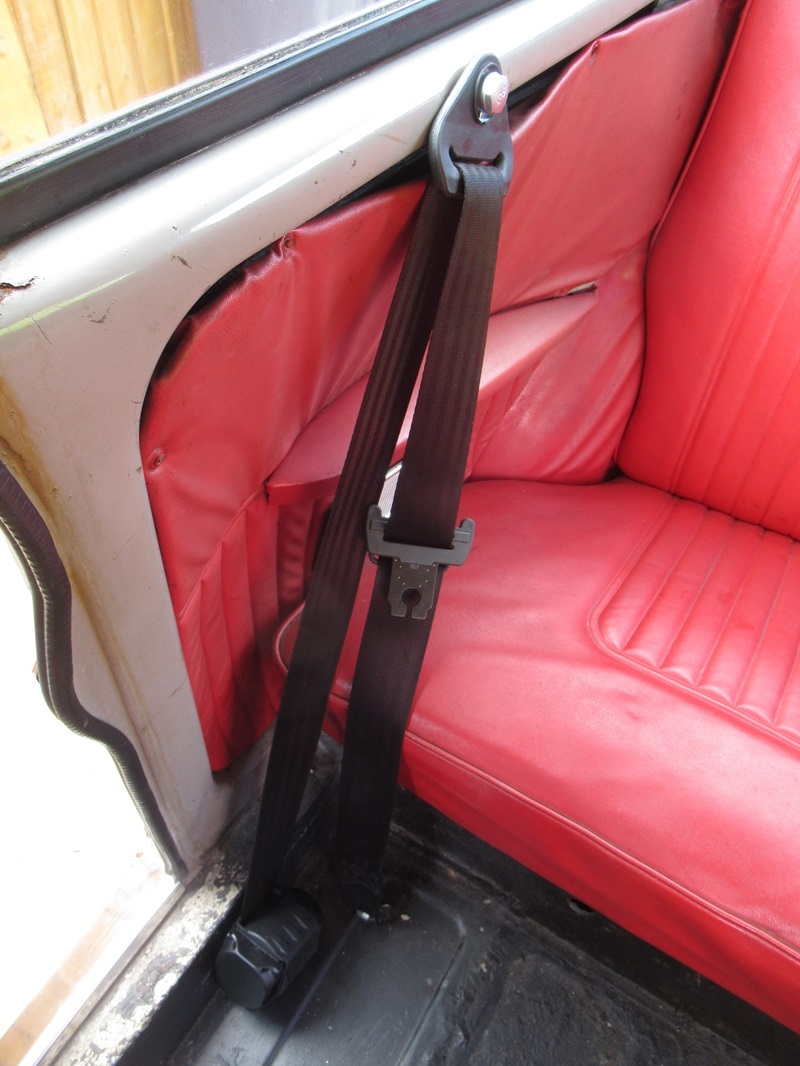
thanks for the reply, we replaced the nut for a fresh one and now the new inertia seatbelts are fitted to both front seat passenger and driver. now we need to think about rear seatbelts.
Re: 1966 2 door saloon Milly restoration project
Posted: Mon Jul 07, 2025 6:33 pm
by David JM
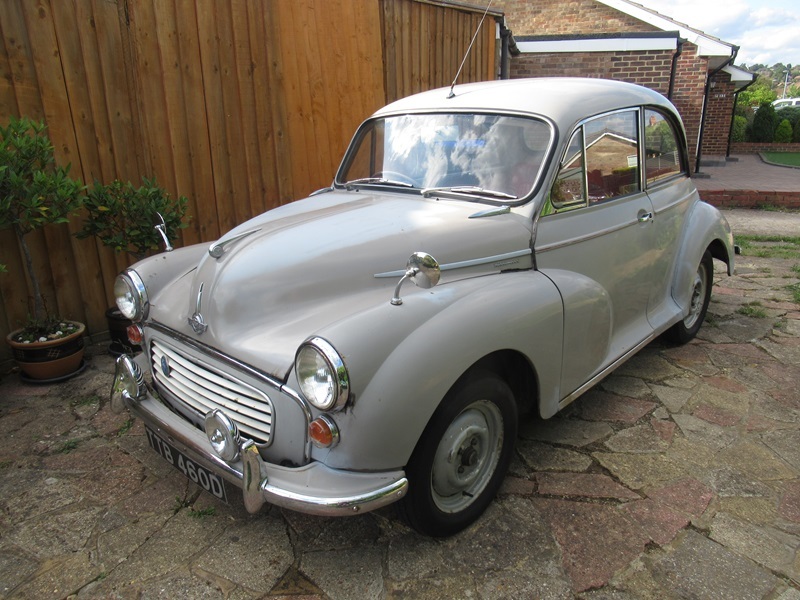
So far we've welded up the holes in the underside, made and fitted a bonnet cross piece to attach to the bonnet hold up brace, replaced bonnet safety catch and spring, fitted an in line fuel filter and fixed the float bowl inside the Carburettor to stop the fuel bowl overfilling, fitted an electronic motor for the windscreen washer, fitting it's button using the old push pump, replaced the HT Leads, plugs points, new air filter and steering wheel, re fitted the foot pedal to the floor for the headlight dip switch, cleaned up the interior and re welded the drivers seat fixing, re stuffed the front seats, replaced the rusted out bottom edge of the rear nearside wing with new metal, filled and primered it, sanded down smooth ready for a re spray, dug out rust spots around the car, krusted and re filled oversprayed with primer. total lubricant change for Engine, gearbox, rear differential and dash pot. lubricated front window winders, re fitted wipers, tackled headlamp broken wiring, re welded the boot luggage frame and refitted rear seat back wingnuts, removed fuel sender unit and eased it back into use, refitted it back into the tank using a new cork Gasket to solve fuel smell issue. re taxed with the DVLA (NO CHARGE) Quite a list, next big thing is to prepare it for a blow over with fresh Dove Grey Paint. Getting there...
Re: 1966 2 door saloon Milly restoration project
Posted: Wed Aug 06, 2025 2:01 pm
by David JM
masking up ready for a blow over, not a full on strip down respray. Blutac in the key hole, the locks work beautifully, don't want paint in there mucking that up.

masking up ready for the new paint, bin liners will go over the wheels.

The mixed paint cost me £280! for a five litre can, gone up three times what I paid a couple of years ago.

Re: 1966 2 door saloon Milly restoration project
Posted: Wed Aug 06, 2025 2:04 pm
by David JM
first coat from the spray gun, so far so good.

no going for concourse here, just a reasonable finish for my son's fist few years of Moggy Motoring, he's25, so I may get him to register on the young Moggy owners club.

Re: 1966 2 door saloon Milly restoration project
Posted: Thu Aug 07, 2025 7:39 pm
by David JM
several coats later, masking tape off, number plate ect back on.

Re: 1966 2 door saloon Milly restoration project
Posted: Thu Aug 07, 2025 11:00 pm
by panky
Looking smart
Re: 1966 2 door saloon Milly restoration project
Posted: Sat Aug 09, 2025 11:46 am
by David JM
Cheers Panky.
Got Charlie out of the workshop into the sun today. I'm pleased with the improvement a blow over gave us.

looking a lot smarter, but there are paint faults to be polished out in good time.

Need new bulbs for the passenger side indicator, as it separated on extraction, but the other fault is the paper badge for the morris minor registry came off with the masking tape.

Re: 1966 2 door saloon Milly restoration project
Posted: Sun Aug 10, 2025 5:07 pm
by David JM
one issue that won't go away is the non working passenger side front indicator, it's not the bulb, it works fine on the other indicator. I'm only getting 1.5 volts and I think I need five to work this bulb?
