Page 6 of 14
Re: Rose Taupe Traveller Restoration- update 16
Posted: Tue Jan 12, 2010 2:05 pm
by rich-legg
Looking forward to seeing the jig! The roleover part you already made looked real good

Re: Rose Taupe Traveller Restoration- update 16
Posted: Mon Jan 18, 2010 12:30 am
by taupe
Hi
Ive been assembling and welding the front alignment jig today. Ive finished all the machining and drilling etc and its now just a case of bolting and welding it all together whilst keeping it all square!
Im pleased with the alignment so far - Ive measured some diagonals and theres no perceptable difference between them (less than half mm)
Here are some pics so far. Ive still got to weld the front bar on for the bumper stud checking points.
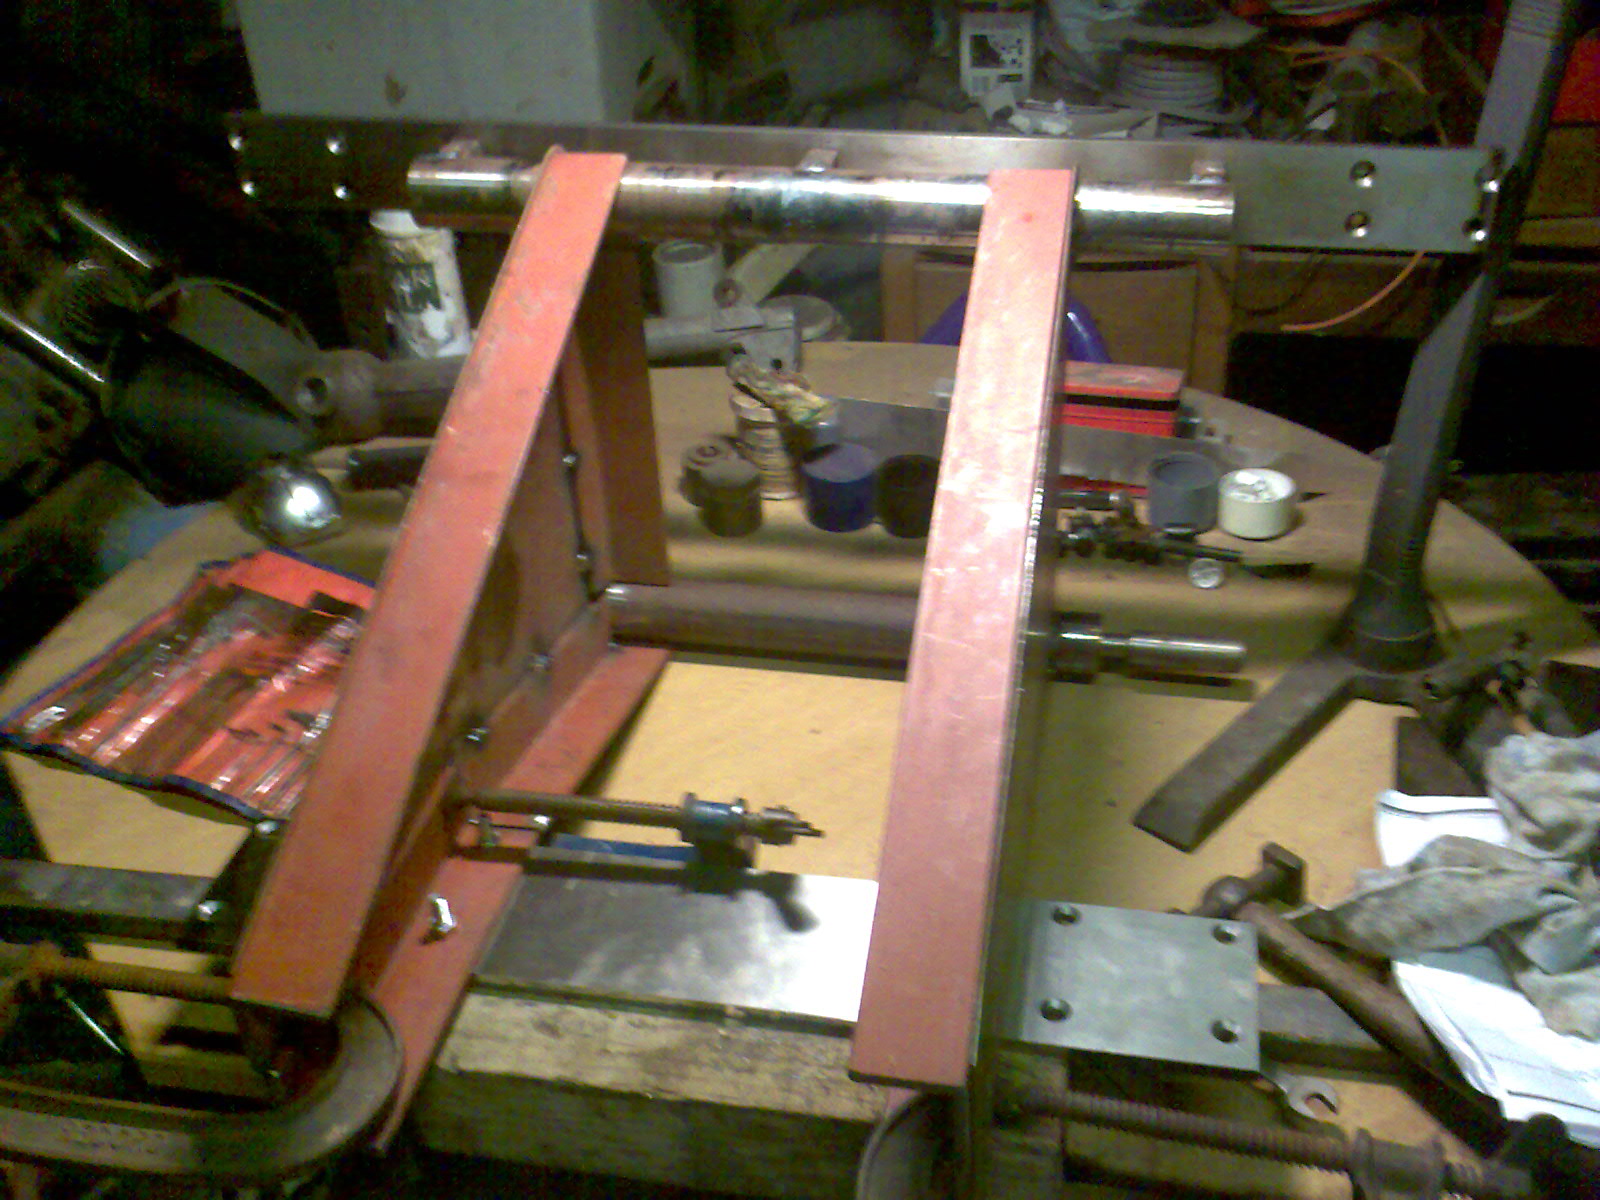
- Image020.jpg (423.44 KiB) Viewed 2170 times
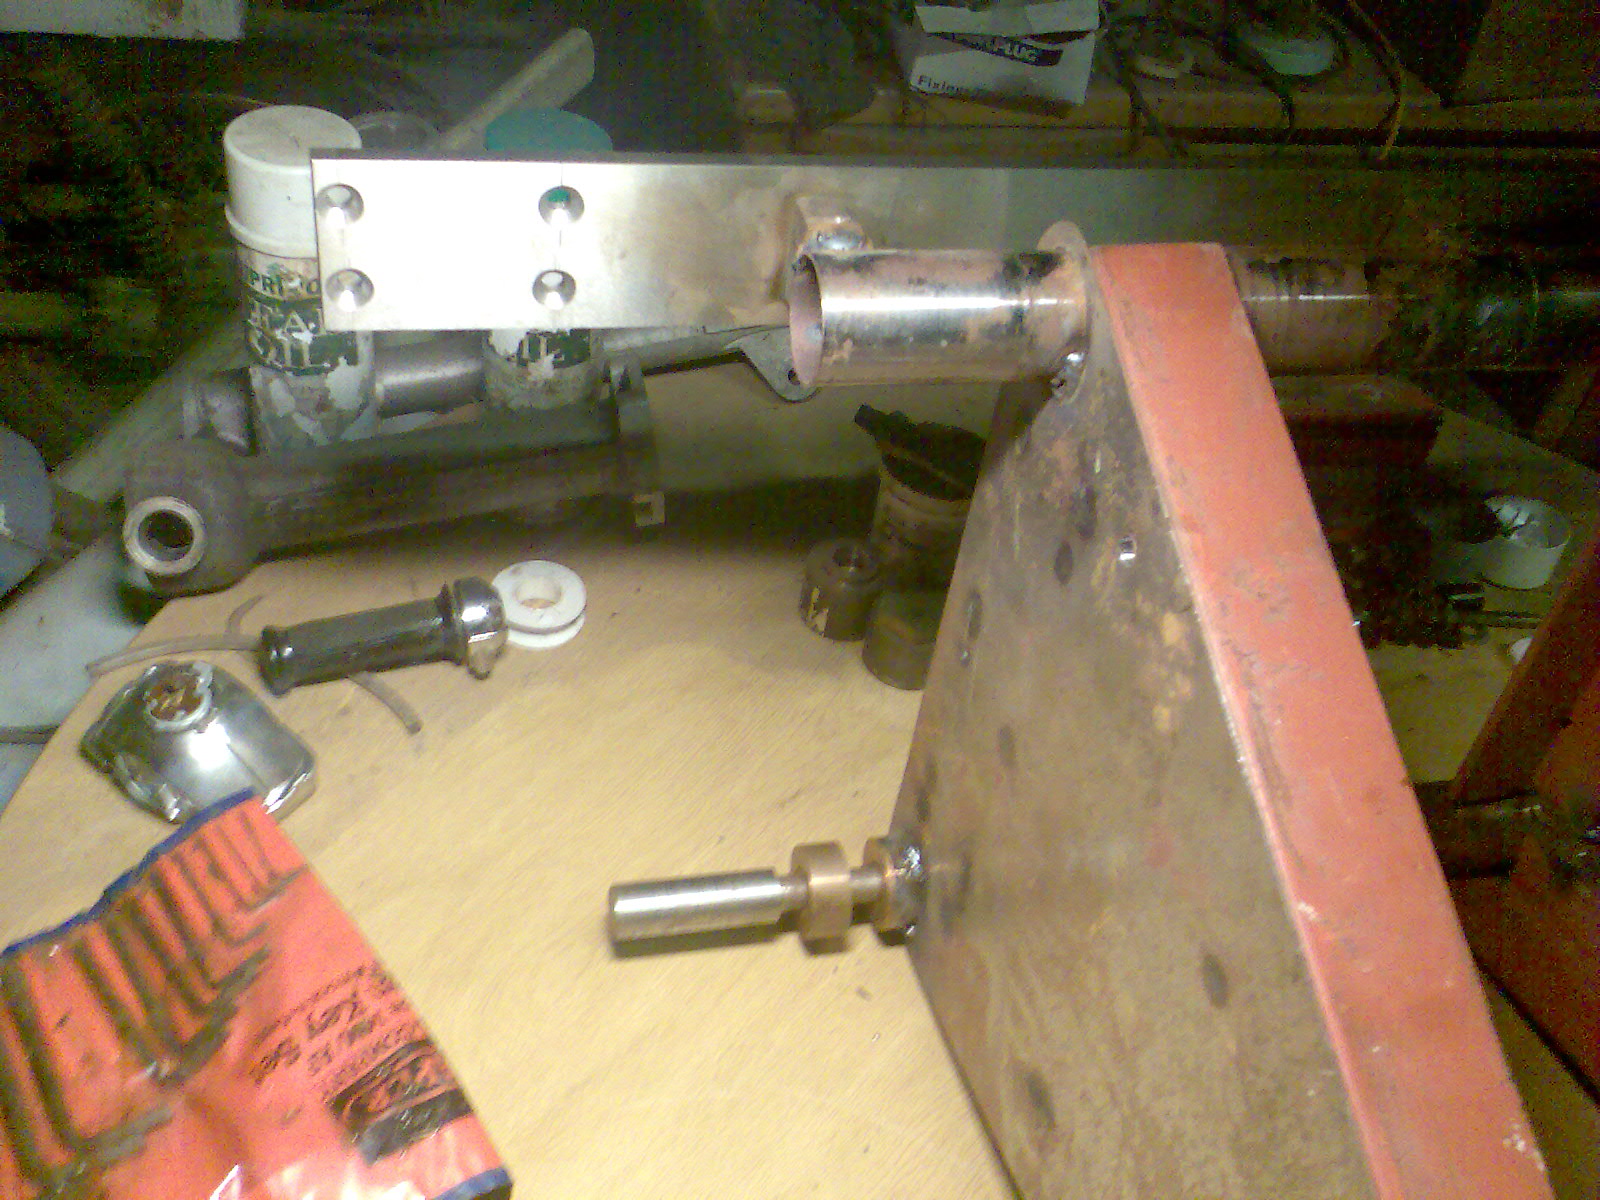
- Image021.jpg (492.53 KiB) Viewed 2170 times
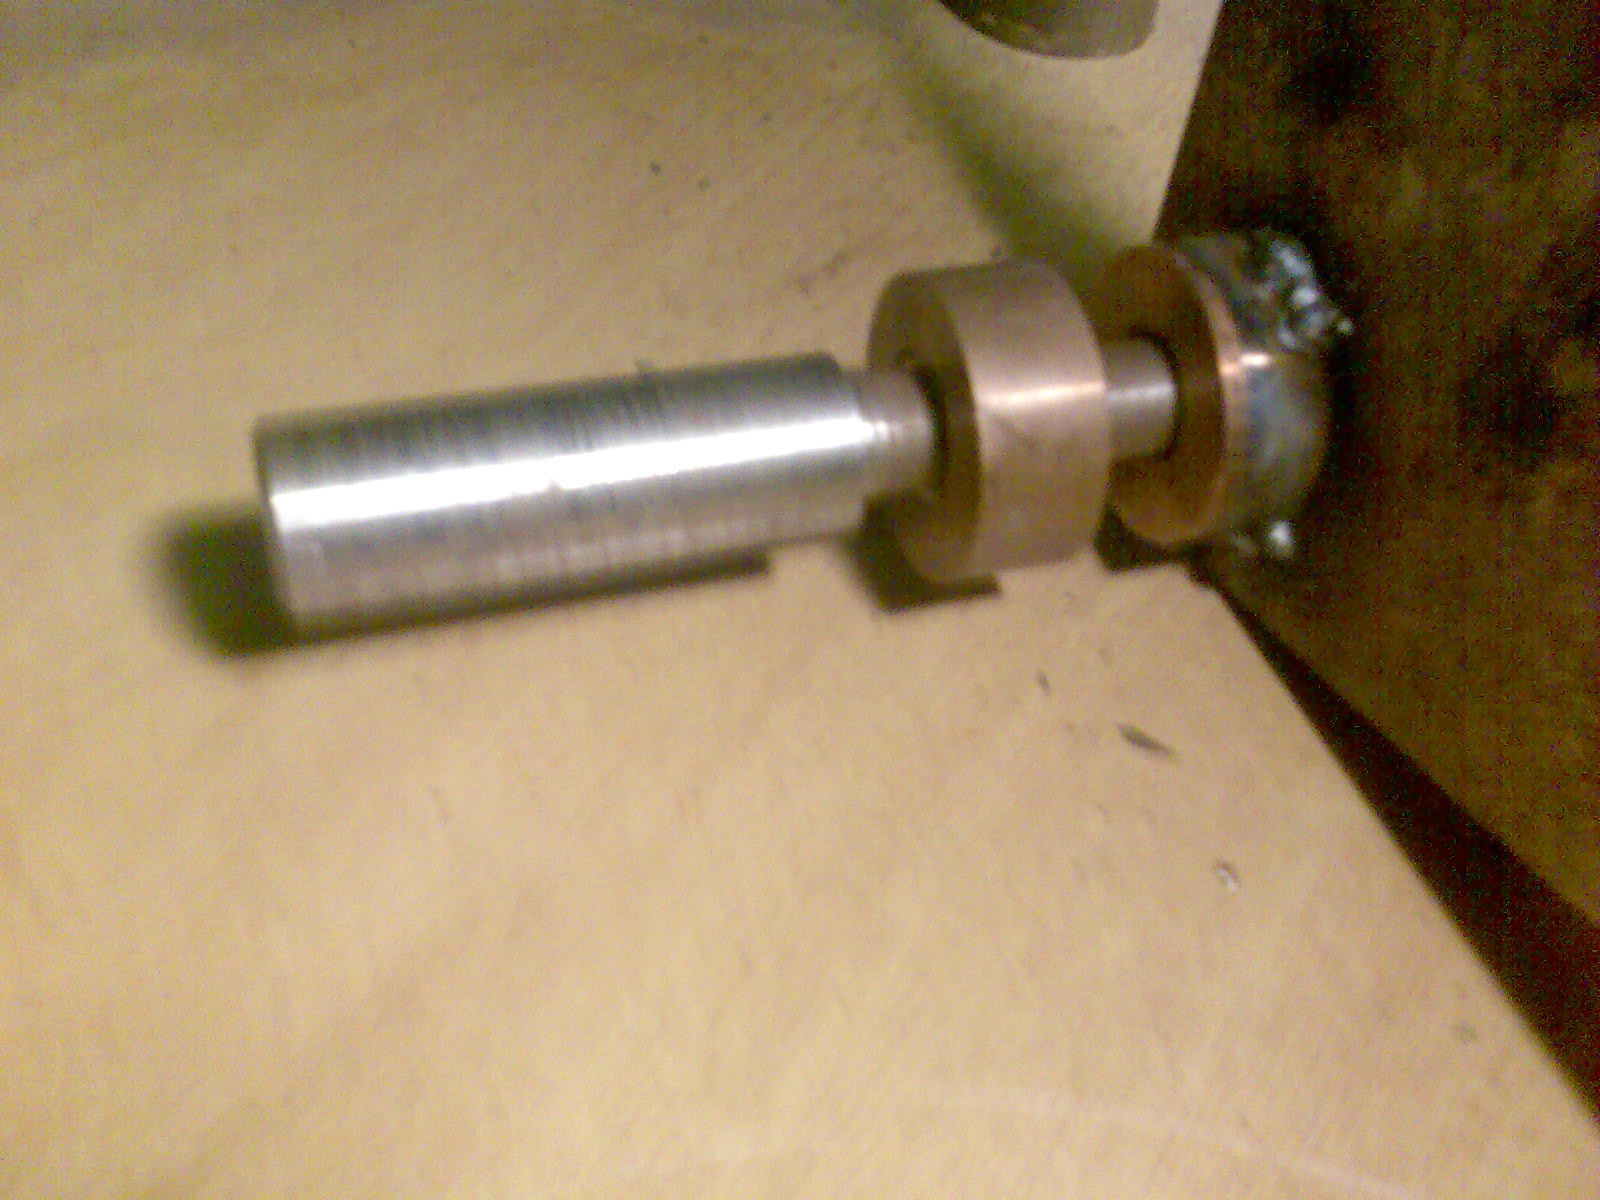
- Image022.jpg (431.63 KiB) Viewed 2170 times
Re: Rose Taupe Traveller Restoration- update 17
Posted: Thu Jan 21, 2010 8:04 pm
by taupe
Hi
I finished and fitted my front end alignment jig tonight - nearly everything lines up!!
The damper mountings were spot on as were the engine mount points, the one remaining bumper mounting point also lined up - But interestingly the nearside chassis leg front section which has previously been replaced - is out (too far back) by 1/16" where the lower suspension eyebolt fits. its at the correct height so im pretty confident that the error is on the car and not the Jig alignment. ( I checked and double checked this)
This is good news as I am replacing both full chassis legs and will be able to get them all just right!!
I can now get the rollover frames fitted and plan to roll it over this weekend.
I will post some pics tomorrow.
Re: Rose Taupe Traveller Restoration- update 18
Posted: Thu Jan 21, 2010 8:14 pm
by jonathon
Good work, nice jig too, been held up on the production of ours but should have them ready for sale or hire in a month or so.

Re: Rose Taupe Traveller Restoration- update 18
Posted: Thu Jan 21, 2010 8:21 pm
by taupe
Thanks Jonathon
I bet there will be a big demand for hire! And outright purchase depending on where your costs end up!!
I know theres a lot of work involved in making one just right

Re: Rose Taupe Traveller Restoration- update 18
Posted: Sun Jan 24, 2010 10:20 am
by RobThomas
On the subject of making jigs etc, here is the frame I made to get a bare bodyshell off to the chemical dip. It slides together and then the forwards mount for the rear springs goes through the tubes at one end and the other end fits between the chassis rails and the screw threads are slotted so that they can be wound outwards through the holes where the eye bolts normally go. You need to stick a long screwdriver through the chassis legs to wind out the threaded rods.[frame]

[/frame][frame]

[/frame]
Re: Rose Taupe Traveller Restoration- update 19
Posted: Mon Jan 25, 2010 12:43 am
by taupe
Hi
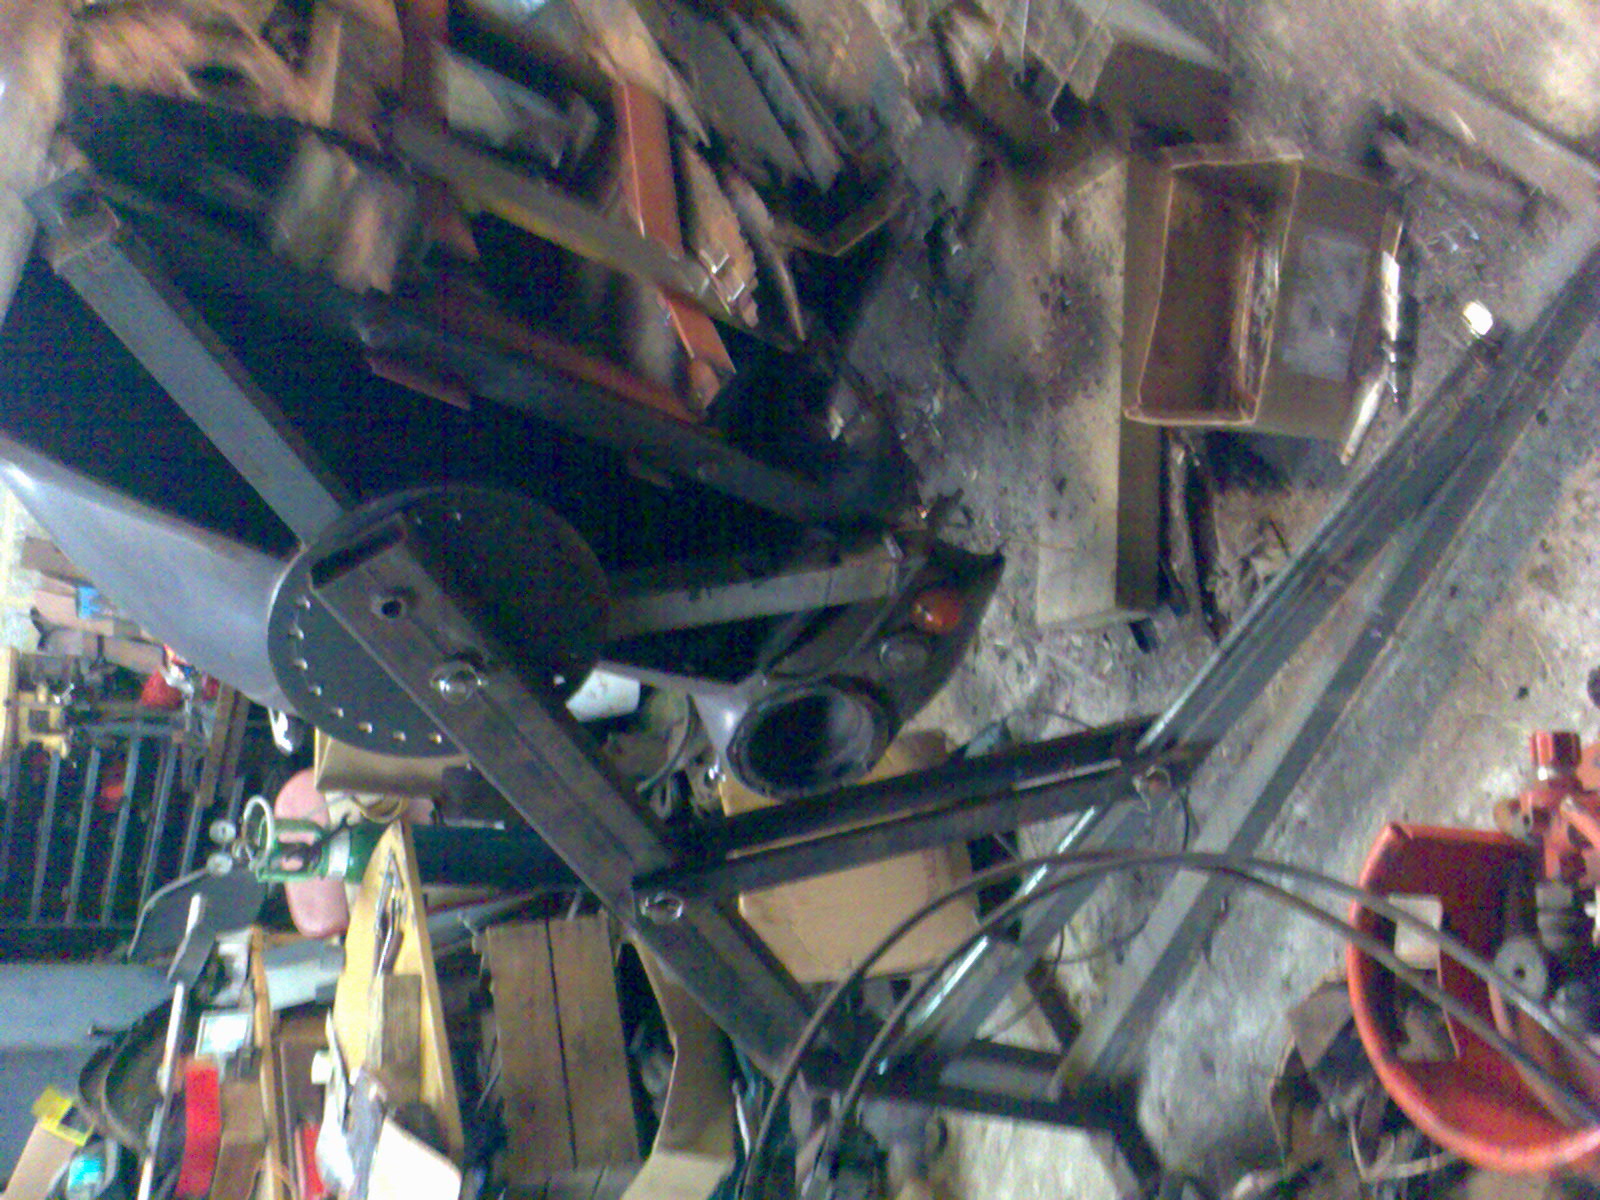
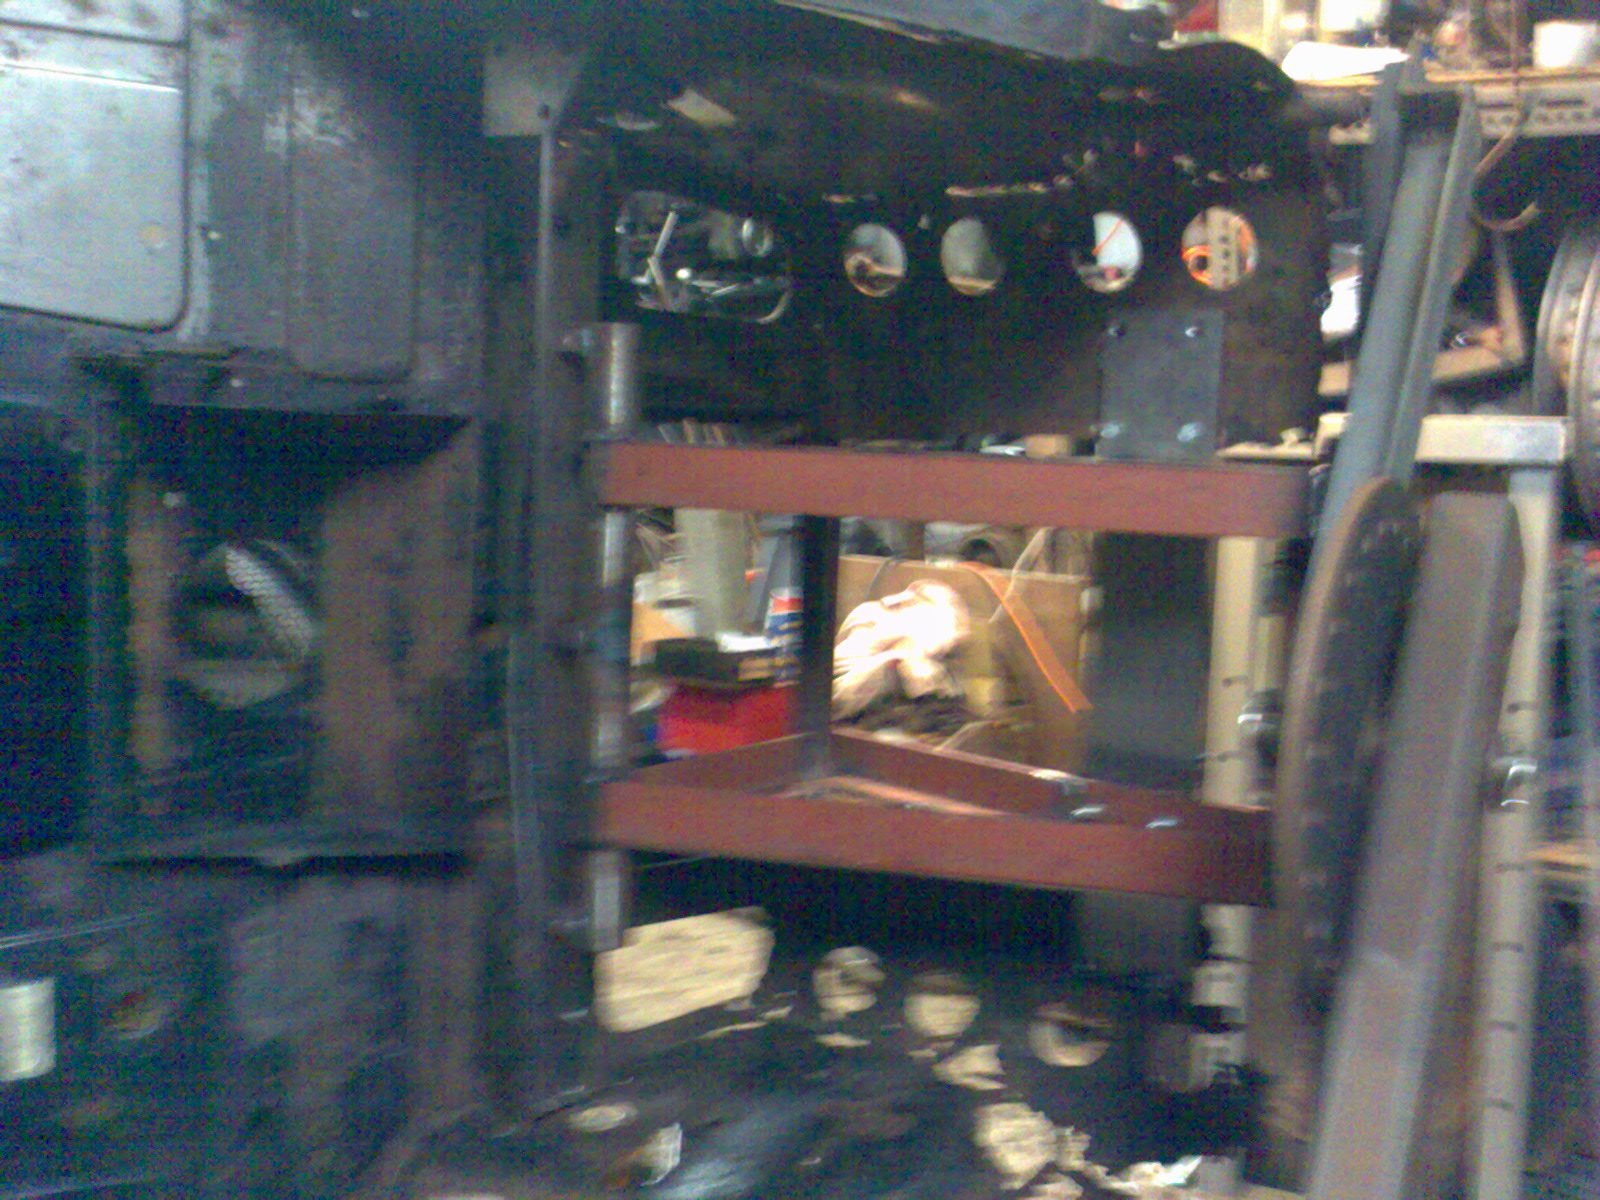
Ive got the traveller rolled now

The rollover frame I made works perfectly, just bolt on the mountings, wind it up on the thread and roll it over. You can lock it at any angle you want for the part youre working on and it lifts within the width of a car so you could use in a lockup!
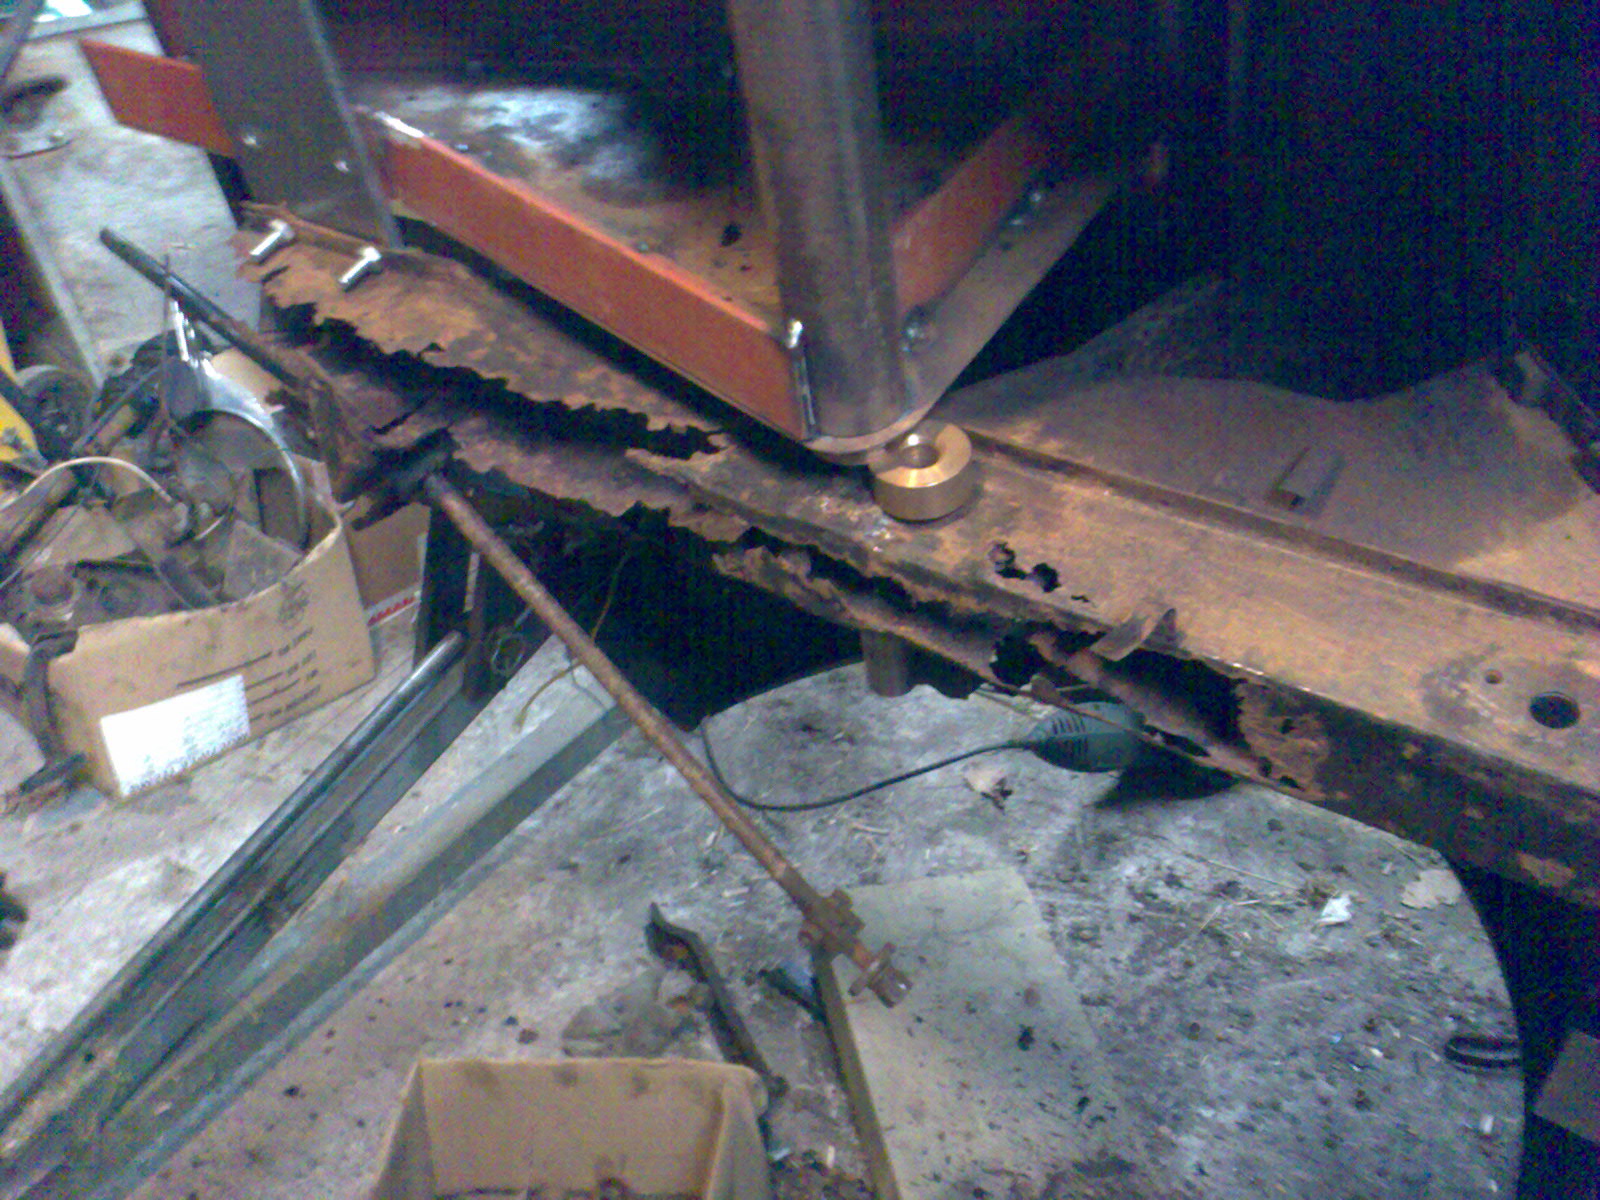
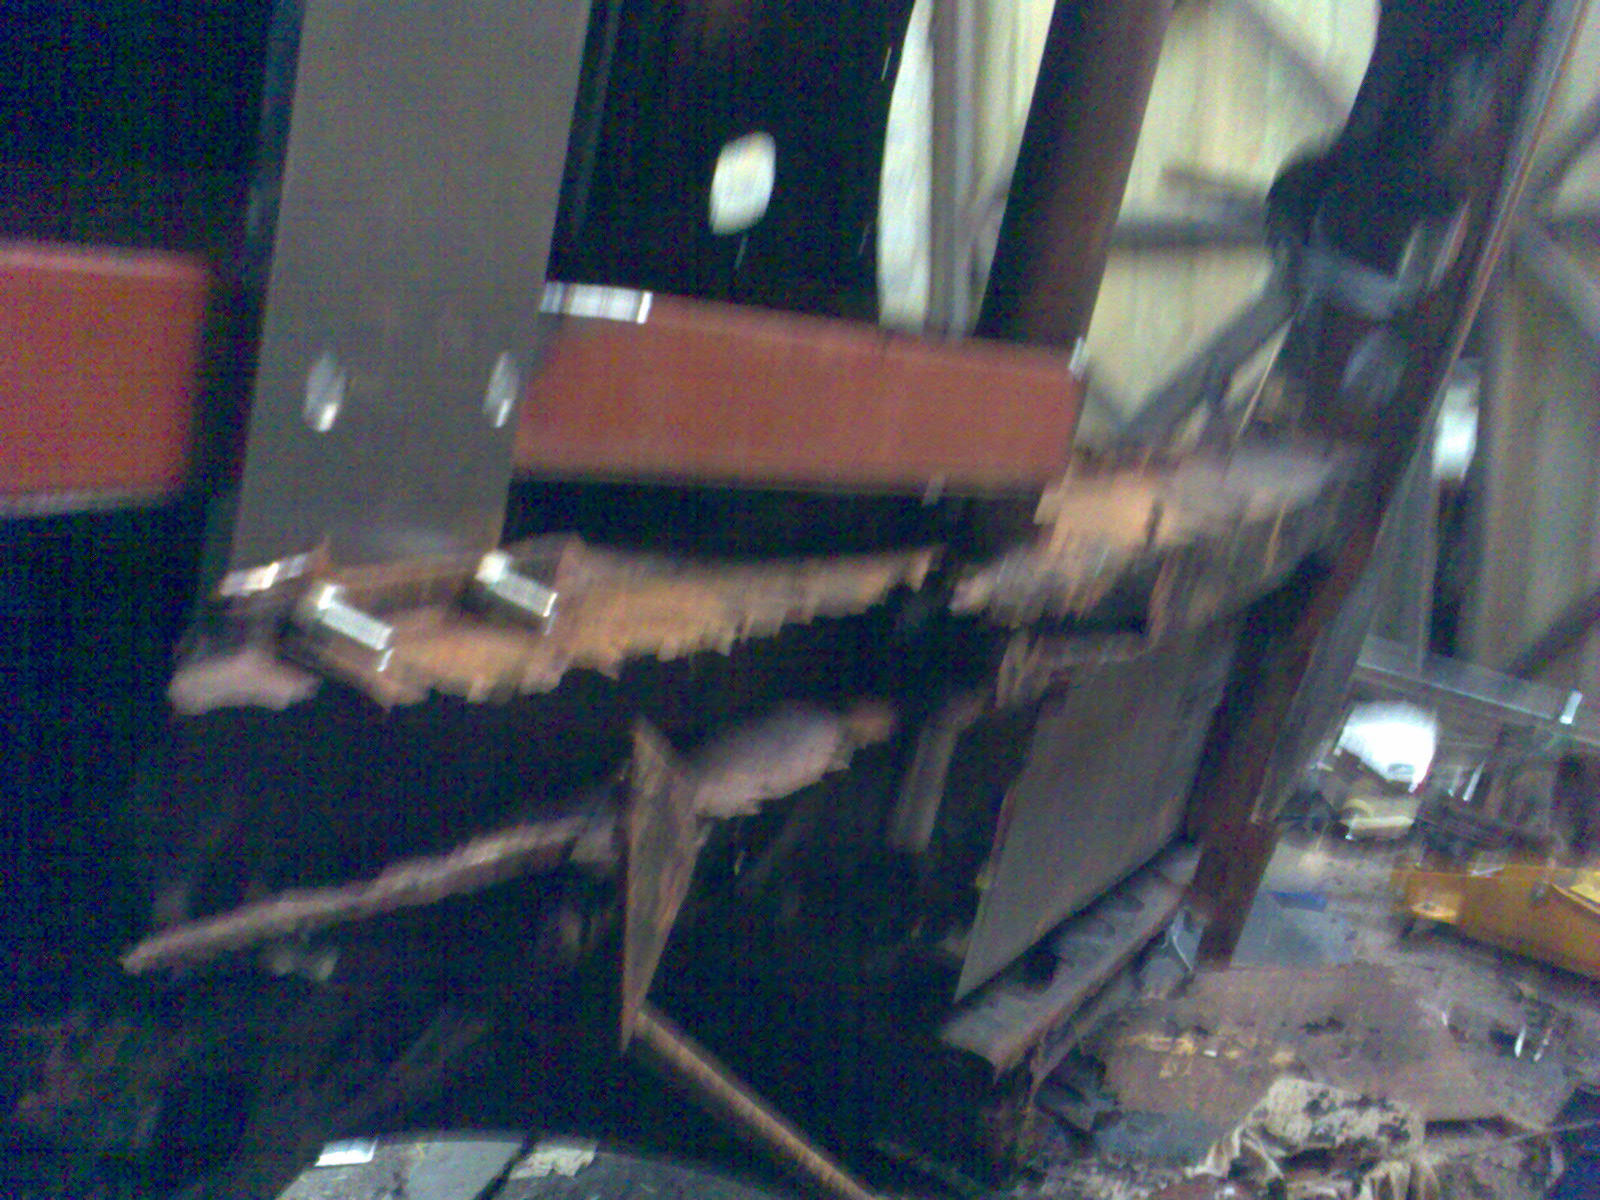
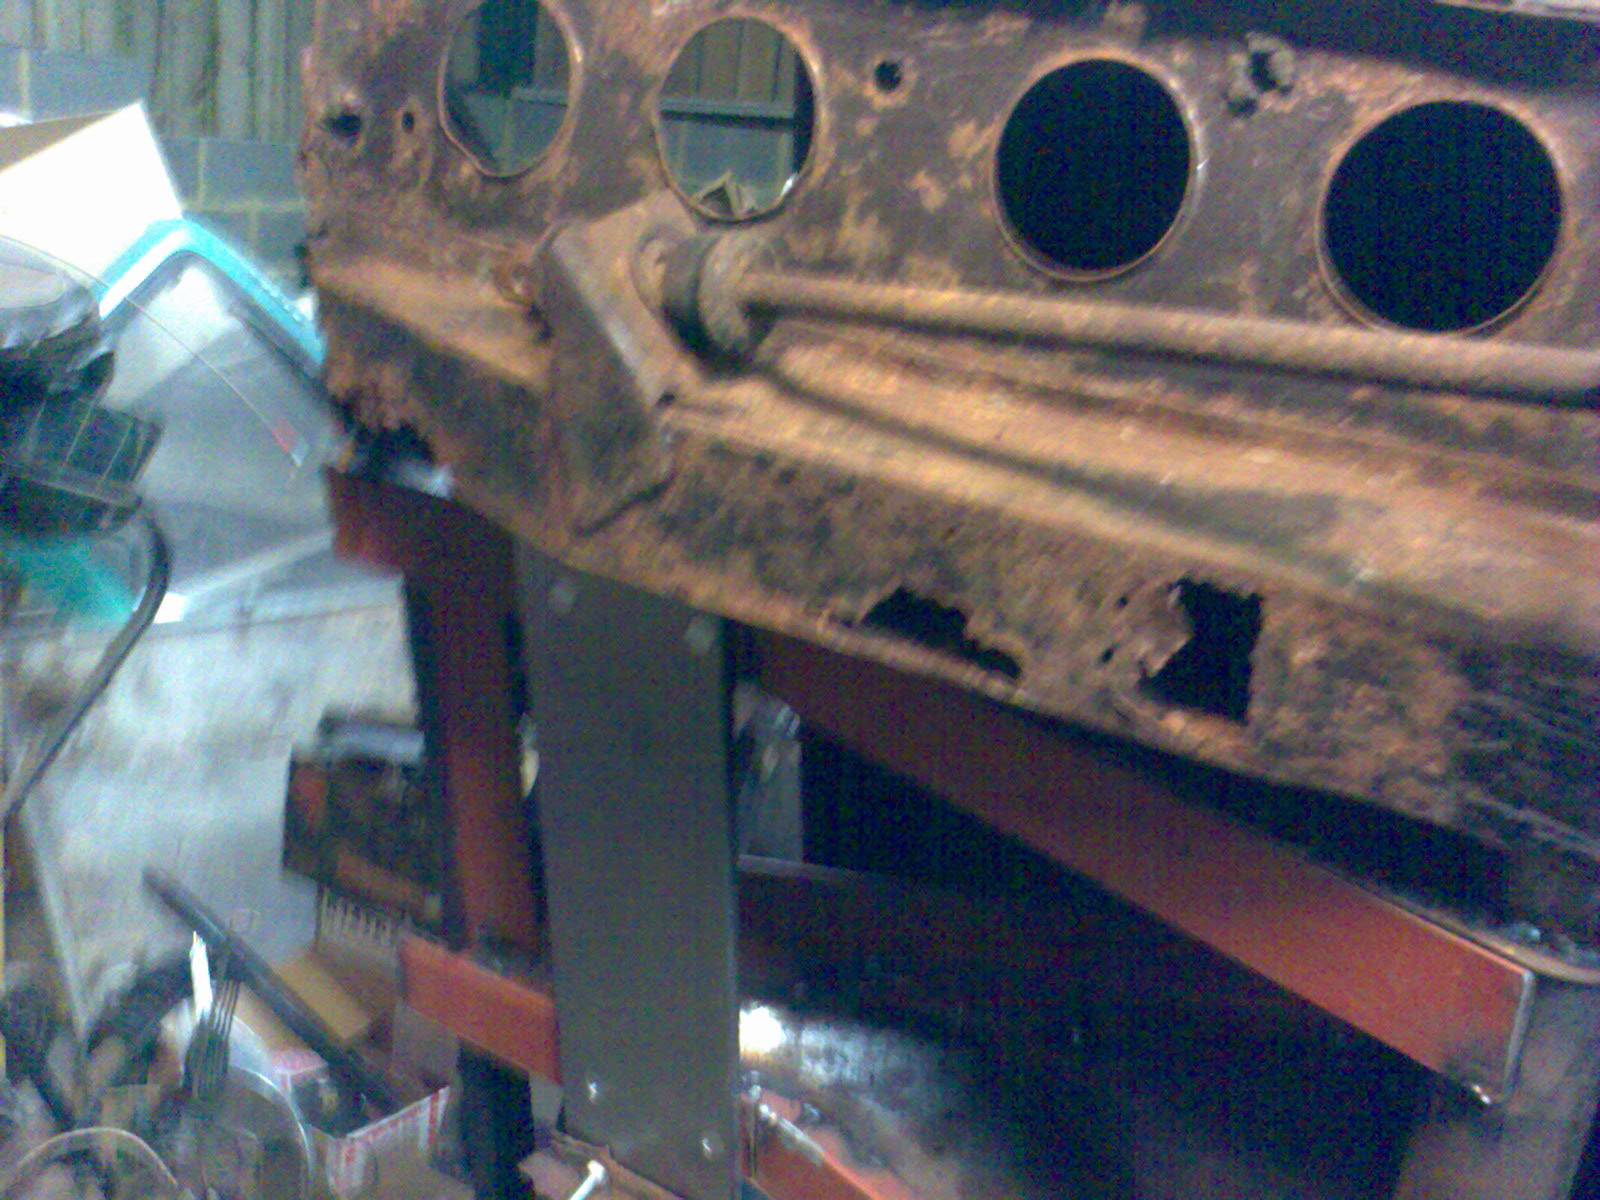
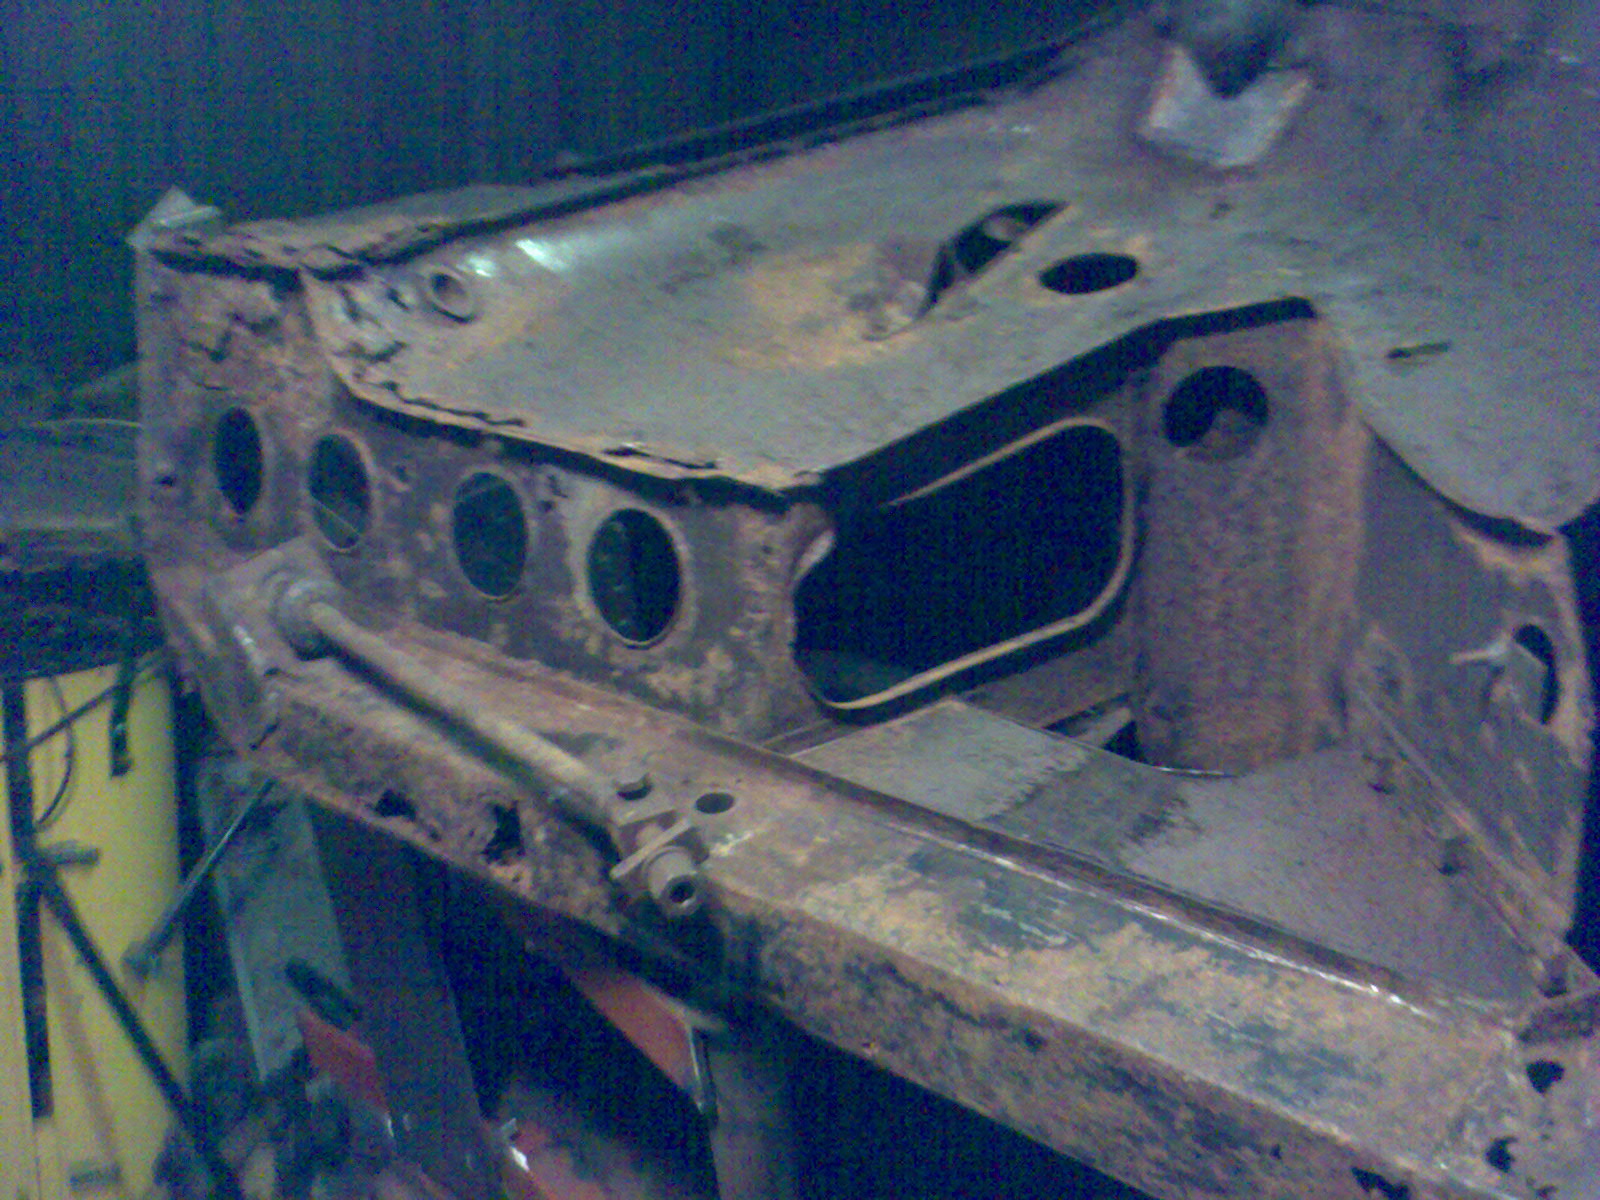
You can see how bad the front chassis rails are. The drivers side has had a half leg replaced in the past but the other (what remains of it) is the original.
Ive got a couple of days scraping off the underseal before ill know the full extent of repairs needed underneath.
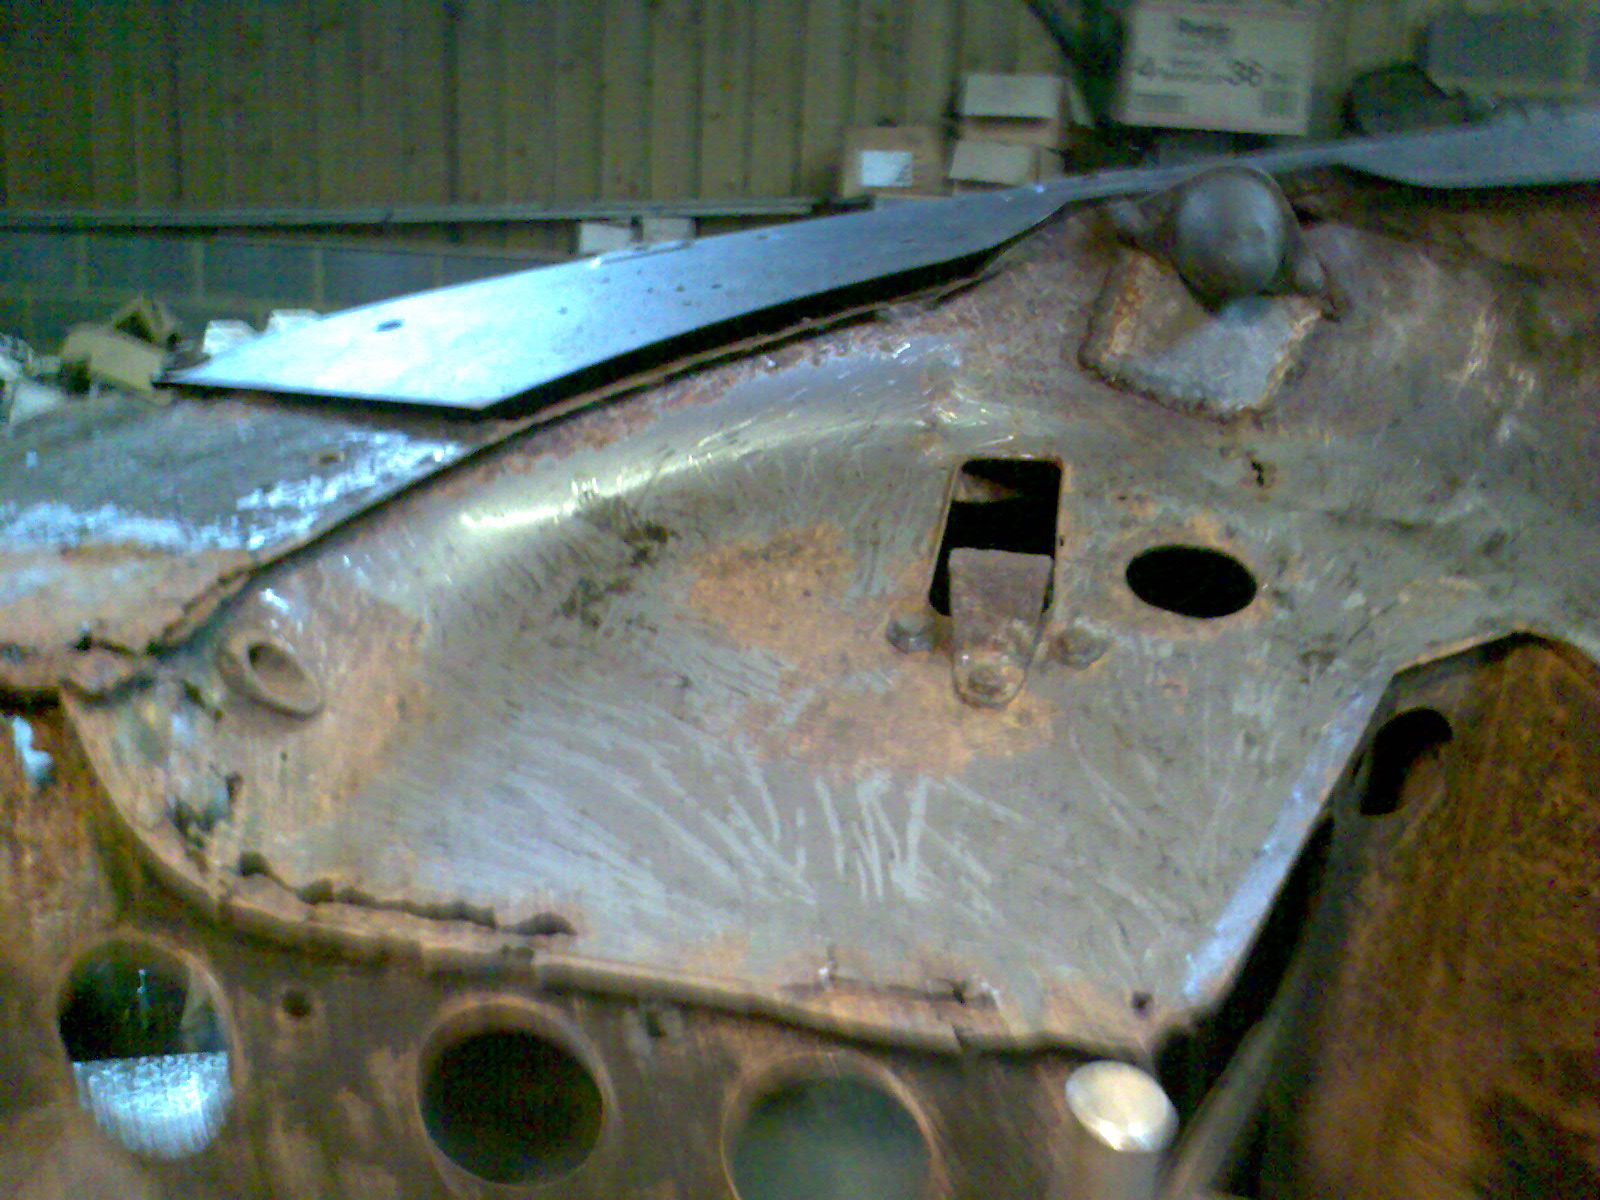
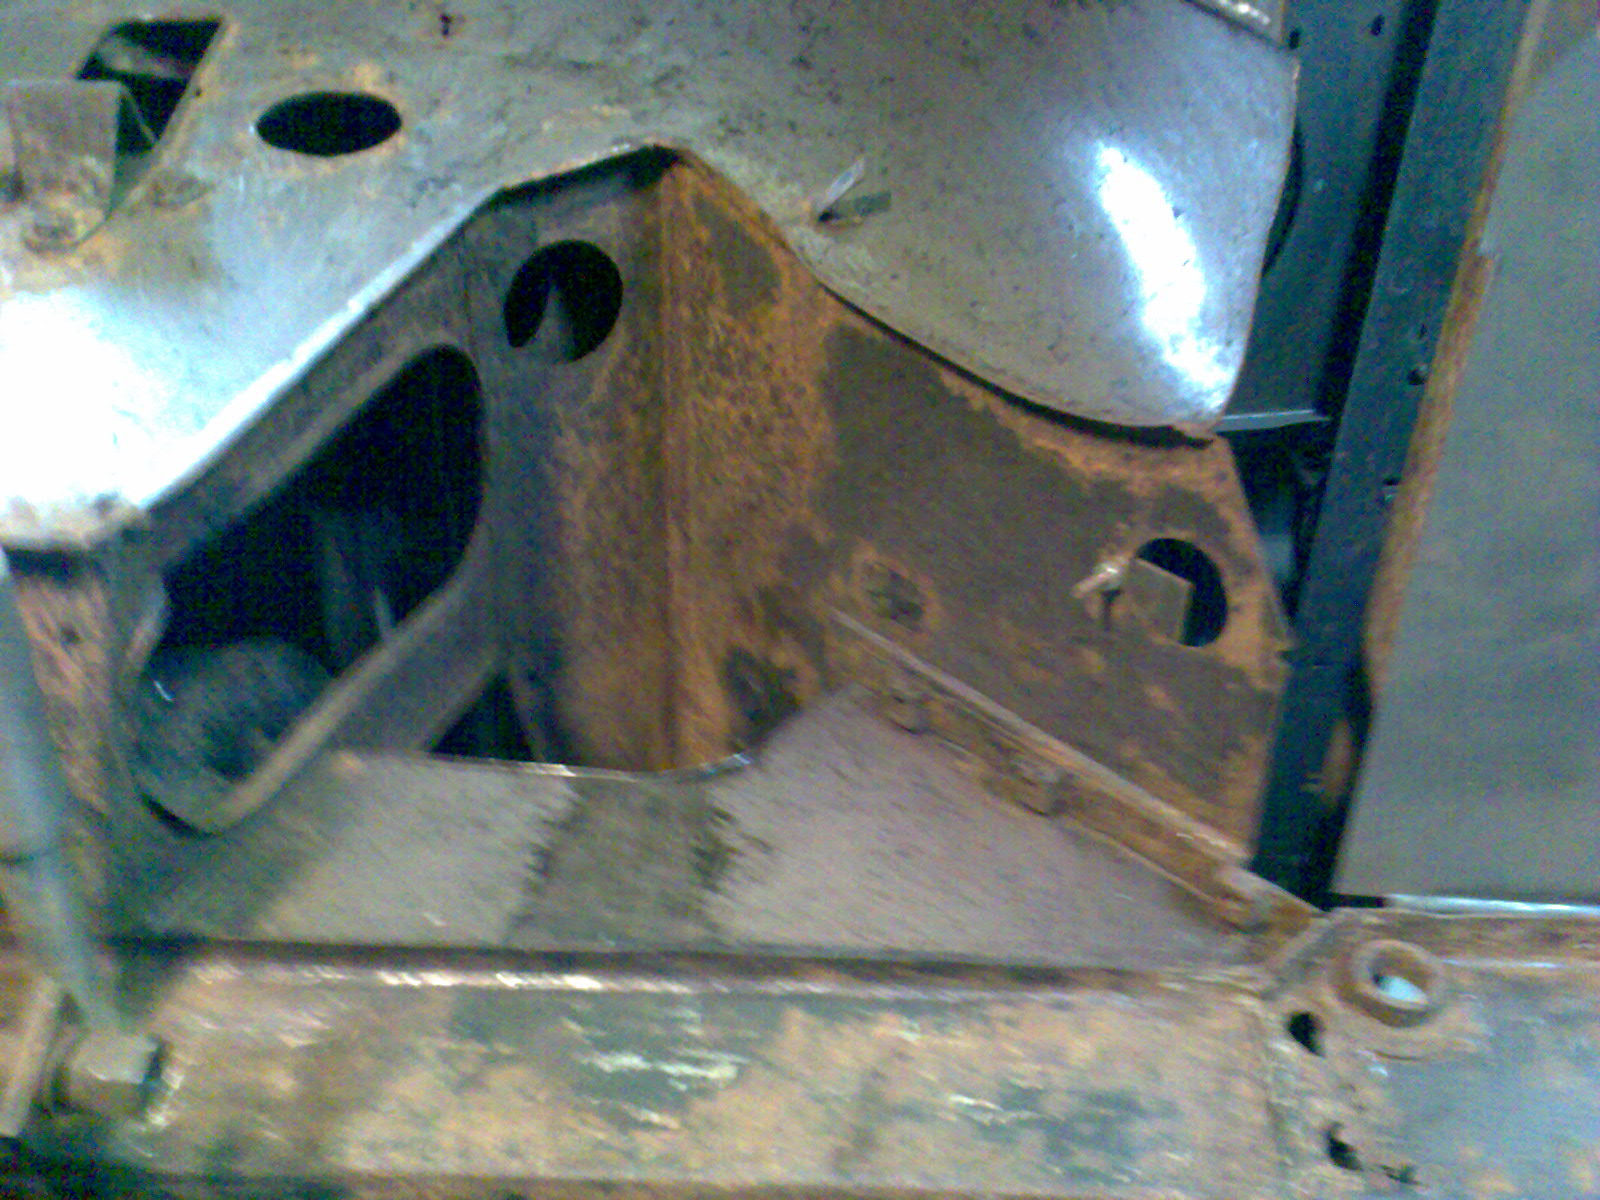
The inner wing is in amazing condition under the original bitumen underseal, there was a whiff of original Taupe paint - but no sign of any primer having been applied. This just needs a few patch repairs with new metal.
Here are some pics:
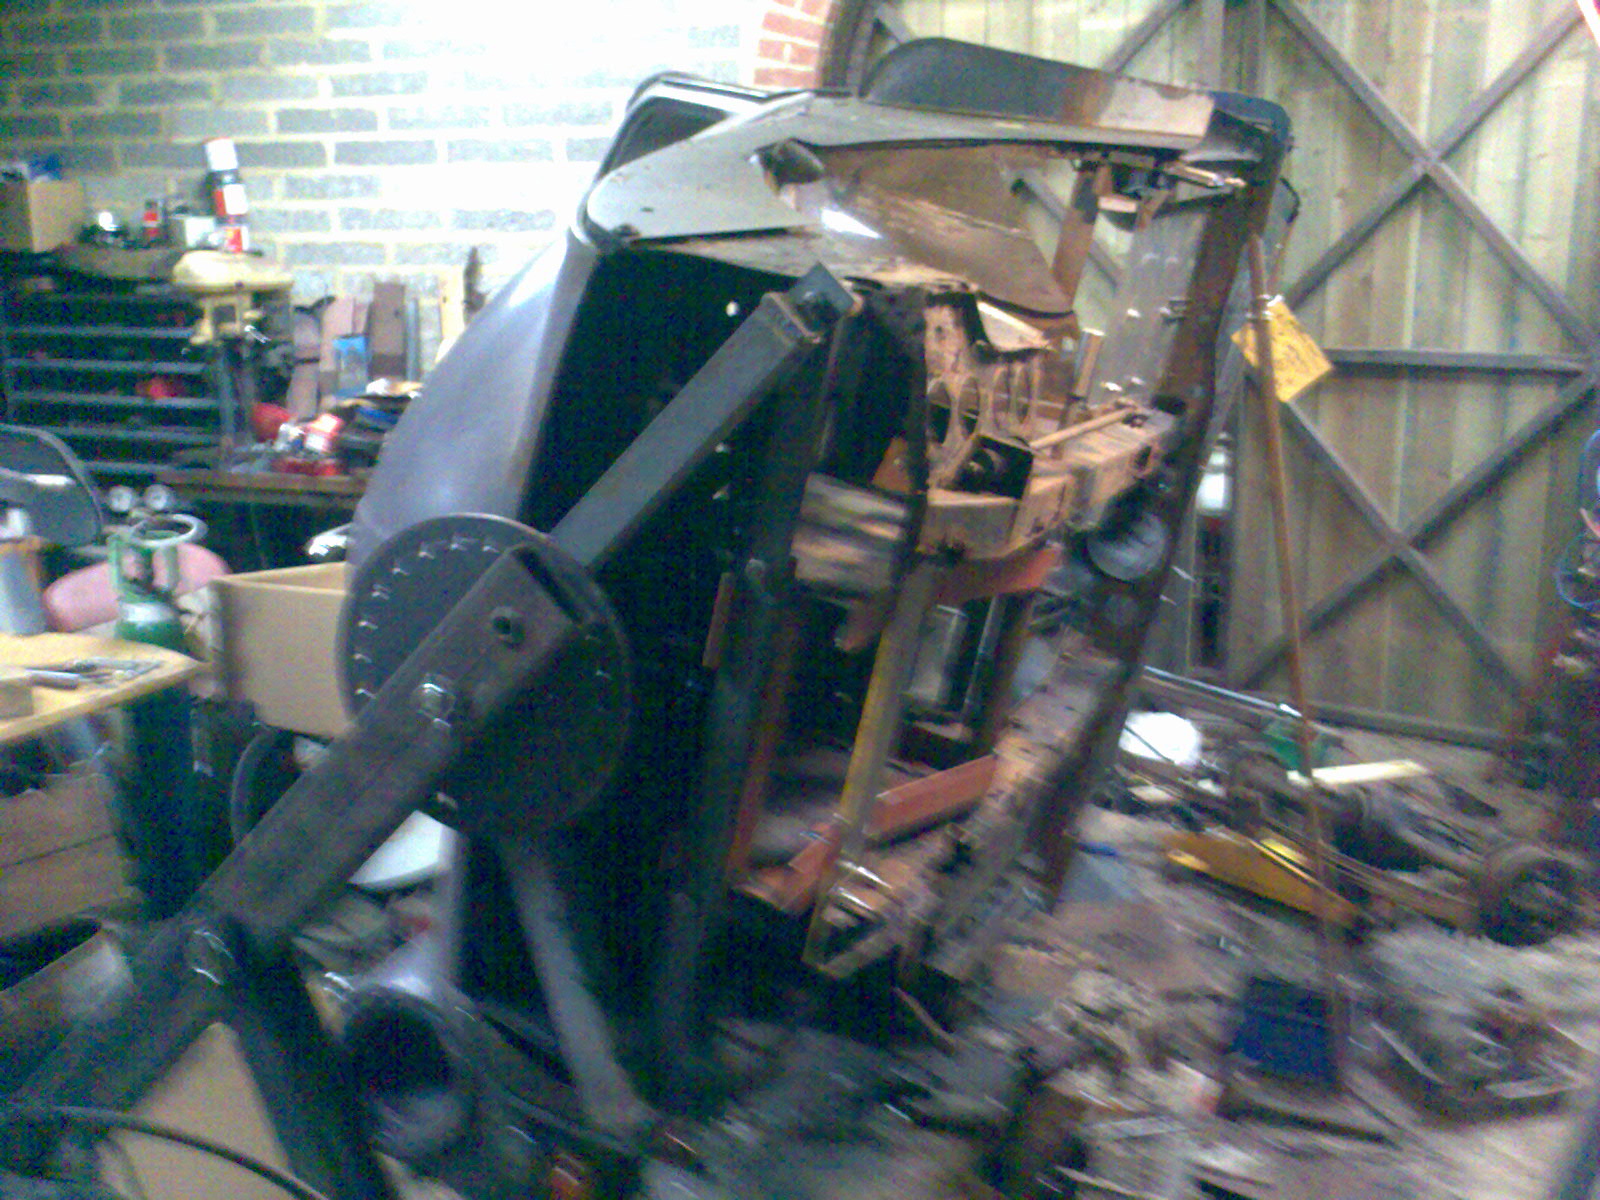
- Image037.jpg (549.95 KiB) Viewed 2219 times
- Image038.jpg (574.32 KiB) Viewed 2219 times
- Image039.jpg (532.39 KiB) Viewed 2219 times
- Image041.jpg (565.18 KiB) Viewed 2219 times
- Image040.jpg (520.26 KiB) Viewed 2219 times
- Image042.jpg (525.29 KiB) Viewed 2219 times
- Image036.jpg (532.97 KiB) Viewed 2219 times
- Image043.jpg (449.11 KiB) Viewed 2219 times
- Image044.jpg (490.07 KiB) Viewed 2219 times
Re: Rose Taupe Traveller Restoration- update 19
Posted: Sun Feb 07, 2010 1:17 am
by taupe
Hi
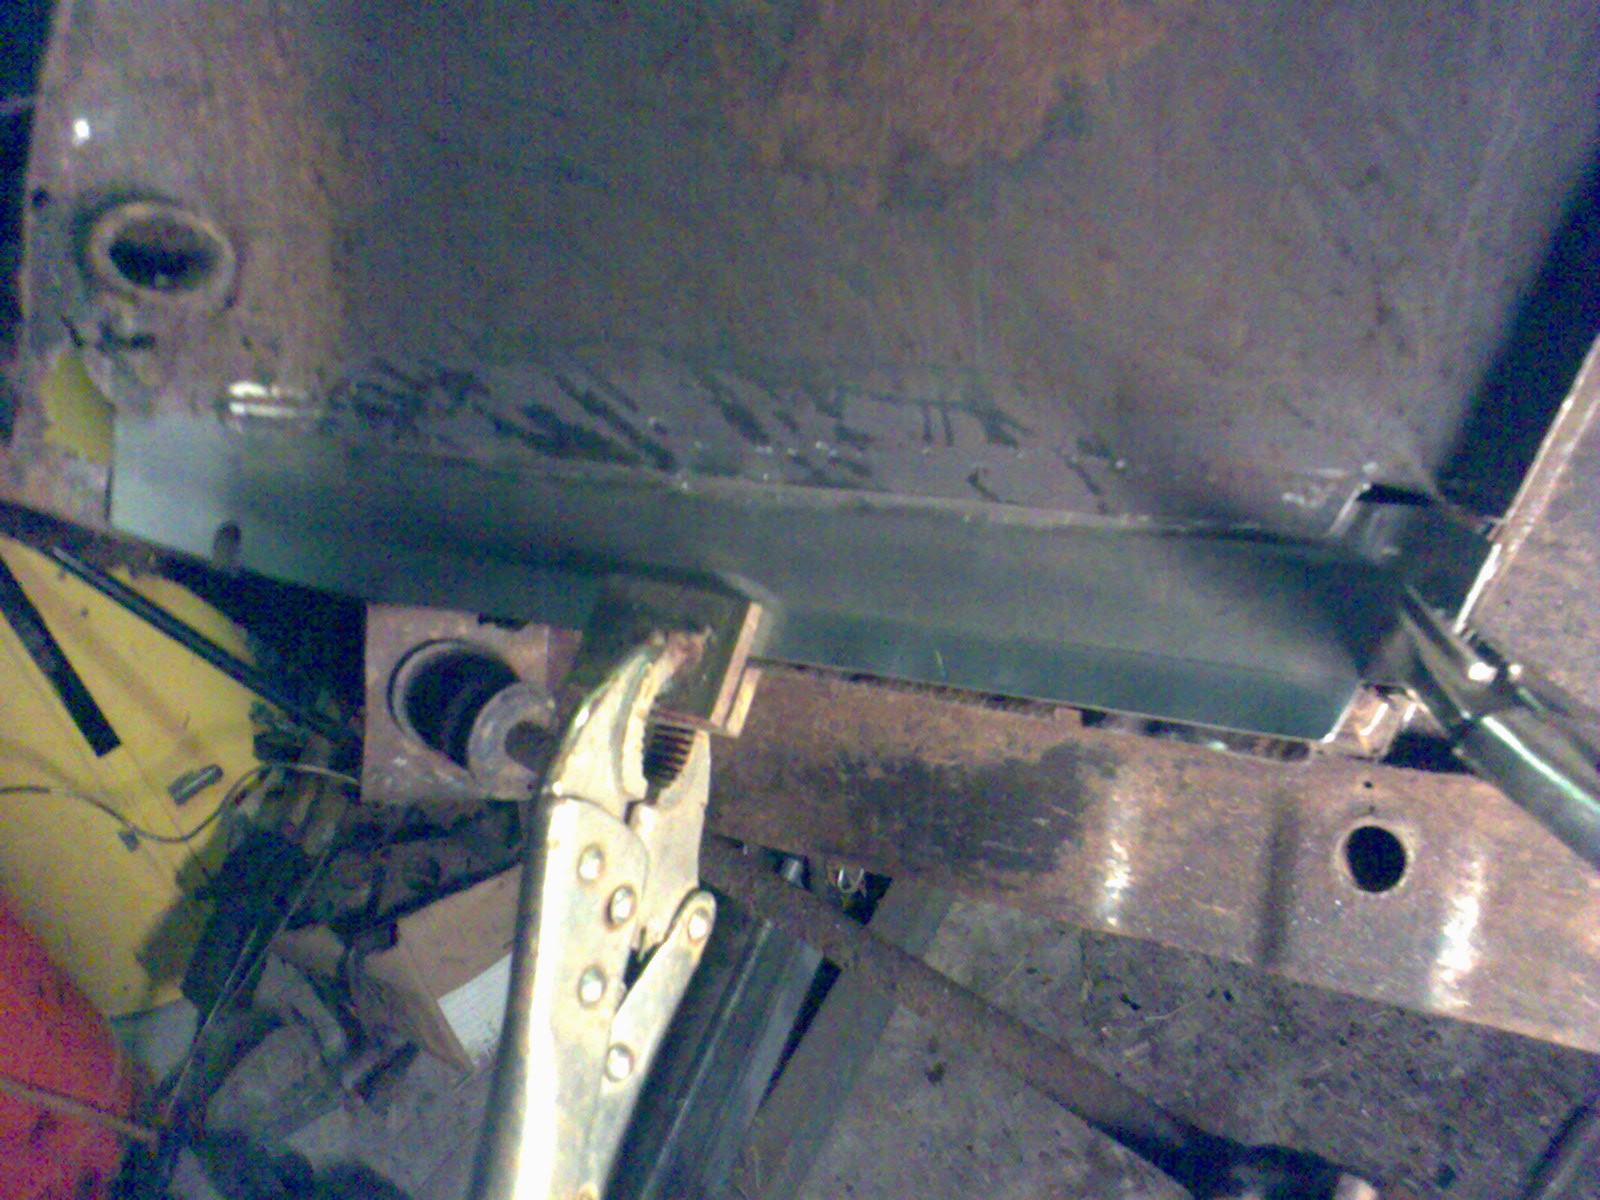
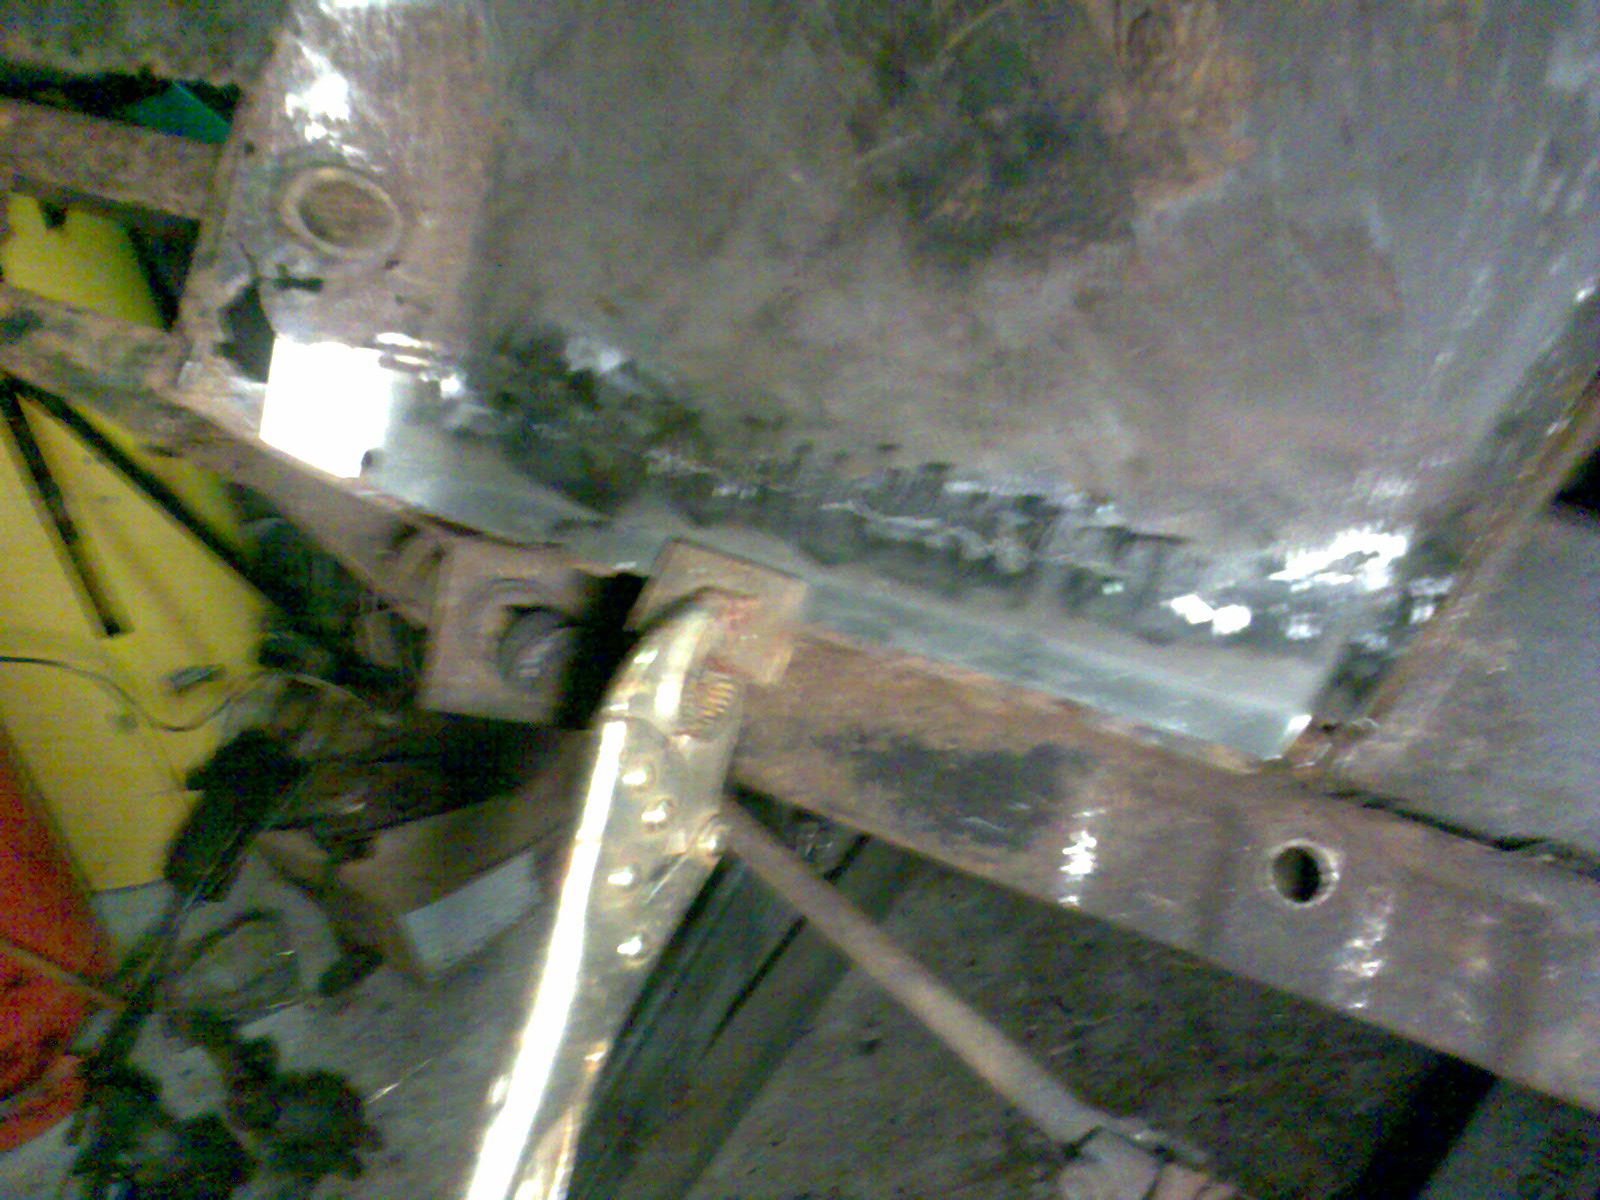
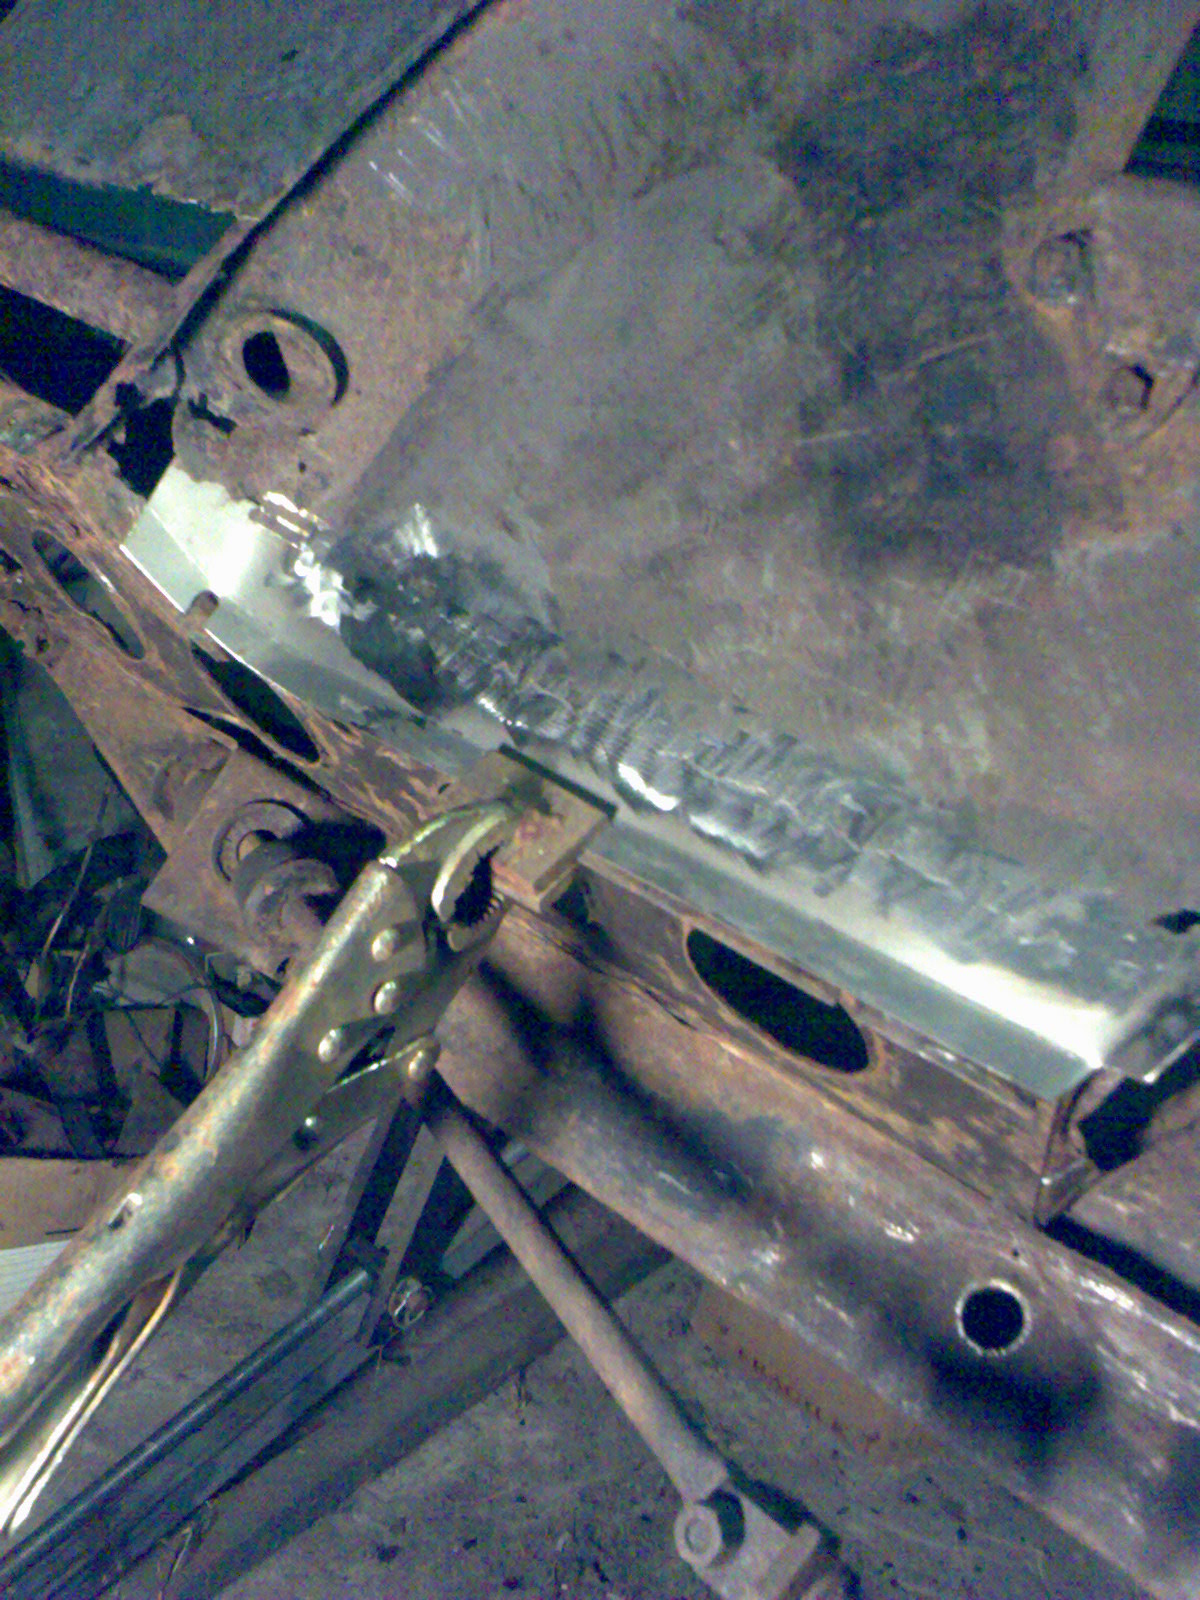
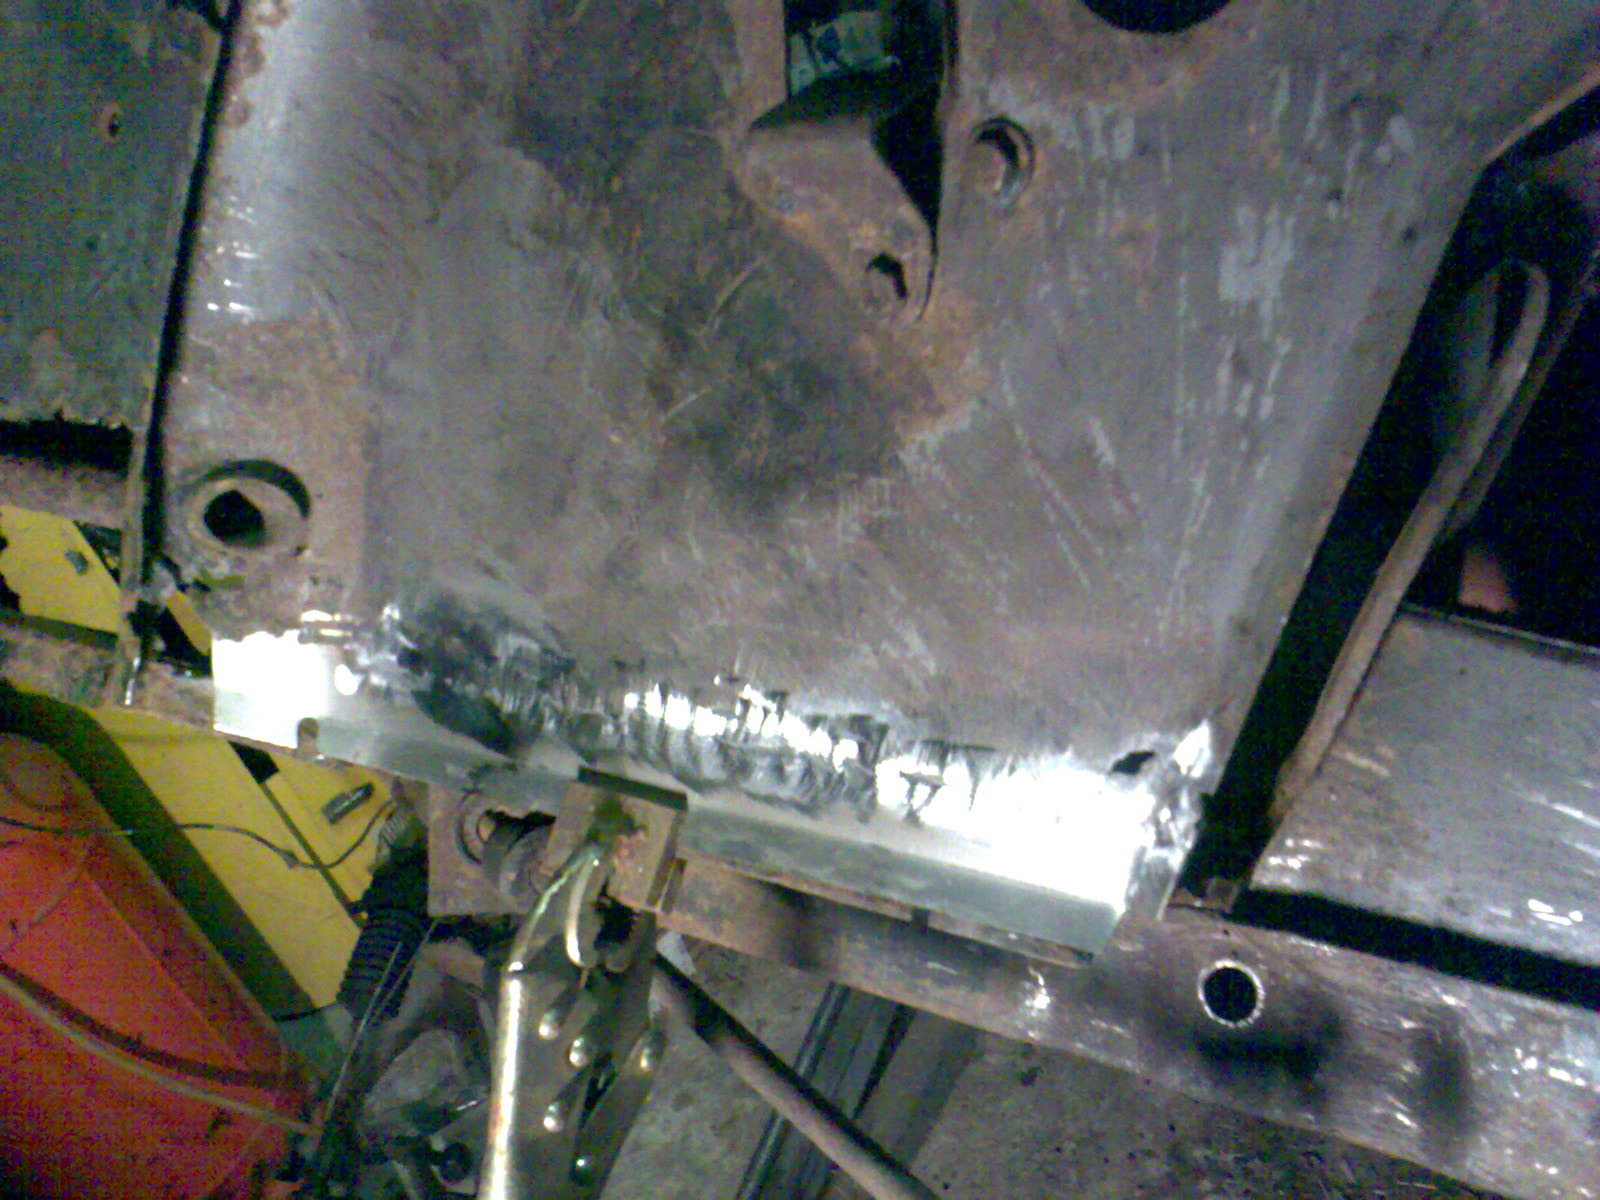
Im working towards replacing the nearside chassis leg/engine tie plate at the moment. In preperation and to ensure it all stays in alignment I decided to start by repairing the nearside inner wheelarch and bumper tube before cutting the leg and tie plate off.
I made three paper templates for the main patch repairs required. The first is to replace the rusty bottom edge which will later be spot welded to the tie plate. The next is the bit around the bumper support tube. Last but not least is the top of the arch which has the rubber suspension bumpstop bolted on and has a nasty patch at the moment.
Ive done the bottom edge tonight - a simple strip and joddled edge. Ill grind off the joddled seam on the inside when the tie plate is removed and seamweld it on the inside as well so theres no water trap. Its a way of getting a butt weld without distortion problems. There are some pics below.
The SIP migwelder is on form at the moment - It seems to get better when being used regularly and not resting getting damp.
Ive got most of the underseal off the underside now. Theres some good bits and some bad bits!!

---

A particularly difficult bit is the area above the steering rack which has some thinned metal and some patches of rusty seam.
Grinding out the rust and patching over to reinforce would be fairly straightforward but to do a proper 'invisible' repair is going to be very tricky. Im going to have to think hard about whether I really need to tackle that bit!!
Here are the pics:
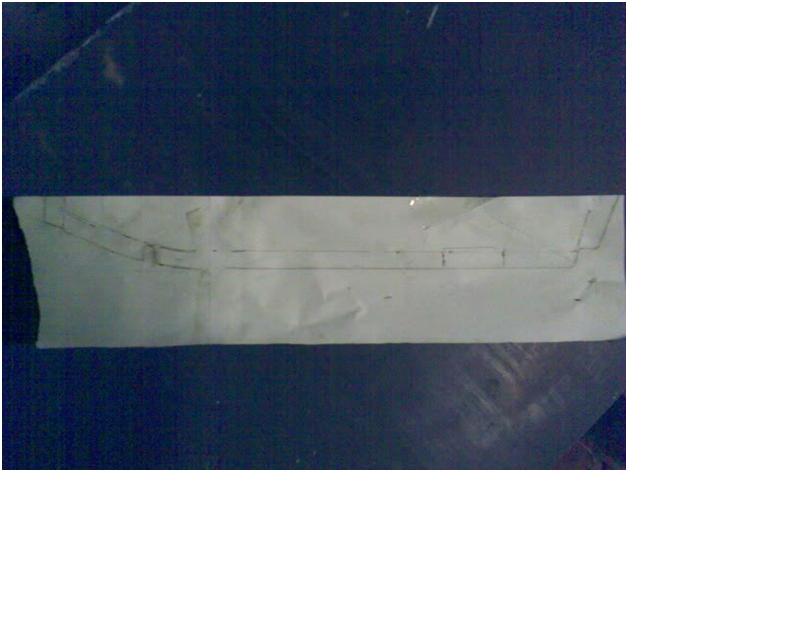
- inner wing1.JPG (34.24 KiB) Viewed 2217 times
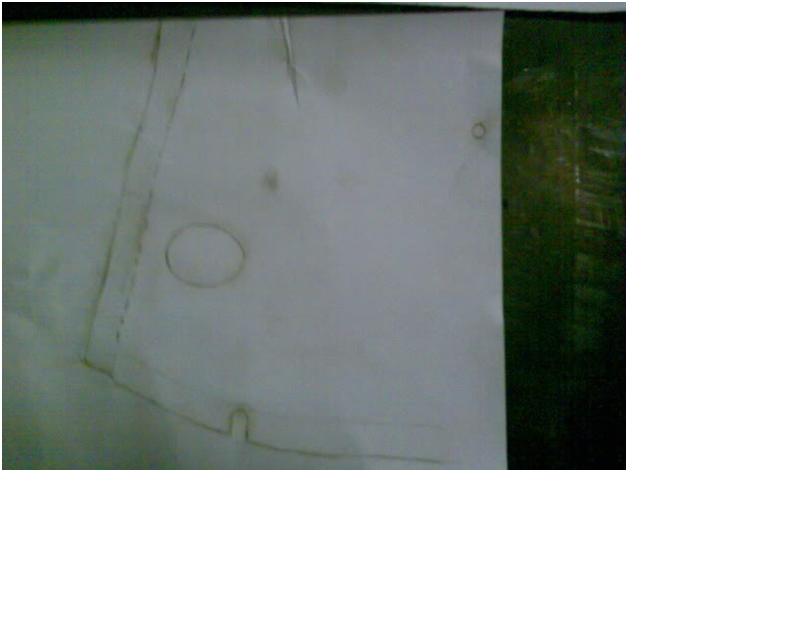
- inner wing 2.JPG (24.86 KiB) Viewed 2217 times
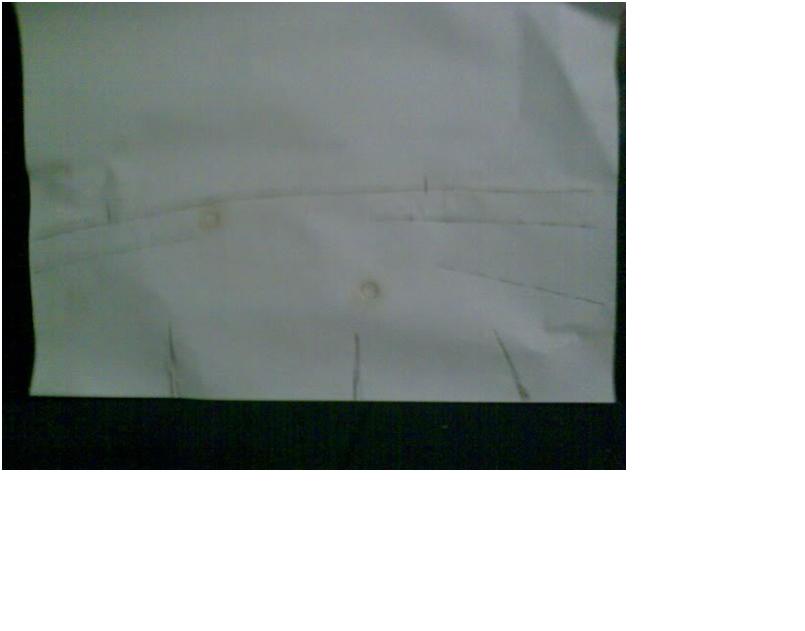
- inner wing 3.JPG (23.28 KiB) Viewed 2217 times
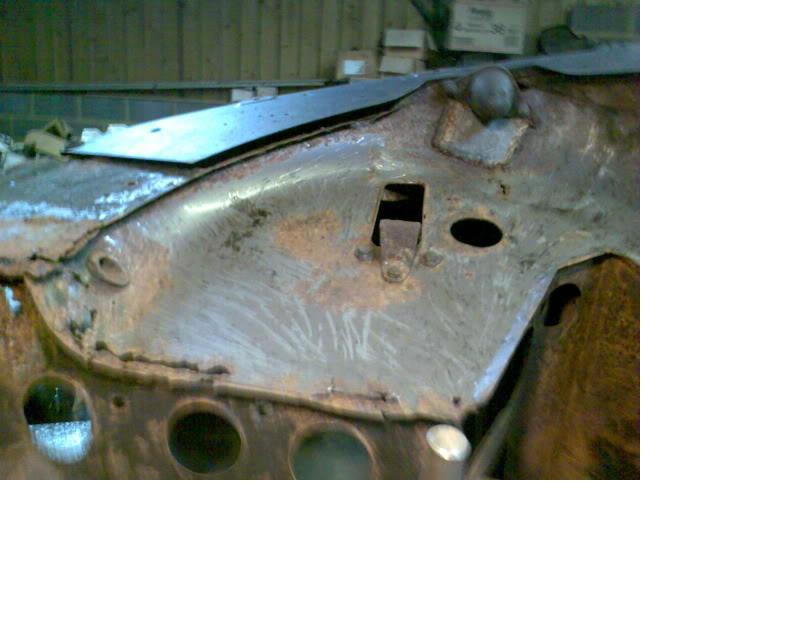
- inner wing 4.JPG (42.29 KiB) Viewed 2217 times
- Image087.jpg (516.03 KiB) Viewed 2218 times
- Image090.jpg (469.5 KiB) Viewed 2218 times
- Image089.jpg (547 KiB) Viewed 2218 times
- Image088.jpg (510.56 KiB) Viewed 2218 times
Re: Rose Taupe Traveller Restoration- update 20
Posted: Sun Feb 07, 2010 10:36 am
by mr2daniel
Hi there
All looks very professional.
Can you work on the body arround the rollover?
Nice job.

Re: Rose Taupe Traveller Restoration- update 20
Posted: Tue Feb 16, 2010 7:13 pm
by taupe
Re: Rose Taupe Traveller Restoration- update 21
Posted: Wed Feb 17, 2010 4:23 pm
by rich-legg
Looking good Charles!
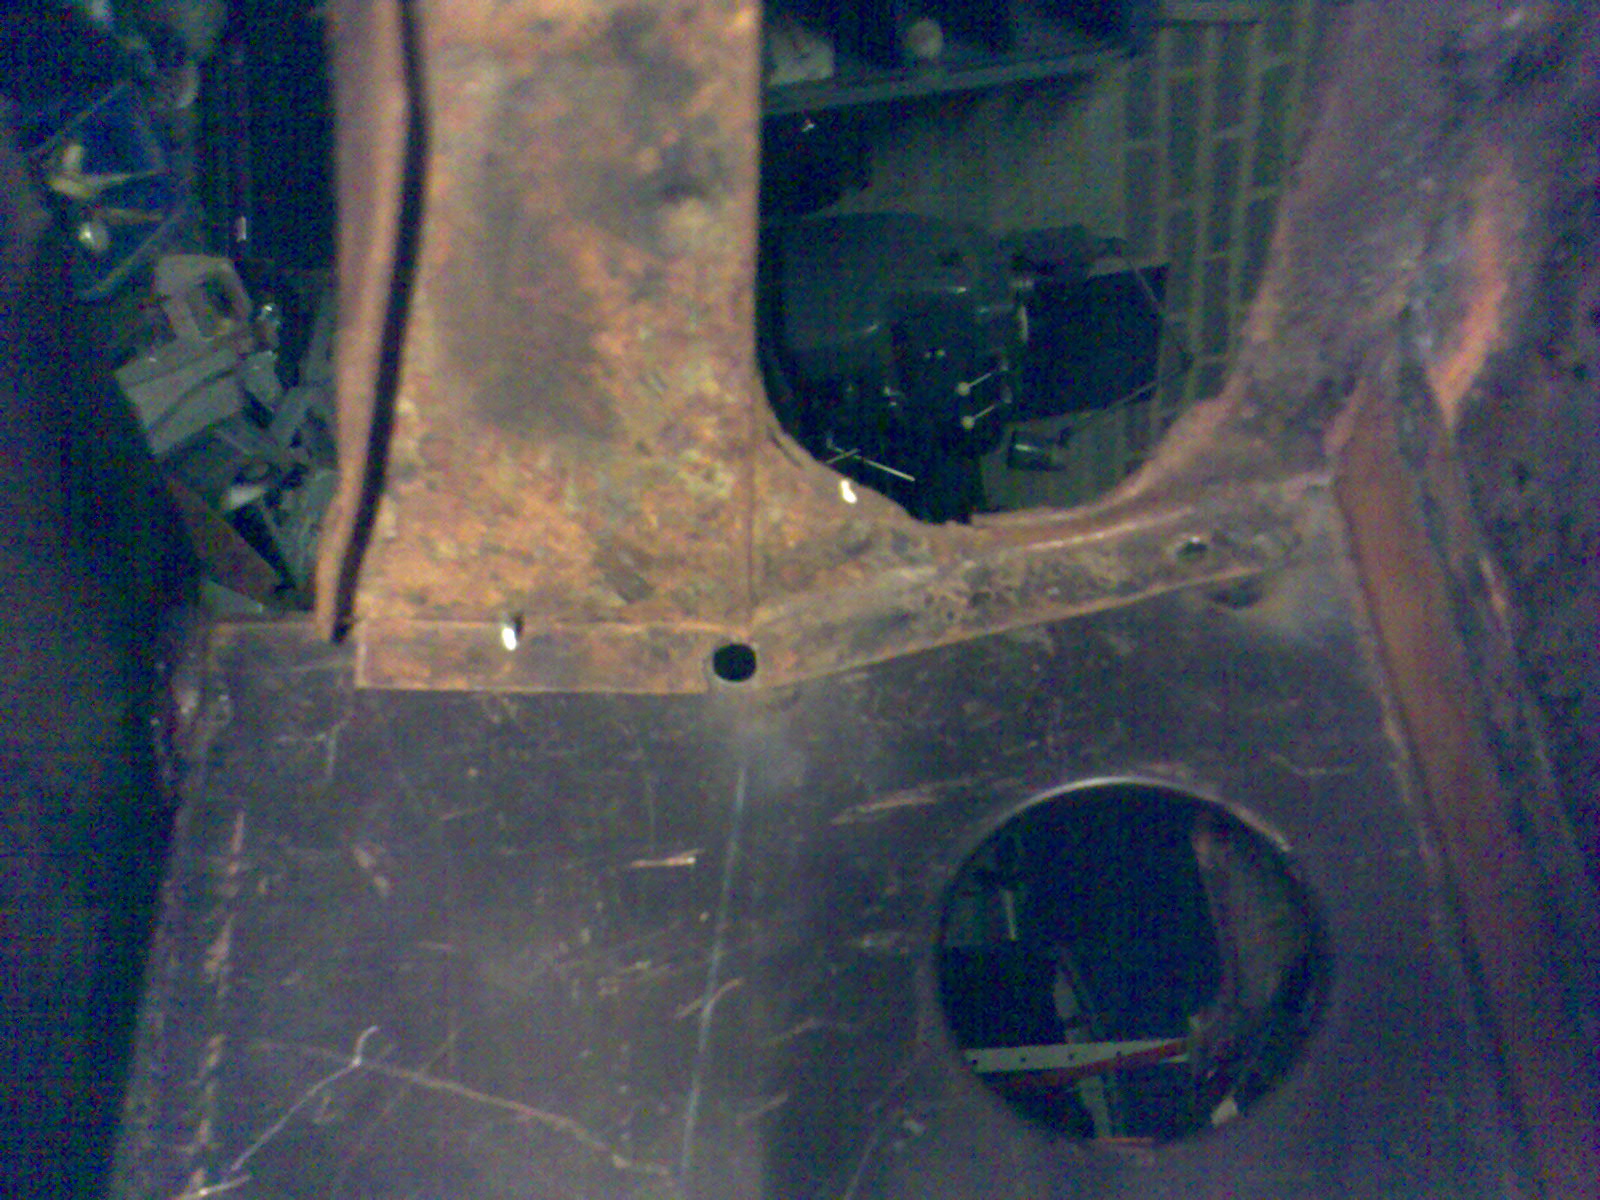
The new chassis legs look good eh?
Looks like the panel from the tie plate has had a previous repair. Are you going to replace it?
- Image031.jpg (511.15 KiB) Viewed 2206 times
Re: Rose Taupe Traveller Restoration- update 21
Posted: Wed Feb 17, 2010 6:24 pm
by taupe
Re: Rose Taupe Traveller Restoration- update 21
Posted: Wed Feb 24, 2010 7:19 pm
by Tenaka
Continued from above....
- Image035.jpg (520.17 KiB) Viewed 2203 times
- Image041.jpg (478.65 KiB) Viewed 2203 times
Hi
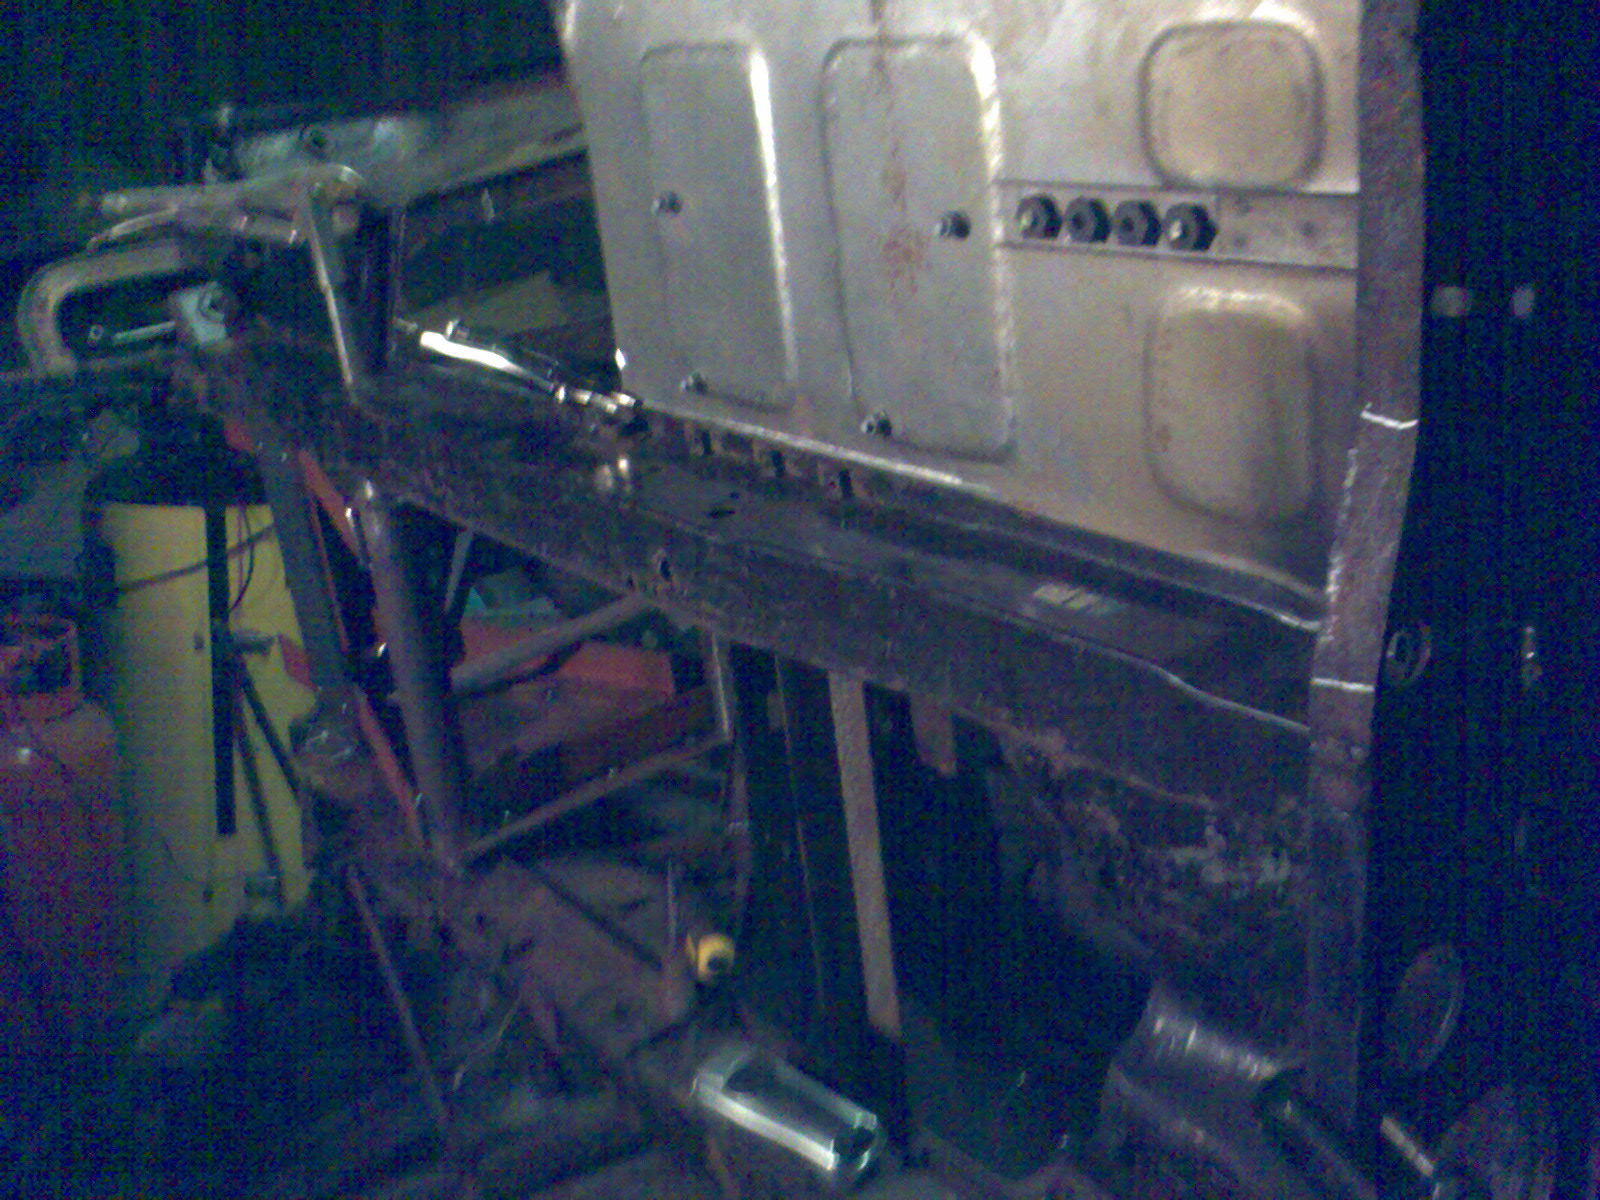
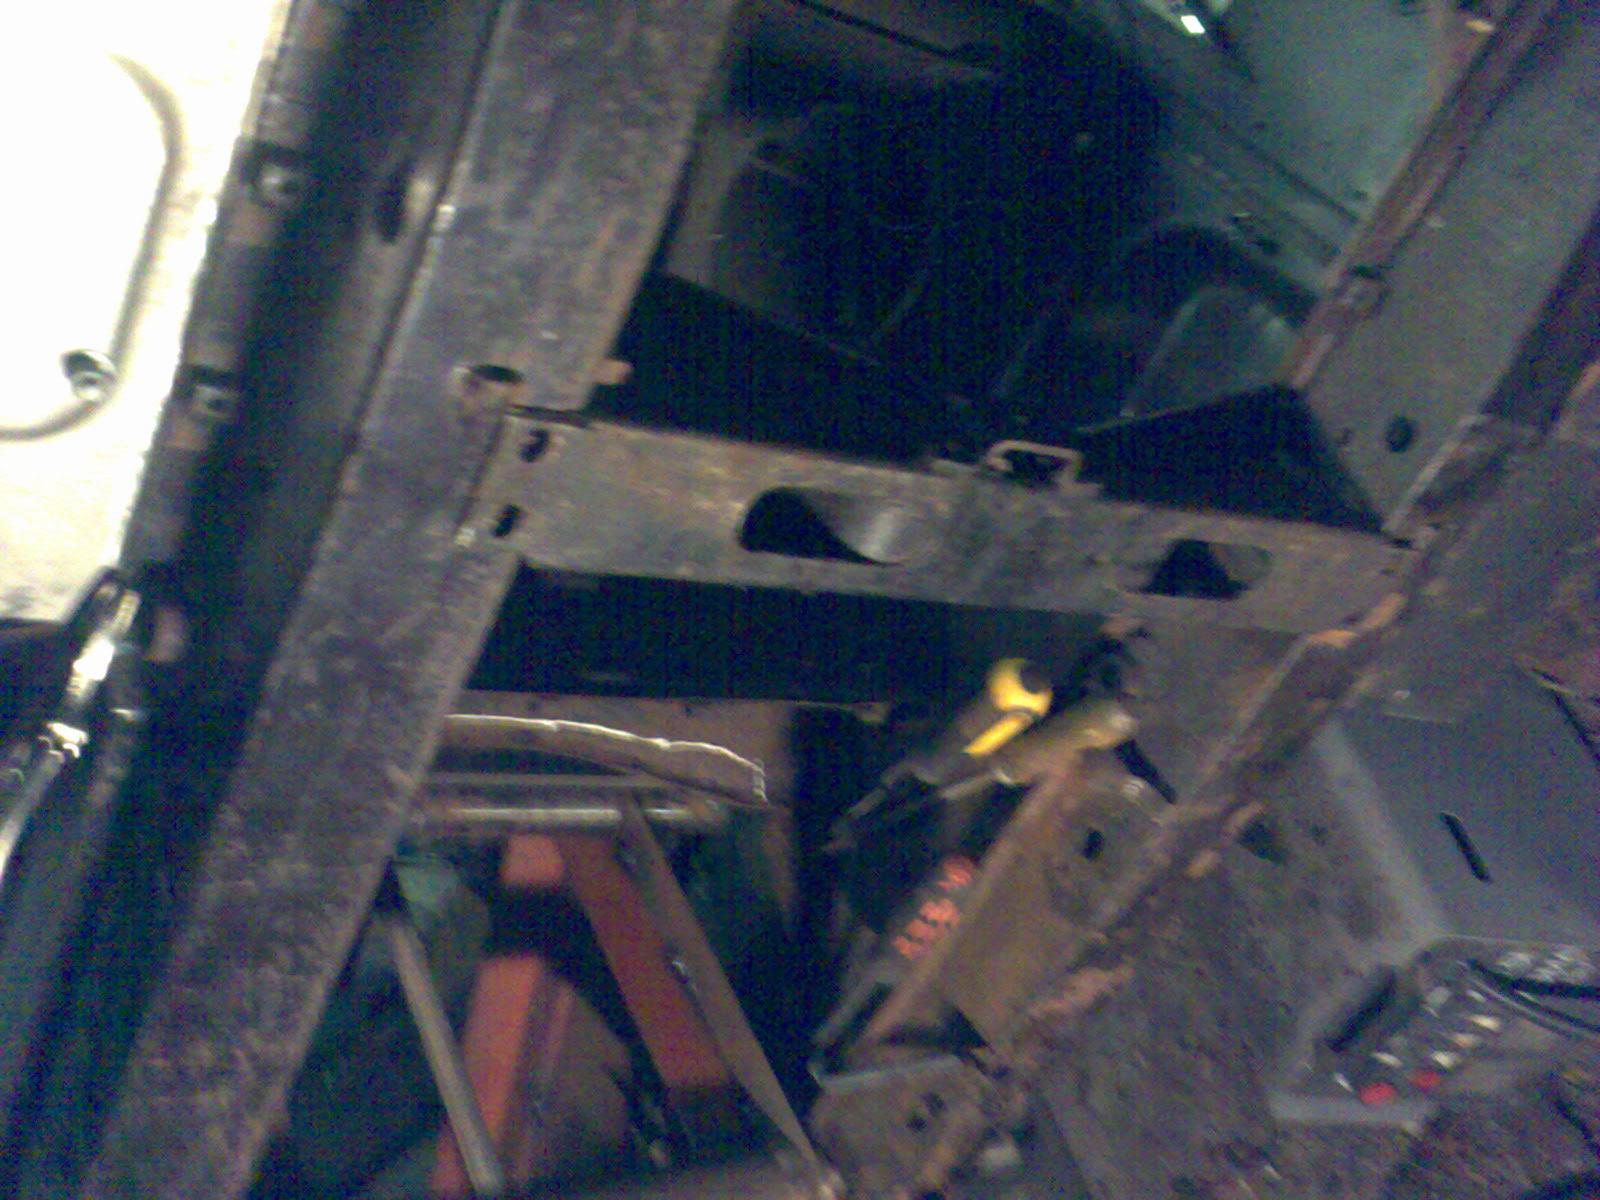
All I can say is really well done - in line with previous comments I'm in awe of your panel making, welding etc.
I'm about to start on my four door but don't think I'll be able to match this. Have you got plans for your rollover frames? If so any chance of a copy?

Re: Rose Taupe Traveller Restoration- update 21
Posted: Thu Feb 25, 2010 12:27 pm
by chickenjohn
Hello Taupe,
Very, very, very impressed!
I just want to add my comments of superb work, to the others above. Also, I'd like to add my encouragement for taking on such a rusty car that most folks would have binned and then restoring it with such attention to originality, even to bits no-one will ever see. Like the rear boxing panel extension with the proper square hole instead of the round one in the Hadrian panel. That annoys me too, though I have fitted a few with the round hole as it is not seen. I admire your attention to detail.
Great panel making skills. Nice to see gas welding and I particularly like the rear chassis section you fabricated- what gauge did you use for that?
Interesting that you have been on a restoration course. We need to publicise these courses as student numbers are dwindling and it is a really great way of learning the proper way of doing things from skilled instructors. It is well worth going on one of these courses.
Your thread shows that amateurs can restore their cars to a high standard, sometimes better than some professionals. This is what we need, more cars being saved by skilled home restorers.
Please, please, more pictures! And, if it is not too much to ask can you provide plans for the excellent car roller (and gauges of steel you used) as I to want to make and use one for my next project (1970 4-door saloon).
You've inspired me to start on my projects again after a break. Keep up the good work!
Re: Rose Taupe Traveller Restoration- update 21
Posted: Thu Feb 25, 2010 7:15 pm
by Dryad
chickenjohn wrote:You've inspired me to start on my projects again after a break. Keep up the good work!
Me too! I'm going to start on my Traveller again this weekend.

Re: Rose Taupe Traveller Restoration- update 21
Posted: Fri Feb 26, 2010 1:40 am
by taupe
Hi Chickenjohn
Thanks for your kind comments - these help with motivation and I'm very happy If I've inspired anyone else!!!!
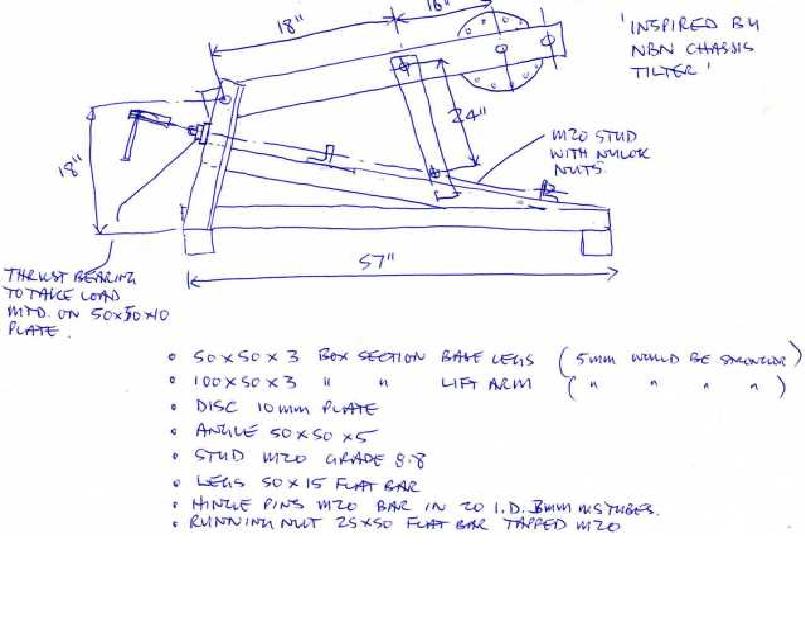
Here are the principle sizes of my tilter which was inspired by the NBN Chassis tilter. The NBN tilter is available at around £1000, mine cost me about £150 in all but I had a lot of the material already and a lathe available and it took a couple of days to fabricate. One of the advantages with this type of tilter is it can be adapted to fit any number of cars/vans etc. In my case Ive made mounting brackets to suit her MGB and my old ZB Magnette. It gives fantastic and unhindered access to the underside if you want to do all sorts of repairs/ undersealing etc.
I must stress that I have satisfied myself that my set up is safe for me to use and suitable for the weight I am lifting.
You must do likewise and adjust your design accordingly and test etc to make sure its strong enough for your proposed use.
I had a lot of the material to hand so I used what I had, I would suggest you err on the cautious side and consider at least 5mm thick material and incorporate braces and fillets as required to strengthen the whole thing.
The rear chassis leg repairs I made are from 20swg (1mm) material as they are part of the original floor pressing (the brackets are 2 or 3mm from memory), I copied the original thicknesses. If I was making them again I'd probably use 1.2mm for the main part but they are nice and strong as they are.
Taupe
- tilter.JPG (55.86 KiB) Viewed 2202 times
Re: Rose Taupe Traveller Restoration- update 21
Posted: Wed Mar 17, 2010 11:04 pm
by eveline
Re: Rose Taupe Traveller Restoration- update 21
Posted: Tue Jul 13, 2010 9:23 pm
by Dryad
Hey taupe, any news on your Traveller restoration? Mine has stalled (again

) and I need inspiration.

Re: Rose Taupe Traveller Restoration- update 21
Posted: Wed Jul 14, 2010 12:09 am
by chickenjohn
I expect he is busy cutting, welding and painting! Having no time left for posting updates!
Re: Rose Taupe Traveller Restoration- update 21
Posted: Wed Jul 14, 2010 2:00 pm
by taupe
Hi
The Traveller has been on hold for a while - Ive finished the bathroom and Im halfway through the kitchen!

Ive also stripped and rebuilt the auto transmission on Her Mini - Its a lovely auto box now its working properly - so plenty of brownie points!
I did well at the National and got the last bits of timber needed other than the rear doors. I also got a main crossmember, old stock rear floor lining and lots of other bits Id been looking for and prices were very good


I should be back to the cutting, welding and painting in a few weeks.
Thanks for asking about progress.
