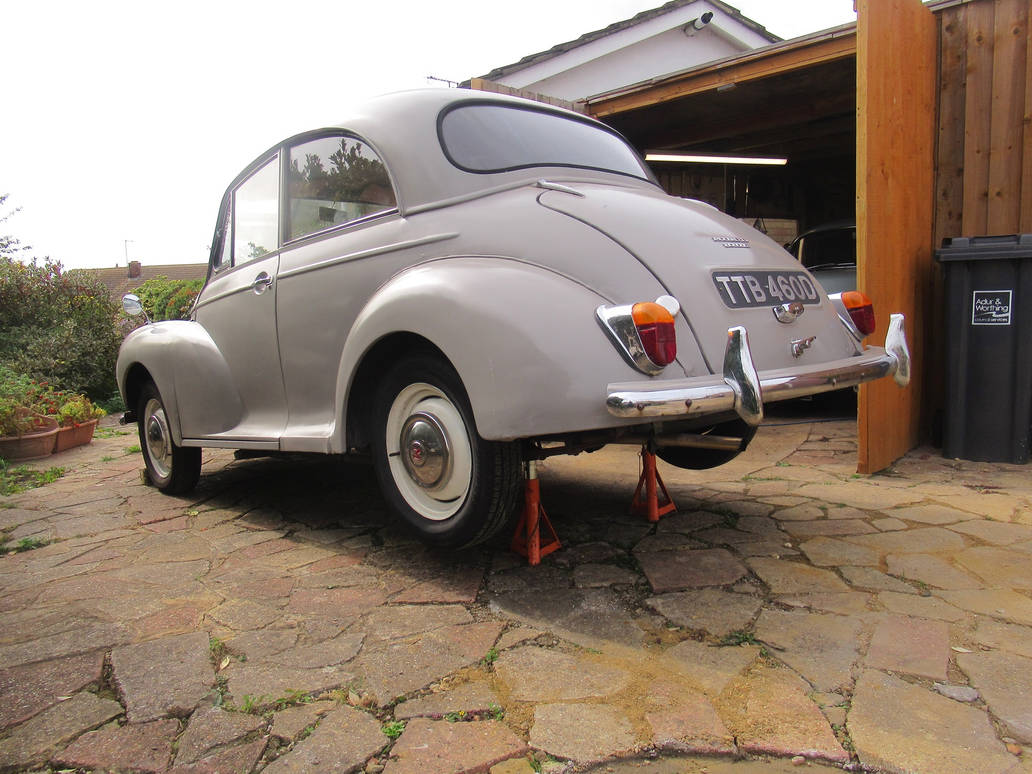
1966 2 door saloon Milly restoration project

Let us all know what you are up to with your current restoration project. Get that Minor on the road!
Forum rules
By using this site, you agree to our rules. Please see: Terms of Use
User avatar
svenedin
Minor Legend
Posts: 4688
Joined: Fri Aug 29, 2014 9:27 am
Location: Surrey
MMOC Member: Yes

Re: 1966 2 door saloon Milly restoration project

Post by svenedin »

David JM wrote: Sat Jan 24, 2026 12:53 pm I plan to place a block of wood over the central hub so the extraction tool has something to bear against, lets see if it works when they arrive.
Fair enough but you could probably get it off by just putting the wheel back on.

Over on the Facebook MMOC page somebody stripped the threads on the axle tube by using an air gun on the nut possibly the wrong handed nut or cross threaded or just over-torqued. Be careful! Needing another axle is a major issue.....

Stephen
1969 1098cc Convertible “Xavier” which I have owned since 1989.

Stephen
David JM
Minor Fan
Posts: 159
Joined: Mon Apr 21, 2025 11:34 am
Location: UK
MMOC Member: No

Re: 1966 2 door saloon Milly restoration project

Post by David JM »

Thanks for the warning on the axle Stephen, good point. I used a socket wrapped in black tape, holding it to a seatbelt plate that I had welded a nut to, perfect. Glad I kept that in the spares box.
Image

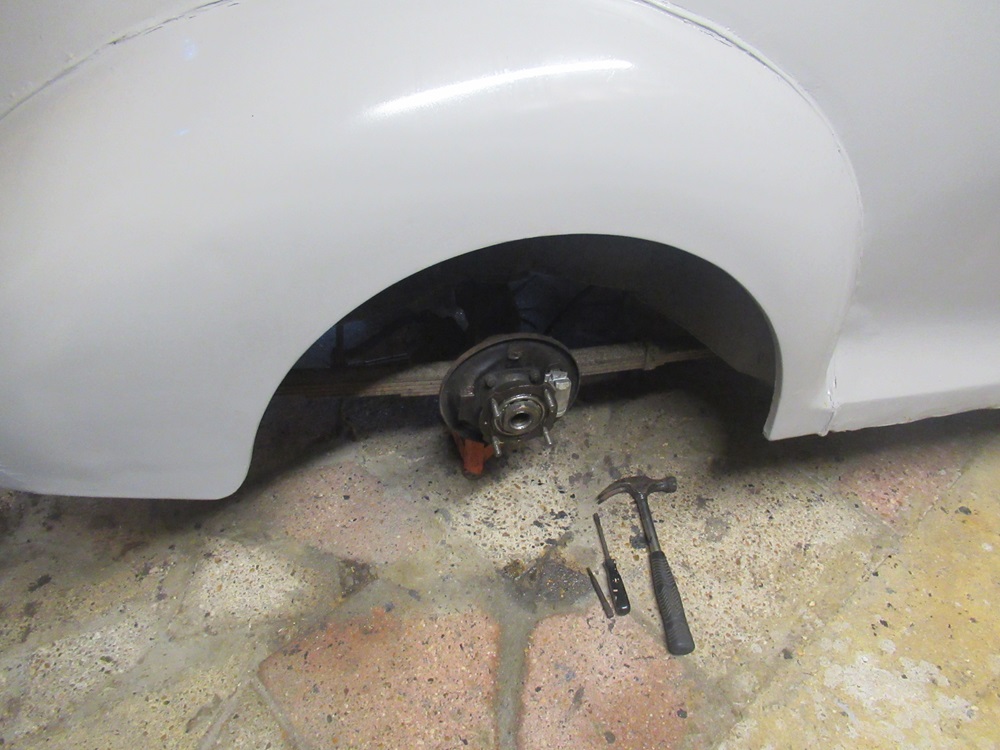
Success, off came the hub after a few turns, no need for a power drill to do that, much more control using an adjustable spanner. Tomorrow after my Morning 6k, I'll be stripping the old oil seal and bearing using a socket and a vice.
Image
David JM
Minor Fan
Posts: 159
Joined: Mon Apr 21, 2025 11:34 am
Location: UK
MMOC Member: No

Re: 1966 2 door saloon Milly restoration project

Post by David JM »

perfect sized socket for drifting out the old bearing.
Image

that came out easier than I was expecting, minimal taps on the socket and out it came, minimising potential damage to the carrier internal face.
Image
David JM
Minor Fan
Posts: 159
Joined: Mon Apr 21, 2025 11:34 am
Location: UK
MMOC Member: No

Re: 1966 2 door saloon Milly restoration project

Post by David JM »

the old oil seal was simply pilled out with pliers, the new one is a perfect match for the circumference of my largest socket.
Image

only drifted in so far, didn't want to damage it by repeated taps from the hammer.
Image

so my vice came to the rescue by slowly squeezing the seal home

Image
David JM
Minor Fan
Posts: 159
Joined: Mon Apr 21, 2025 11:34 am
Location: UK
MMOC Member: No

Re: 1966 2 door saloon Milly restoration project

Post by David JM »

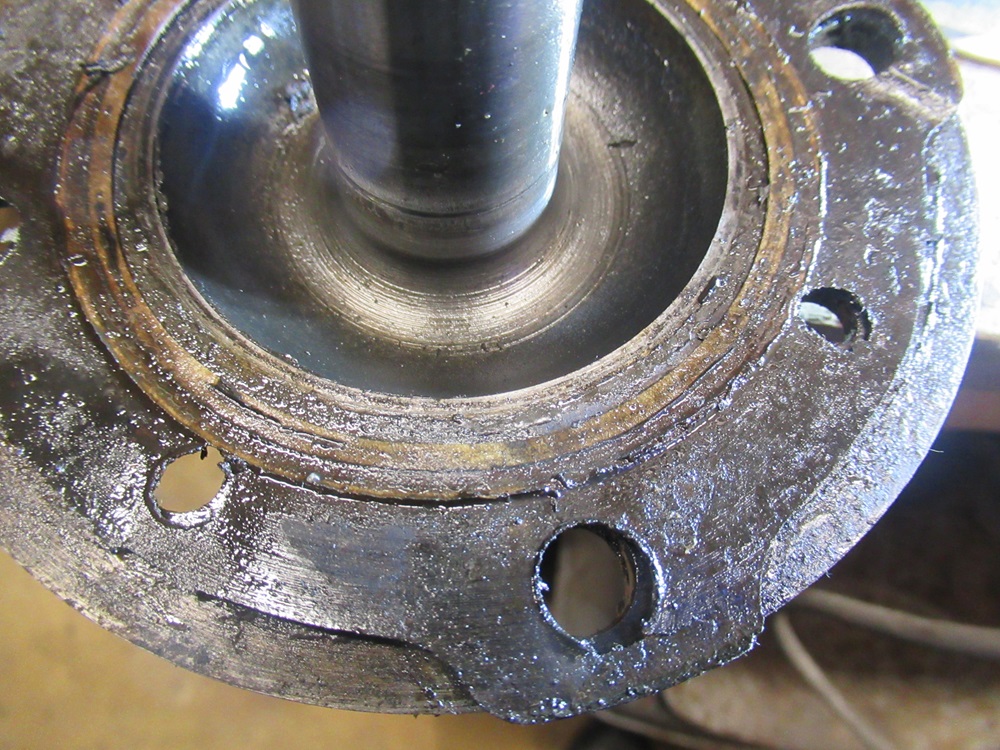
need to tap the hub back to expose the hub nut threads and the location for the tab washer, then I can fit this O ring seal and think about gasket sealant. Need to knock it all back without damaging the soft bearing edges.
Image
David JM
Minor Fan
Posts: 159
Joined: Mon Apr 21, 2025 11:34 am
Location: UK
MMOC Member: No

Re: 1966 2 door saloon Milly restoration project

Post by David JM »

So with a tap here and a tap there, with a block of wood and a heavy claw hammer, the hub moved back to it's proper position on the axle. A heavy hammer is easier to wield lightly than say a Pin hammer, du to it's mass, doesn't jump around as much as a light hammer. of course the picture doesn't show me holding the block of wood........and now you make me feel so ashamed because I've only got to hands......
Image

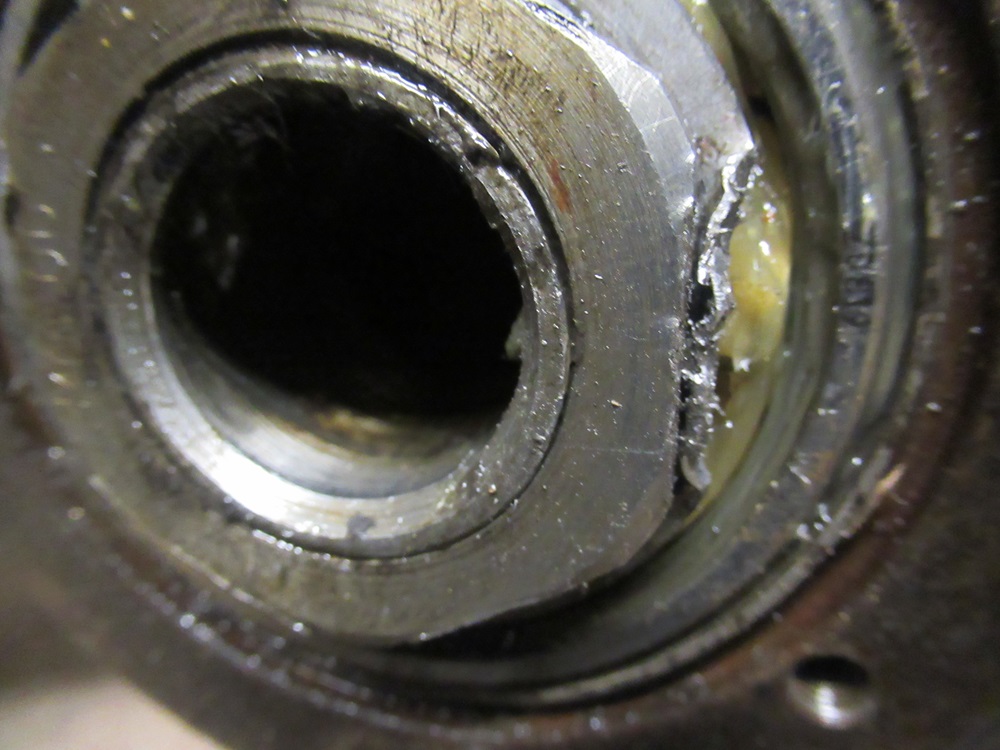
The lock washer bent up against the hub nut after it was tightly wound back onto the axle end. This hub nut secures the hub, the brake Drum and the wheel from coming loose. Lefty losey here, but on the other side it will be lefty tighty, confused? I was, the nut tightens toward the forward rotation direction of the wheel.
So the O ring was greased up and placed in it's groove, the bearings greased up and the gasket that seals the hub and half shaft mating faces is given a light smear of Gasket sealant, spread courtesy of Ronald MacDonald's stirring stick.
Image
David JM
Minor Fan
Posts: 159
Joined: Mon Apr 21, 2025 11:34 am
Location: UK
MMOC Member: No

Re: 1966 2 door saloon Milly restoration project

Post by David JM »

placing the half shaft back in is trickey, you can't see it go in, you have to do it by feel, like many interesting things in life. the tip has to enter a shaft support just before it goes into the gearing of the Differential, Very satisfying to feel it go in, the Half shaft I mean.
Image
the two surfaces squeezed together using the locking screws, these screws don't lock the heads together, the wheelnuts do that, the screws allow you to remove a wheel without pupping the halfshaft away and tearing the paper gasket, runining your oil seal. They normally fit through the Drum, but for now they are just squeezing that gasket sealant, so I'll leave it for 20 minutes like that and go for a cup of coffeee.
Image
David JM
Minor Fan
Posts: 159
Joined: Mon Apr 21, 2025 11:34 am
Location: UK
MMOC Member: No

Re: 1966 2 door saloon Milly restoration project

Post by David JM »

Today Saturday morning starting all over again on the offside Hub, as I'm well versed in the procedure, it only took me an hour. Flew through it.
Image
David JM
Minor Fan
Posts: 159
Joined: Mon Apr 21, 2025 11:34 am
Location: UK
MMOC Member: No

Re: 1966 2 door saloon Milly restoration project

Post by David JM »

Before I knew it I'd replaced the rear hub oil seal and bearing and had that pesky lock washer burred over to stop the hub nut from undoing. Remembering to do it up righty tighty this time, the opposite way to the nearside which was left tighty.
Image
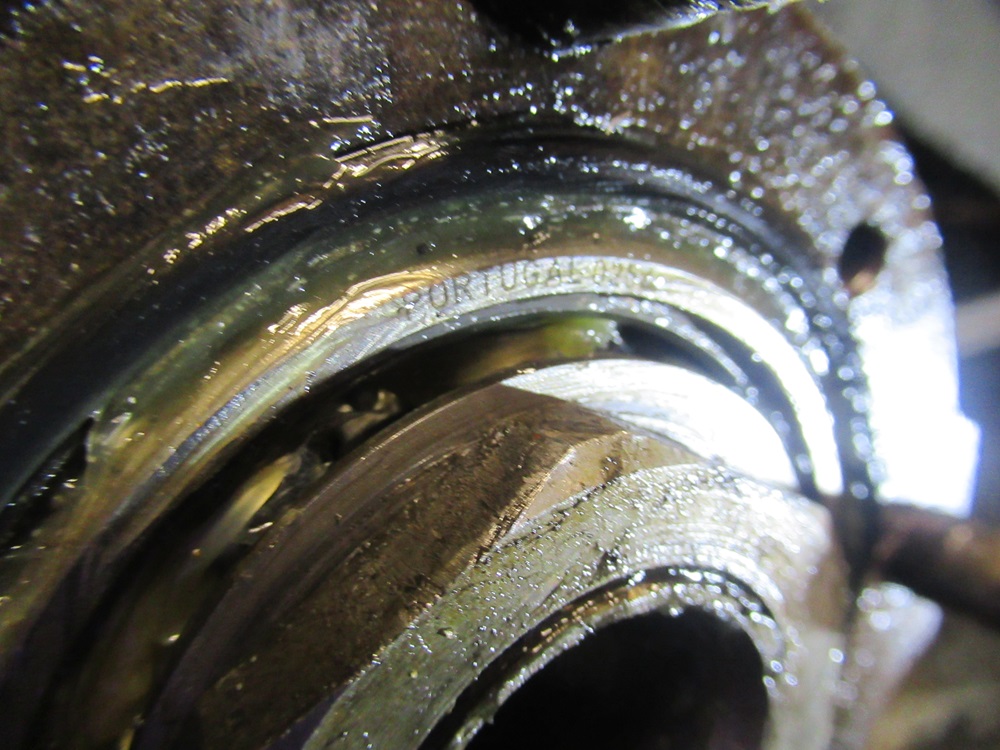
the O ring coated in sticky grease to make it stay in place in it's groove, the Bearing was made in Portugal, the man, I can feel it still.
Image
David JM
Minor Fan
Posts: 159
Joined: Mon Apr 21, 2025 11:34 am
Location: UK
MMOC Member: No

Re: 1966 2 door saloon Milly restoration project

Post by David JM »

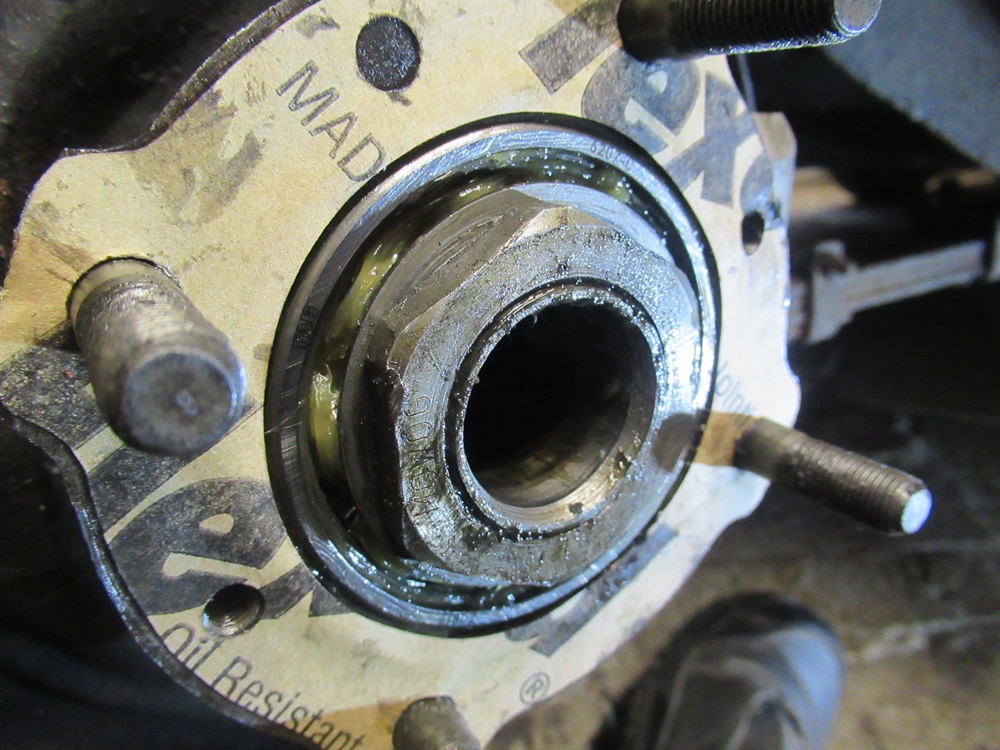
Paper Gasket coated in gasket sticky paste on the facing side to the hub. it will get another coating on the outside face where it meets the half shaft head. Hope all these images show, I'm using Cloudinary url to give imgbx a rest.
Image

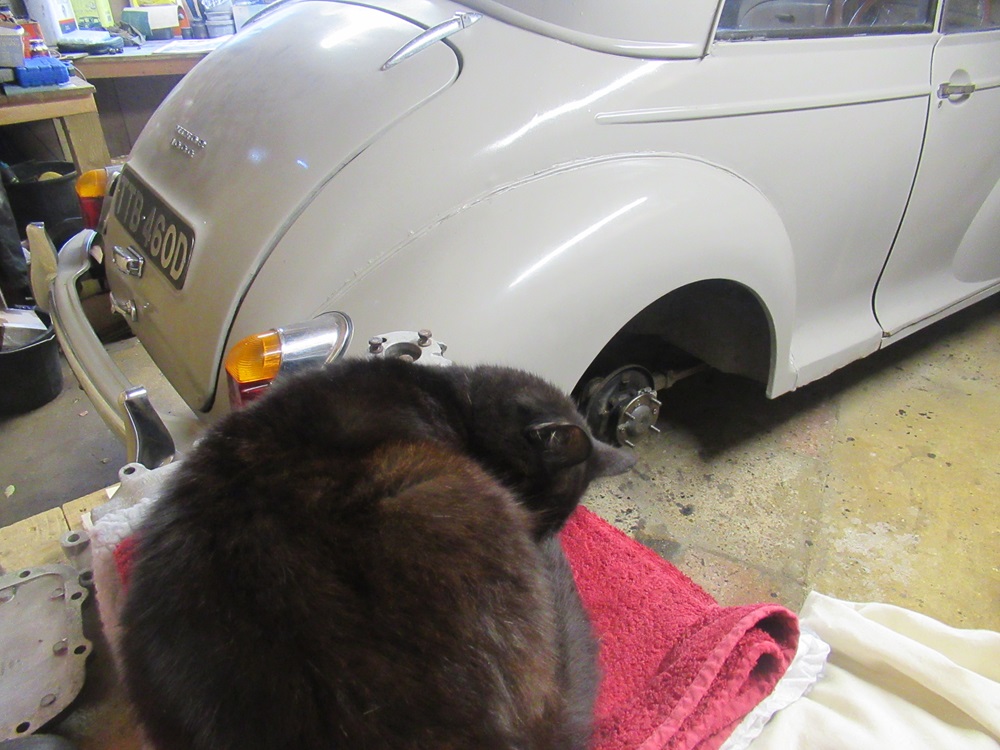
he old gasket is in one piece, it's coming off in one piece, result! so clean that surface off with brake and parts de-greasing cleaner and it's ready to slide into the axle tube/casing. lock it up with the screws for 20 minutes, take a brake and give the workshop manager a nod, hopefully he'll nod his approval of a job well done.
Image

Typical management, sleeping on the job. Time for a well earned cuppa.
Image
User avatar
svenedin
Minor Legend
Posts: 4688
Joined: Fri Aug 29, 2014 9:27 am
Location: Surrey
MMOC Member: Yes

Re: 1966 2 door saloon Milly restoration project

Post by svenedin »

I'ts nice that you have the cat for company. My German Shepherd Dog is too big to have in the garage but on occasion a fox has been known to come into the garage to see what is going on.

Stephen
1969 1098cc Convertible “Xavier” which I have owned since 1989.

Stephen
David JM
Minor Fan
Posts: 159
Joined: Mon Apr 21, 2025 11:34 am
Location: UK
MMOC Member: No

Re: 1966 2 door saloon Milly restoration project

Post by David JM »

final job before putting the rear wheels back on, refilling the rear axle and differential with one and a half pints of oil.
Image

After all that close up work in the oily shadows of my workshop, it was a breath of fresh air to get out into some rare sunshine for a test drive. No noise at all from the rear hubs and axle, I was able to listen to the engine and the groans and squeaks of the 60 year old shell.
Image
David JM
Minor Fan
Posts: 159
Joined: Mon Apr 21, 2025 11:34 am
Location: UK
MMOC Member: No

Re: 1966 2 door saloon Milly restoration project

Post by David JM »

David JM wrote: Thu Apr 24, 2025 10:02 pm I picked up Milly Today, I say picked up more like an exhausting slog of a day, The car was advertised on E bay by a private Company for just over a grand, in reasonable condition, some work needed but mechanically fine. The trouble was Milly has spent her life on the isle of wight, and that's were she was to be collected from. Yarmouth in the Isle of wight, that's the far west side, quite hard to get to, 40 minute ferry journey. So I went for it.
Image
David JM
Minor Fan
Posts: 159
Joined: Mon Apr 21, 2025 11:34 am
Location: UK
MMOC Member: No

Re: 1966 2 door saloon Milly restoration project

Post by David JM »

the above image of my two door hardtop on the ferry last april was a failed attempt to fix the missing images on page one of this thread, failed miserably.

back to now, I caught the rear bumper overrider in the bushes outside my workshop and it did a number on it, it's chrome covered plastic, so didn't stand a chance against a branch.
Image

Yesterday ordered a replacement and it arrived today.
Image
ManyMinors
Minor Legend
Posts: 3111
Joined: Tue Nov 11, 2014 9:41 am
MMOC Member: No

Re: 1966 2 door saloon Milly restoration project

Post by ManyMinors »

Why didn't you buy a metal one? Absolutely useless those plastic ones :roll:
As much use as a chocolate teapot.
David JM
Minor Fan
Posts: 159
Joined: Mon Apr 21, 2025 11:34 am
Location: UK
MMOC Member: No

Re: 1966 2 door saloon Milly restoration project

Post by David JM »

like for like.

the most difficult part of refitting these is holding the bolt from turning while you tighten the nut. So I used Gorilla glue to bond the bolt head and washer to the bracket inside the over rider, tightened the nut to hold it firmly up against the bracket and left it for a few hours to harden.
Image

fitting it was dead easy, the nut tightened up with the bolt held firmly inside, job done after some lock tight was placed on the threads. Stop that vibrating undone.
Image
David JM
Minor Fan
Posts: 159
Joined: Mon Apr 21, 2025 11:34 am
Location: UK
MMOC Member: No

Re: 1966 2 door saloon Milly restoration project

Post by David JM »

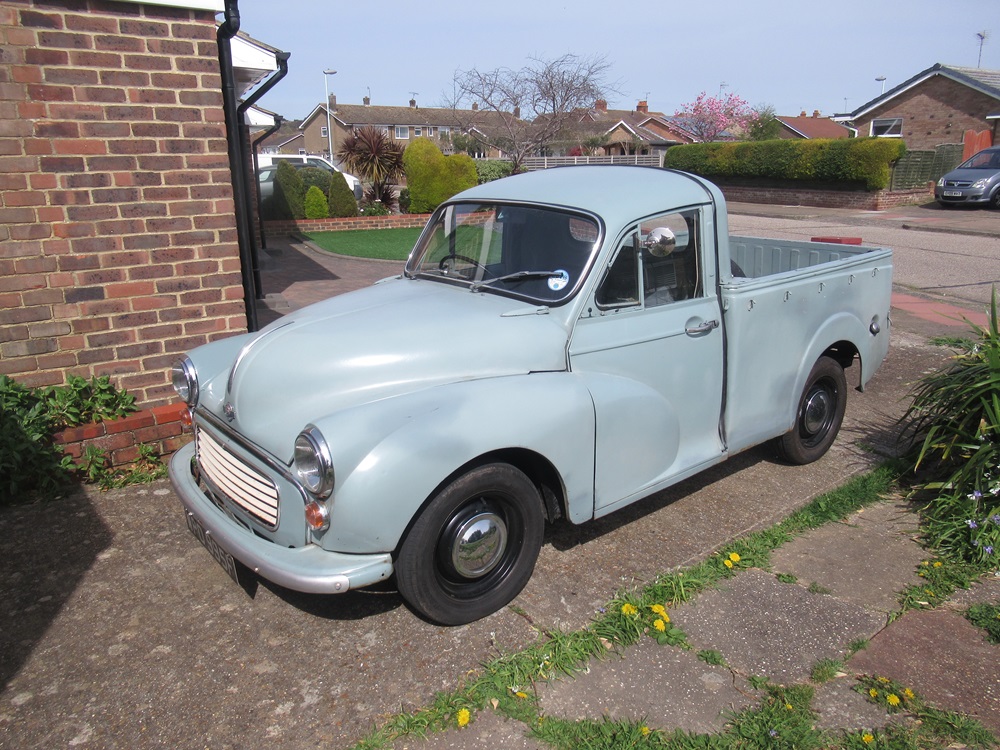
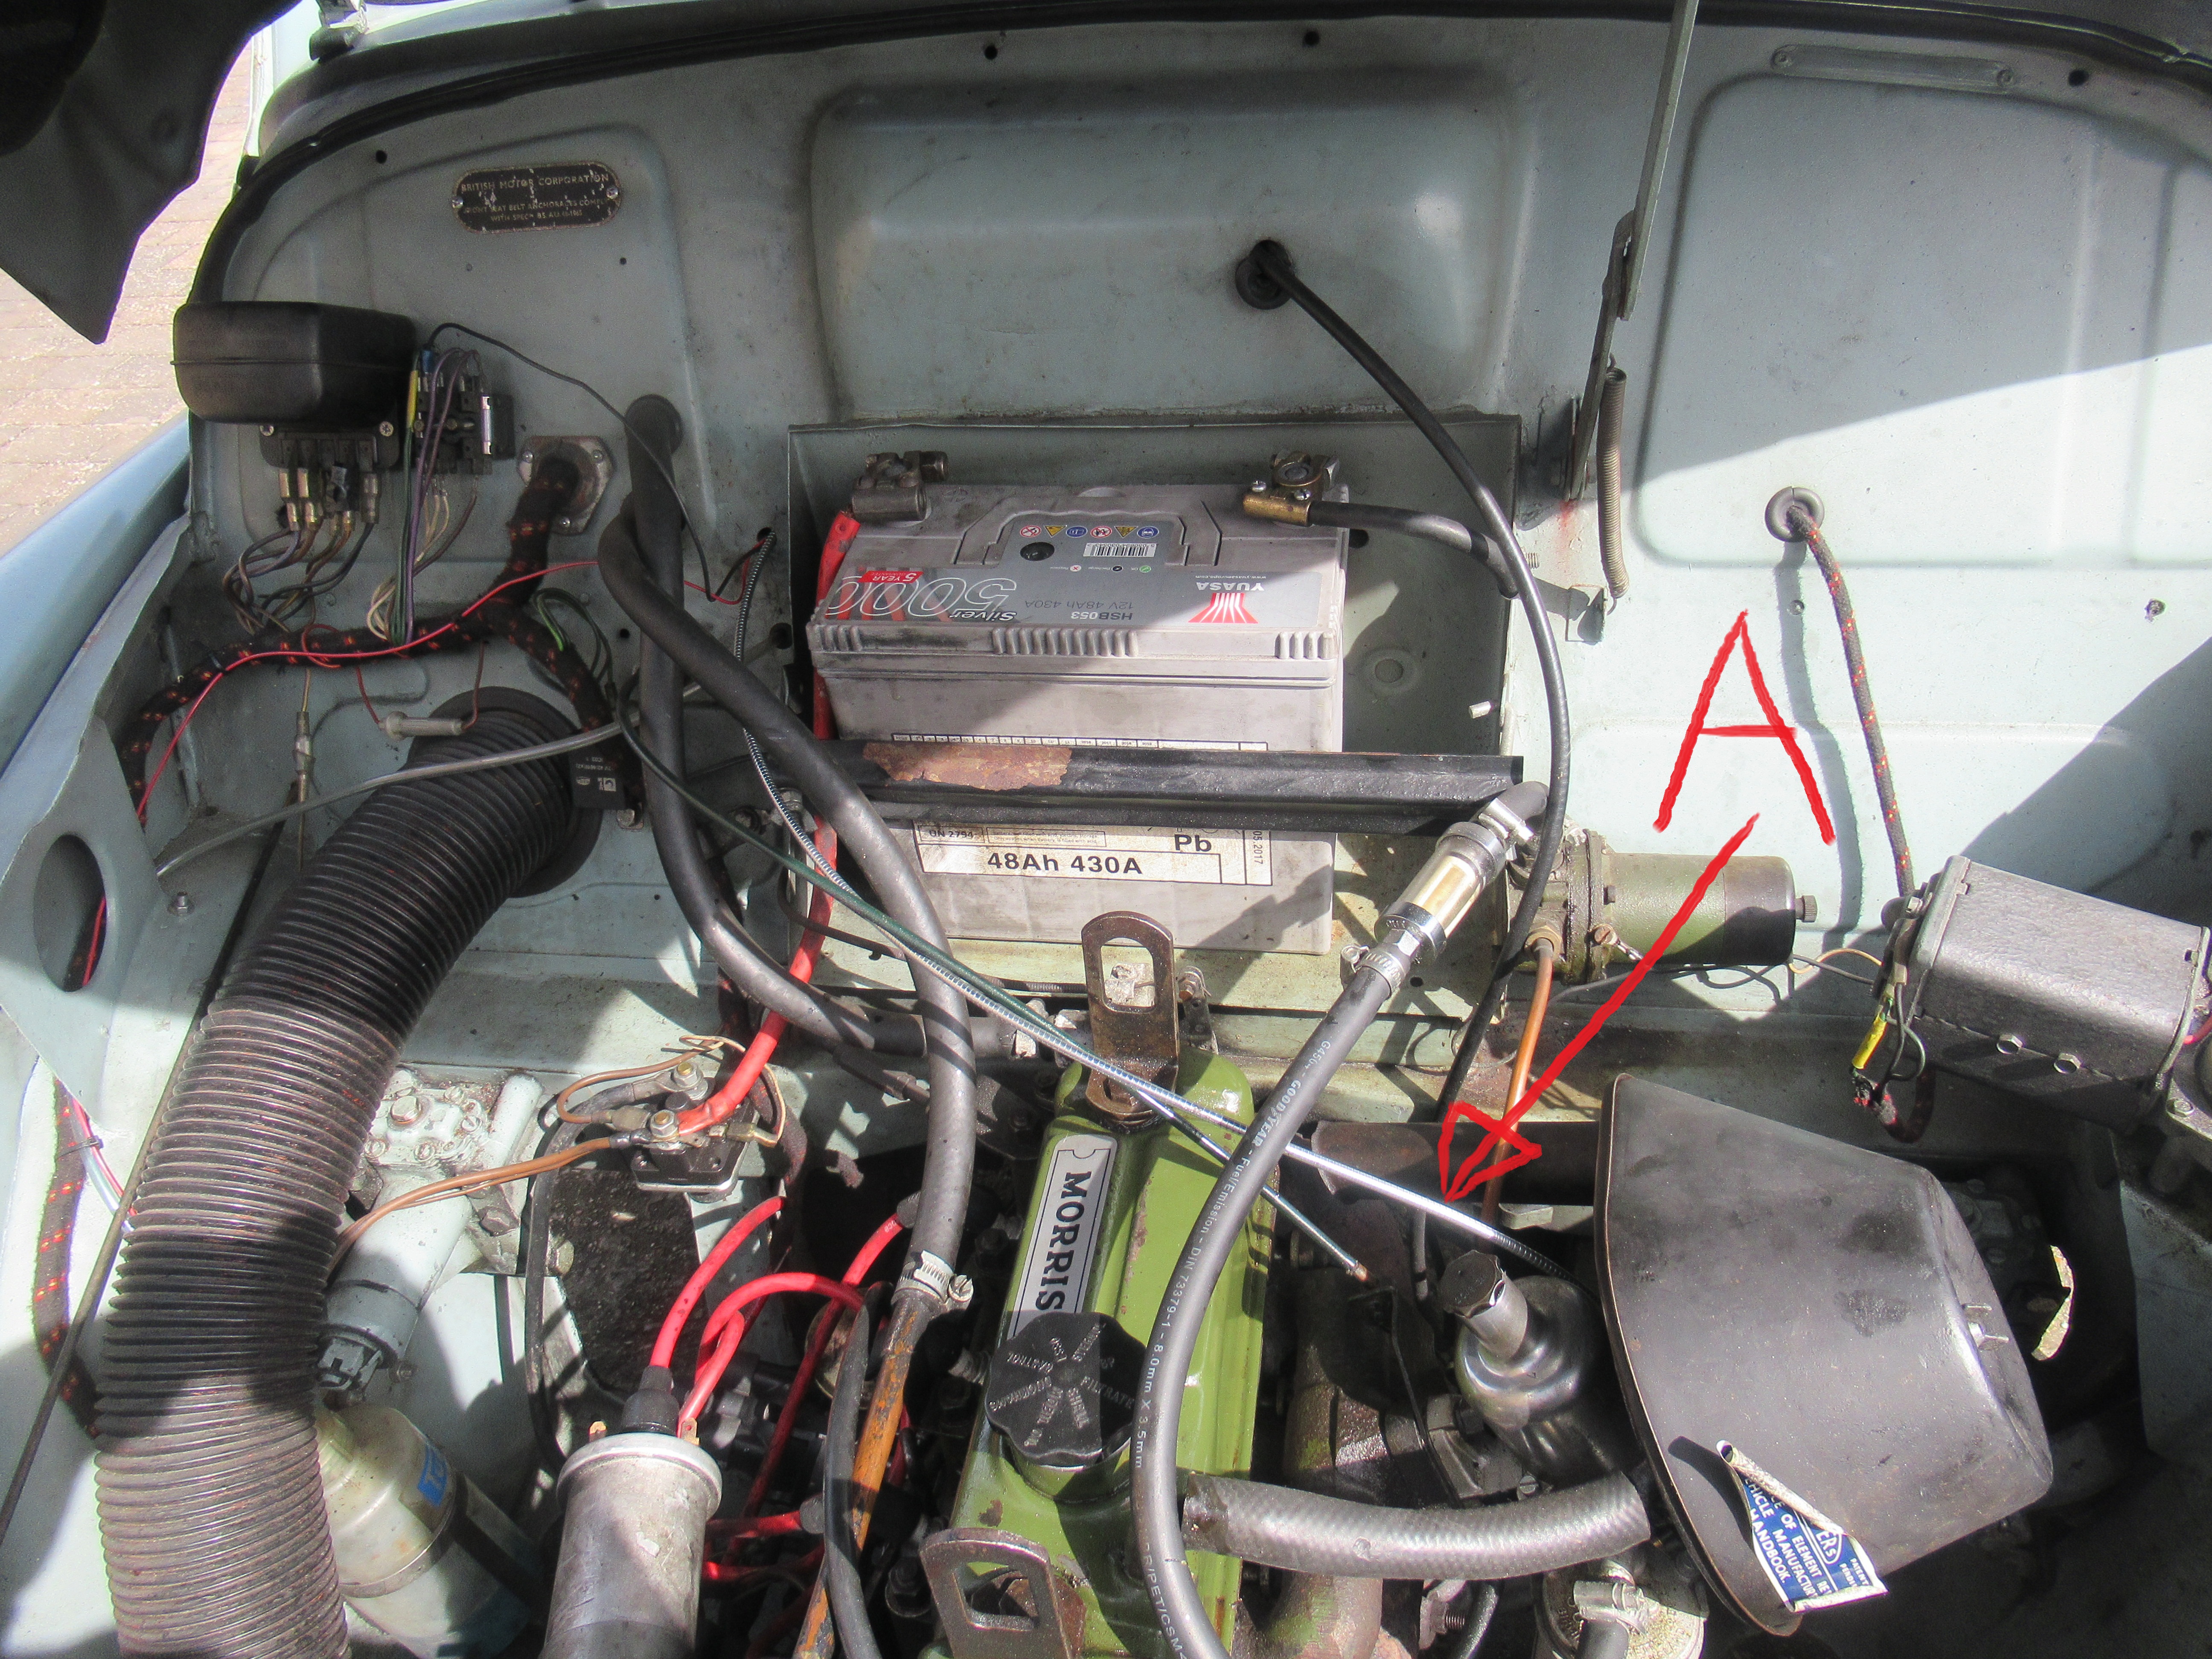
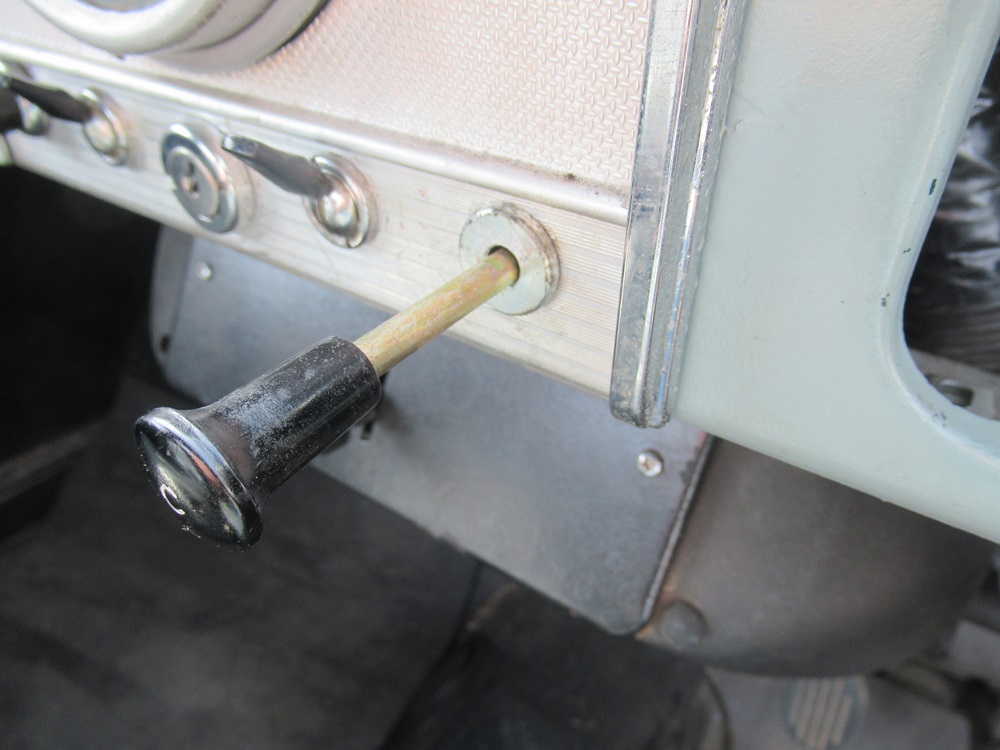
One thing about my Pickup that irritates me every cold start is the lack of Notches on the choke pull. As I pull off down the road the choke pulls itself back closed and causes some splutter in the engine's normally smooth operation when it's had the chance to warm up and free all the valves. The choke needs to have notches so a gradual closing of the choke can be achieved on cold starts.
Image

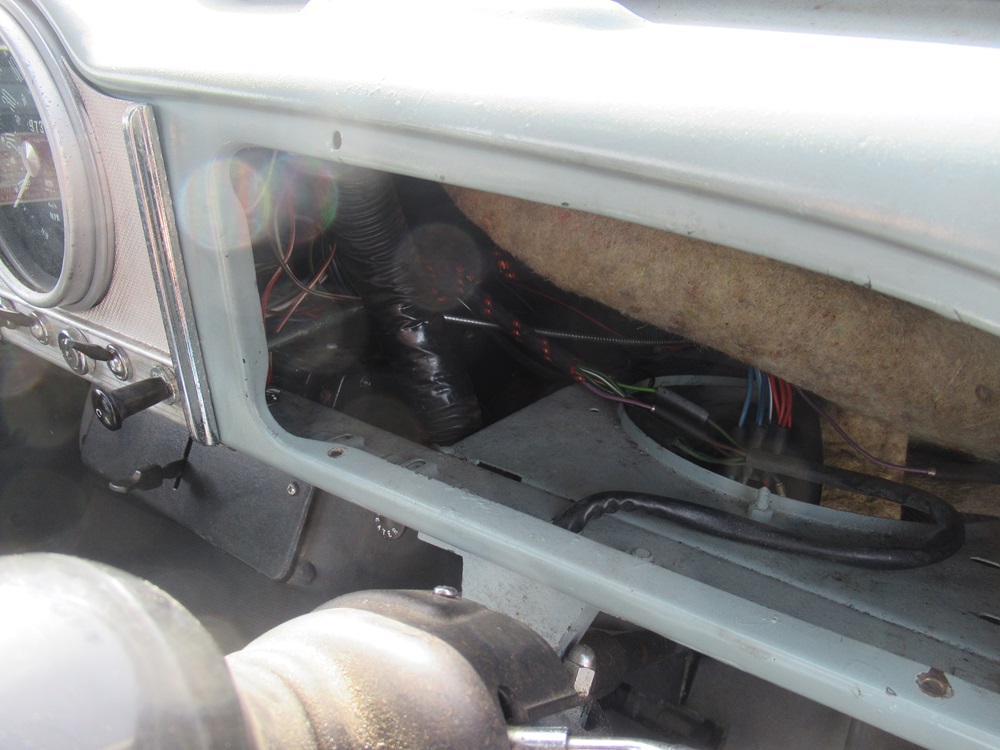
so, new Choke cable ordered from ESM has the notches that will hold the choke open in increments. The hardest part was undoing the nut inside the dash that held the old one on. once that was free it was simply a case of feeding the new one through the dash out through the engine bulkhead.
Image

the choke cable through into the engine bay.
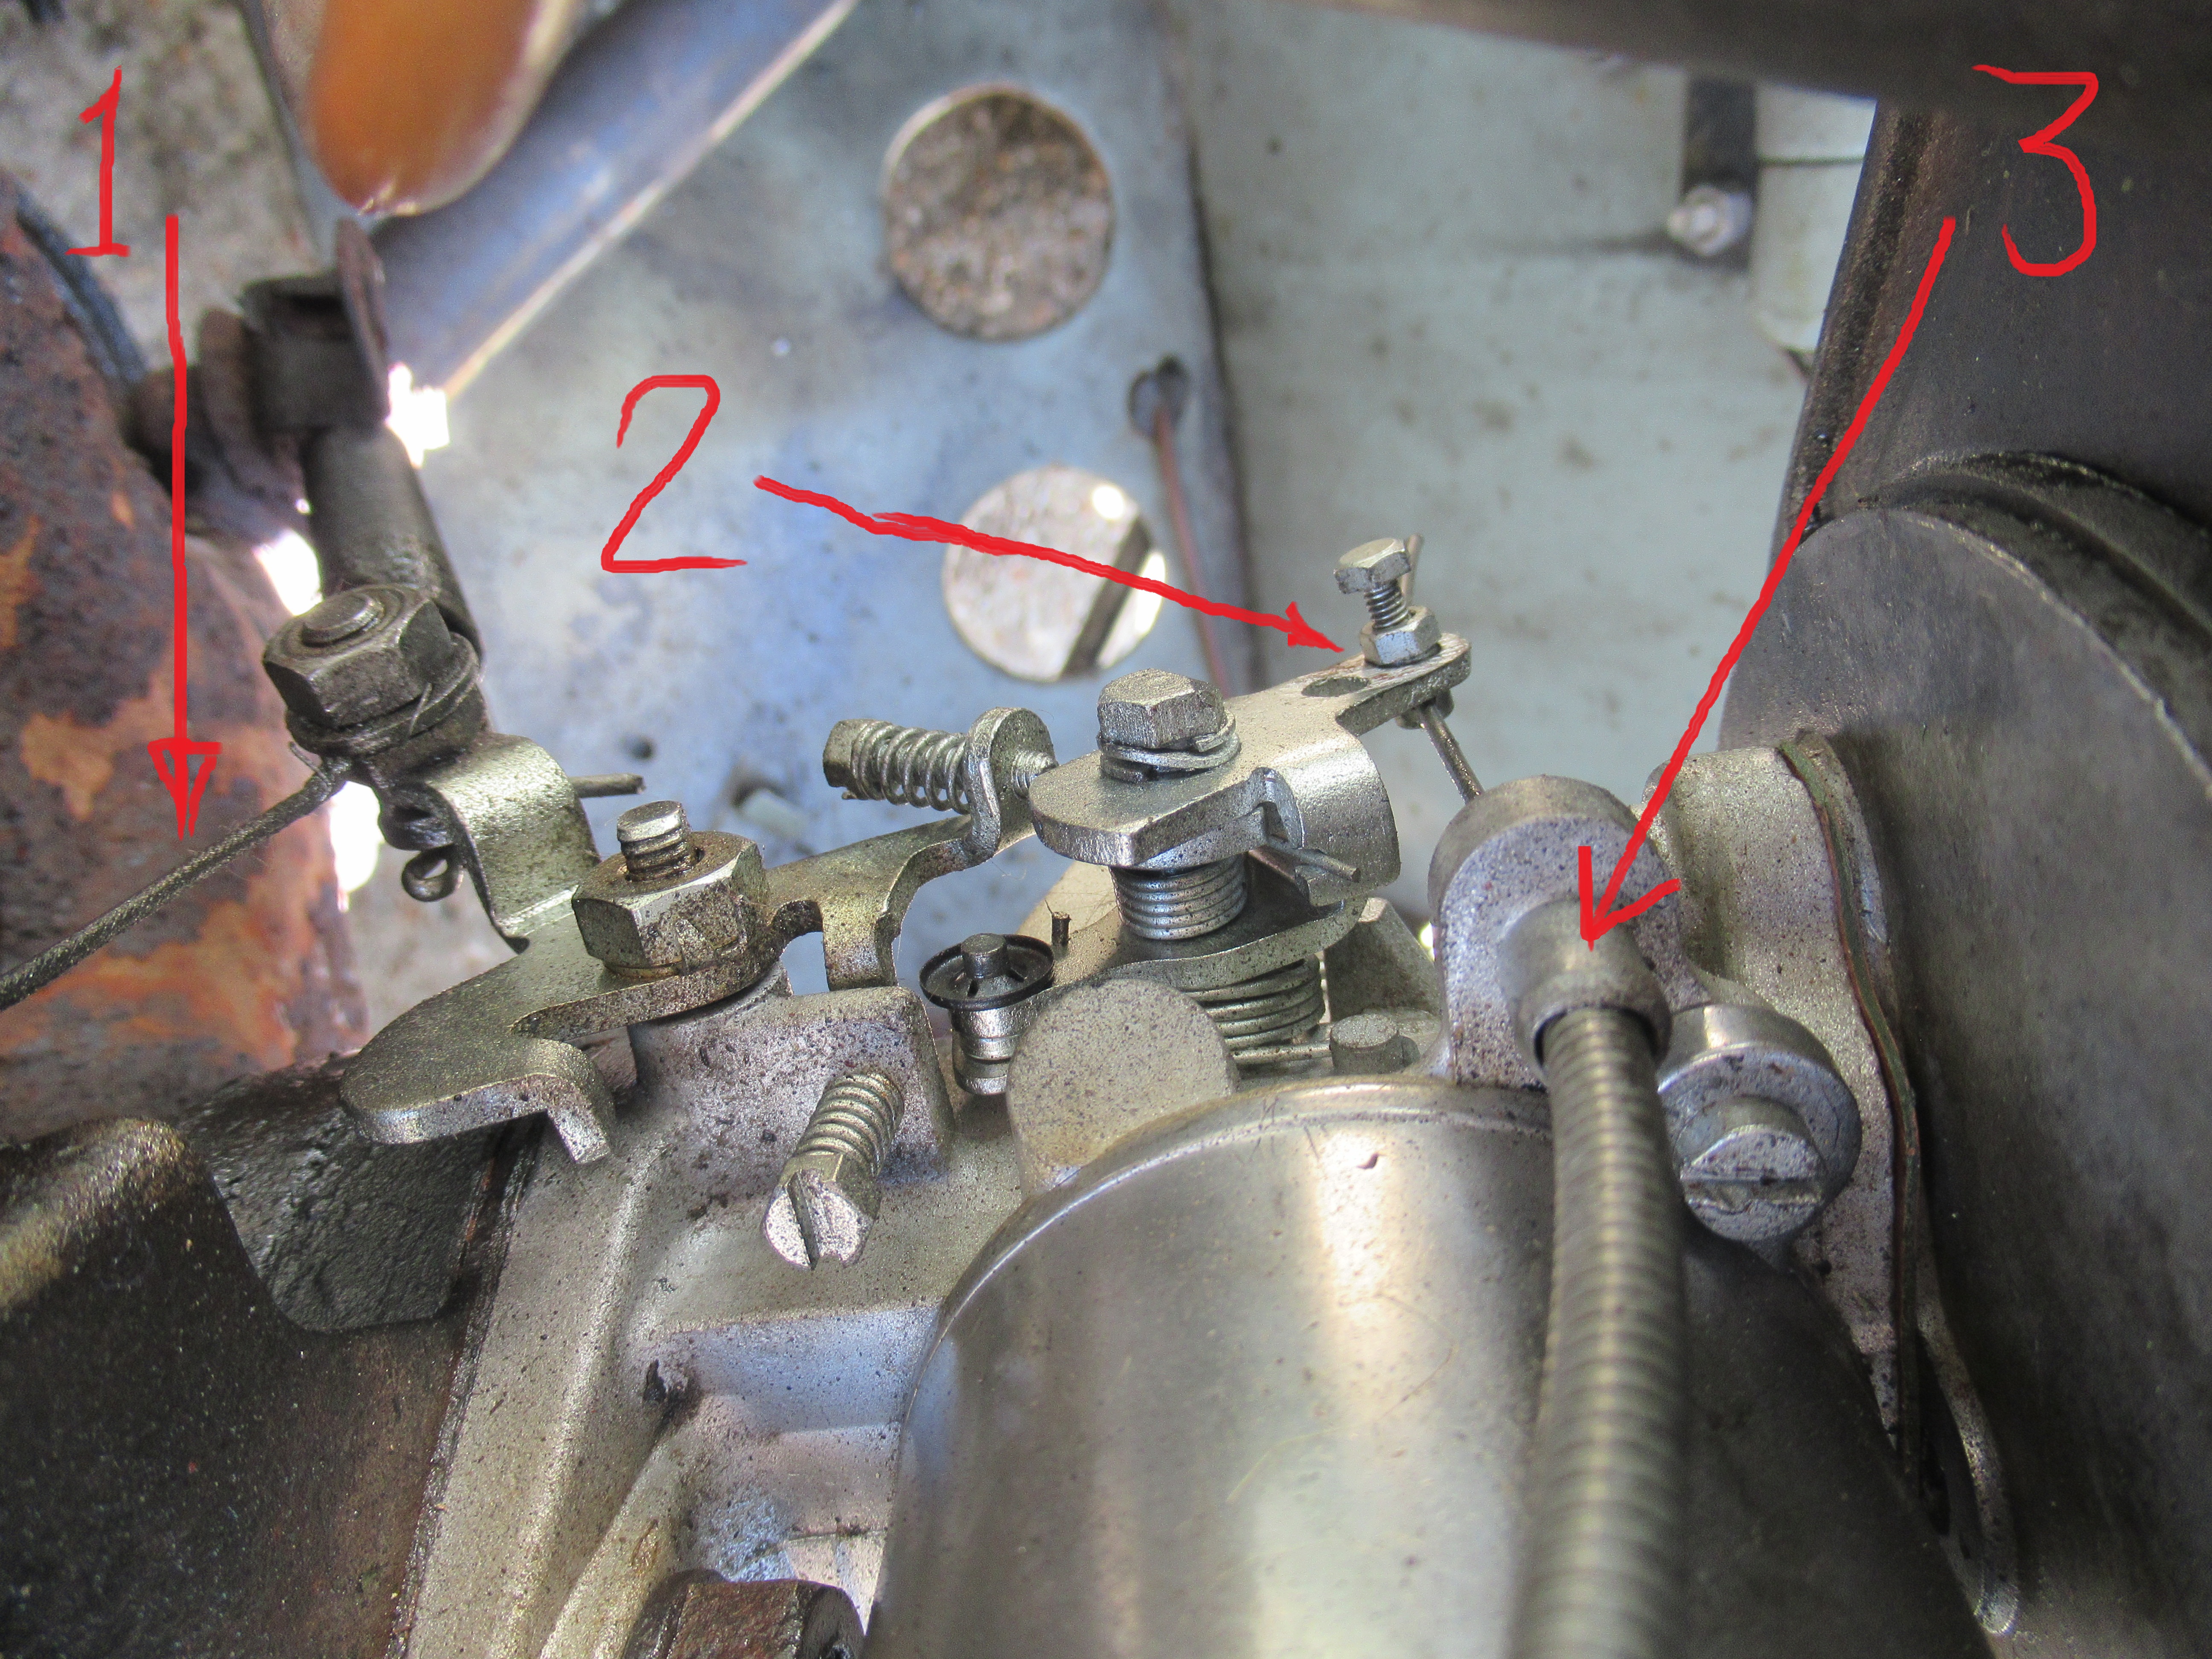
Image

the Morris Minor Carb has a tube in it (3) that catches the outer casing of the choke cable and holds it in perfect alignment with the choke swivel (2).
Image
David JM
Minor Fan
Posts: 159
Joined: Mon Apr 21, 2025 11:34 am
Location: UK
MMOC Member: No

Re: 1966 2 door saloon Milly restoration project

Post by David JM »

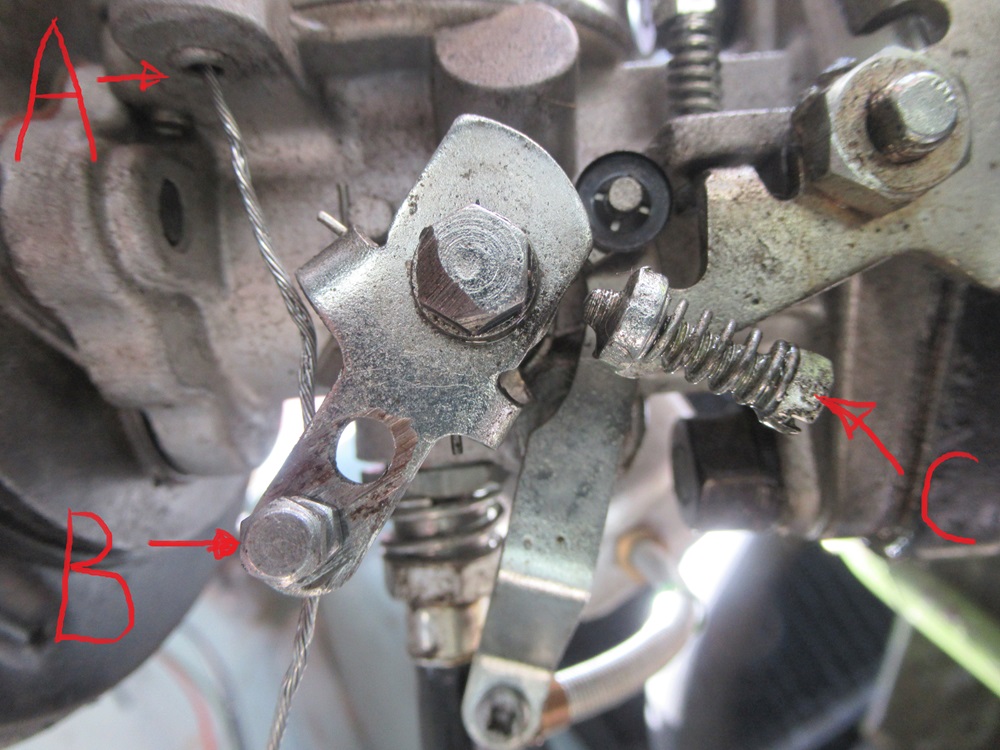
This means the inner wire cable can move freely within the sleeve and pull the swivel up to maximum throw. this in turn allows the opening of the jet to let in enough fuel to cold start the motor. holding back the sleeve allows the cable to be held in optimum alignment. Not something that it had before.
Image

now when I pull the choke out it holds position until the engine has run for a moment, then the choke can be pushed in a notch at a time.

a definite improvement result!
Image
User avatar
svenedin
Minor Legend
Posts: 4688
Joined: Fri Aug 29, 2014 9:27 am
Location: Surrey
MMOC Member: Yes

Re: 1966 2 door saloon Milly restoration project

Post by svenedin »

I fitted a new choke cable from ESM. It's twist-to-lock rather than notches but at least it stays put without a clothes peg.

Stephen
1969 1098cc Convertible “Xavier” which I have owned since 1989.

Stephen
Post Reply