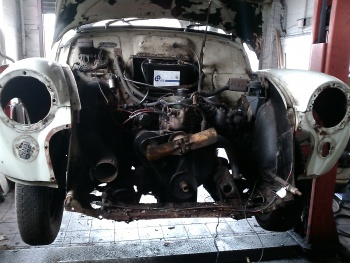
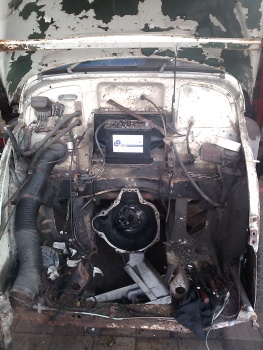
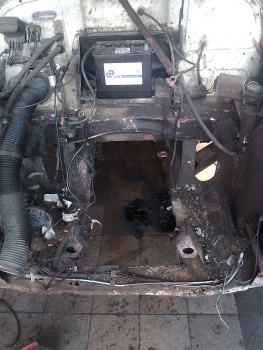
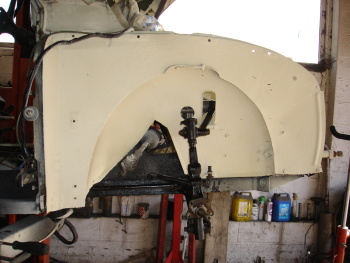
This is it back at my workshop

Briefly, it wasn`t a runner when i got it, but a fettle with the electrics and a good carb clean out sorted that out and after hiting the fuel pump a couple of times (well several actually
The history that has come with the car is awesome. I have every M.O.T certificate, a huge amount of receipts ( mostly handwritten which is something I love to see) and loads of service sheets. makes wonderful reading
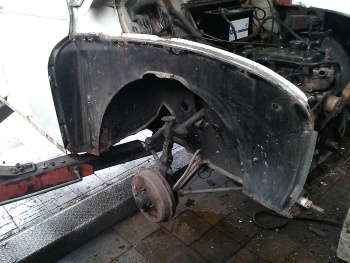
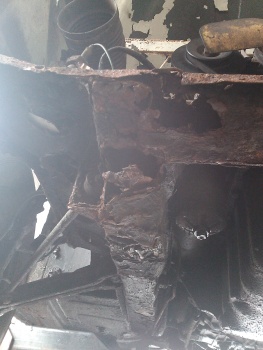
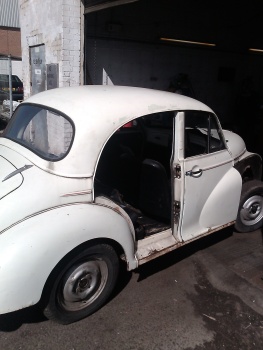
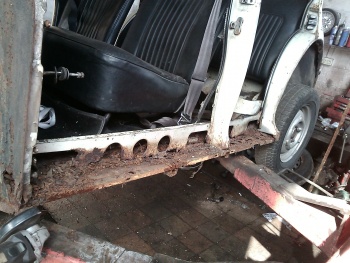
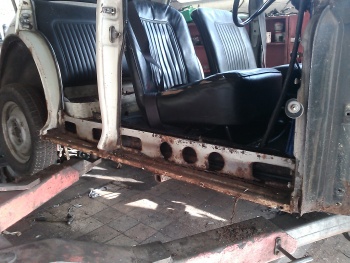
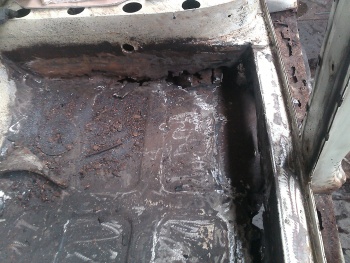
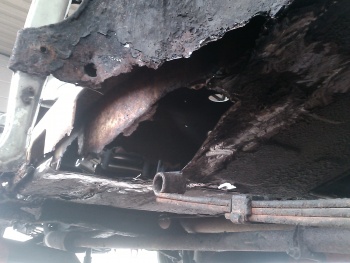
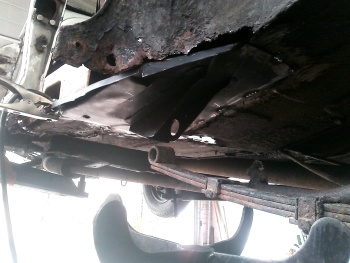
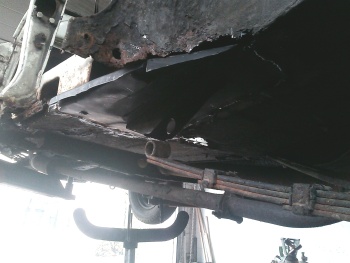
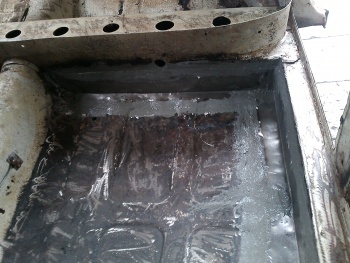
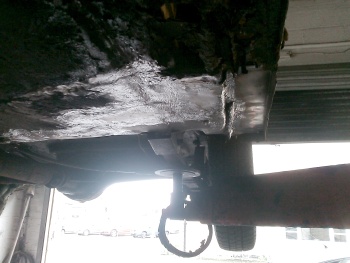
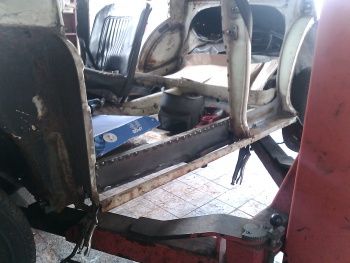
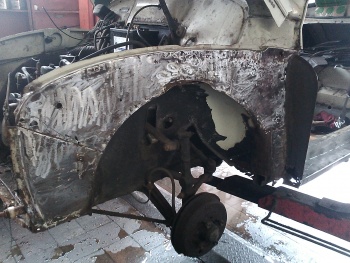
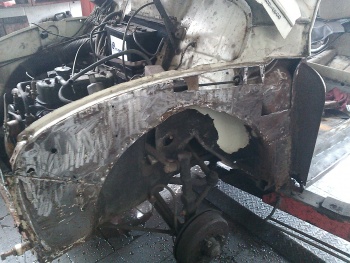
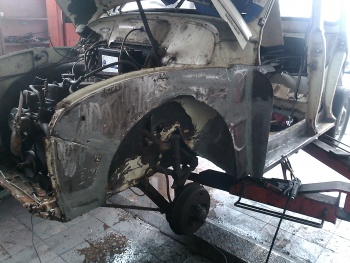
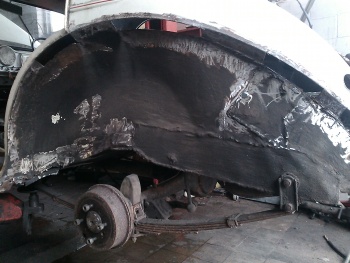
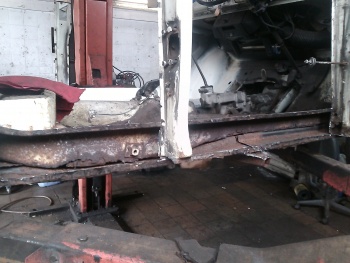
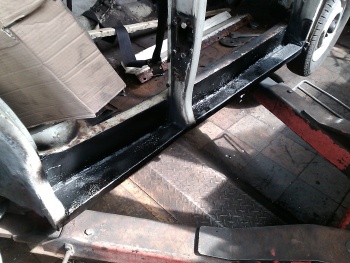
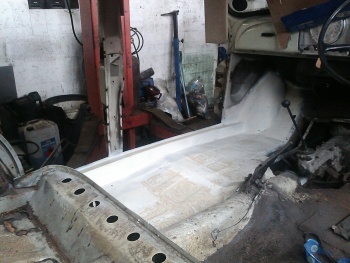
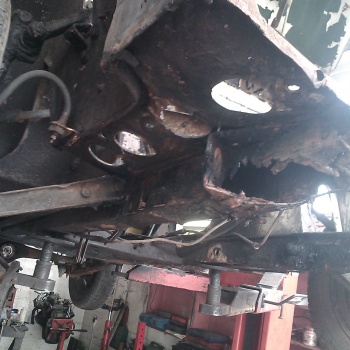
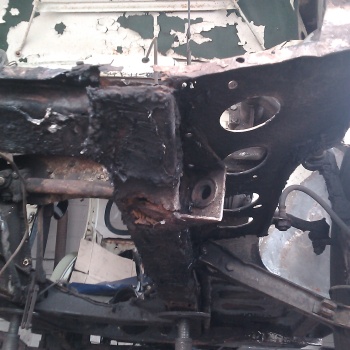
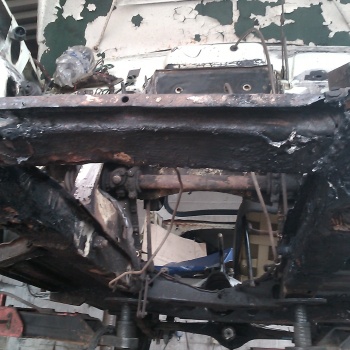
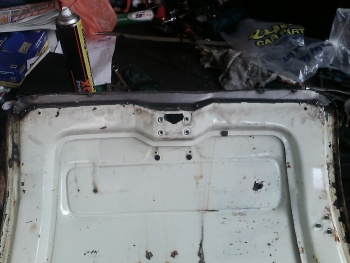
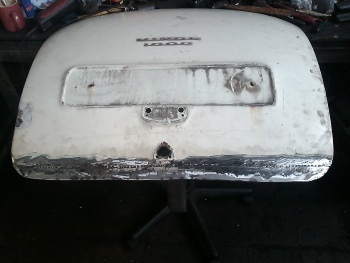
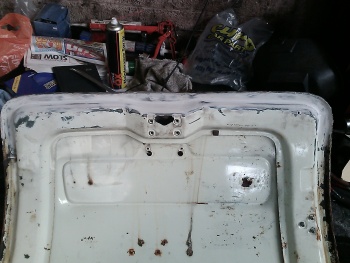
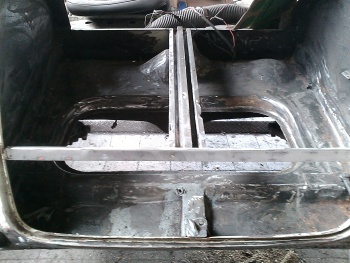
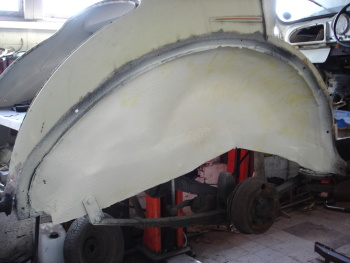
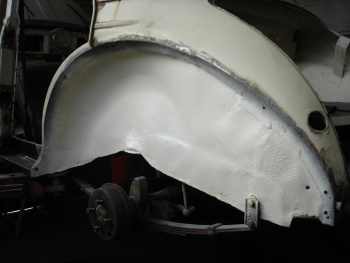
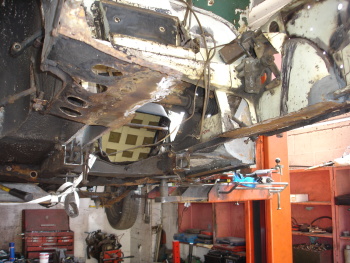
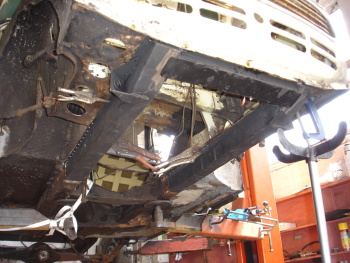
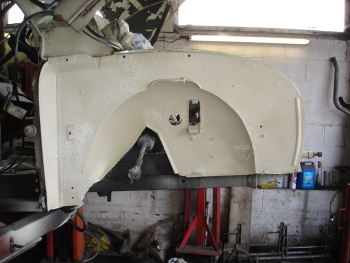
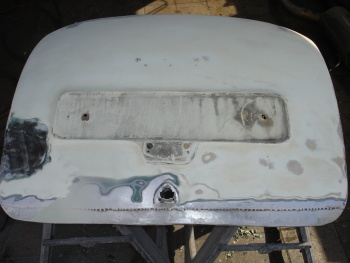
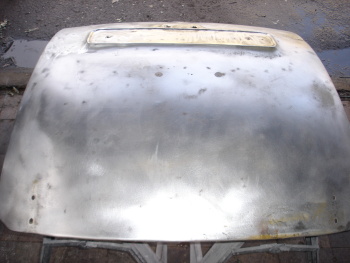
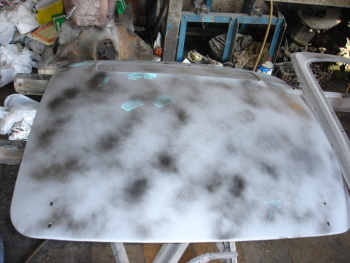
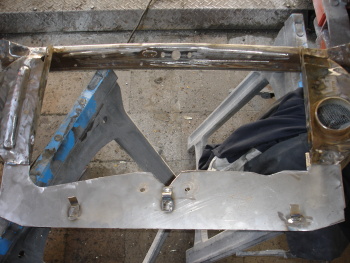
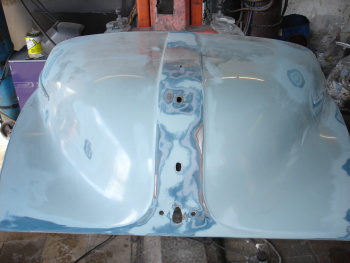
Underneath is pretty good to be honest, just a few bits in the usual areas and the front chassis legs are quite bad, but I`ve seen a lot worse. Wings are solid, but the boot lid and doors are quite bad. Got to work out what to do with those, replace with second hand or go for the repair panel option, will see when I get to it.
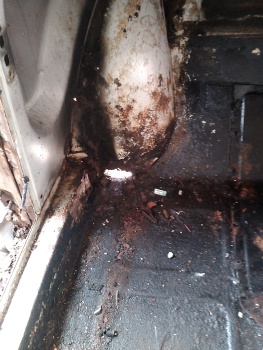
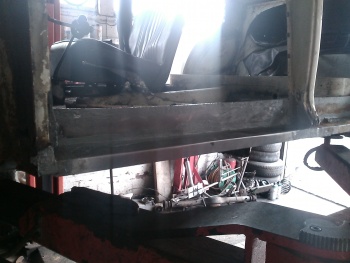
Interior is pretty good, it`s black. Drivers seat needs recovering as the base is split, but I think that will be a second hand job and both N/S door cards are a bit (well a lot) melted where someone has tried to do some welding without being very careful. Again will probably go down the secondhand route.
Time isn`t an issue, but budget is, so while no corners will be cut and anything that wants doing will get done, it won`t be a nuts n bolts job. I`m looking to turn this into a tidy usable everyday car so that if I keep it I can use it, but if I decide to sell it on it will sell and not break anyones bank.
So, next step is to join the club when i get the V5 back and I`ll start updating this regualrly when i get cracked on with it
Thanks
Rob