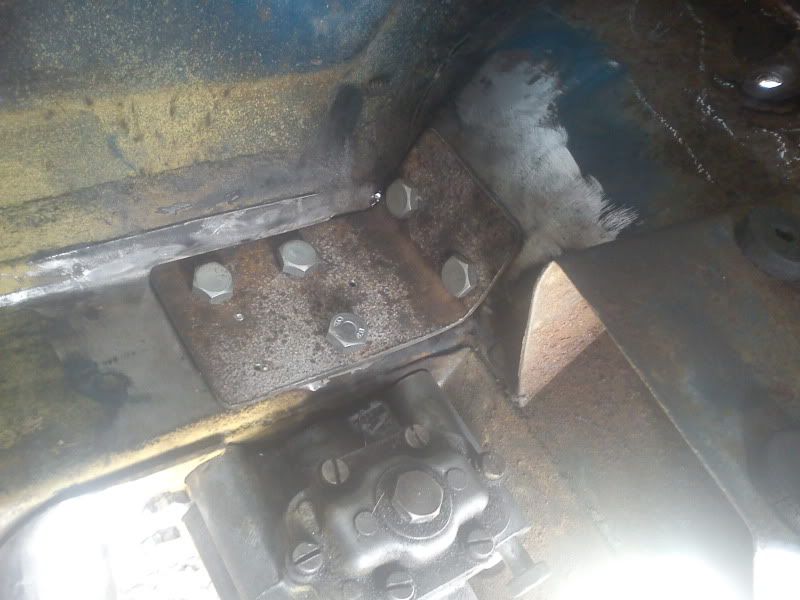
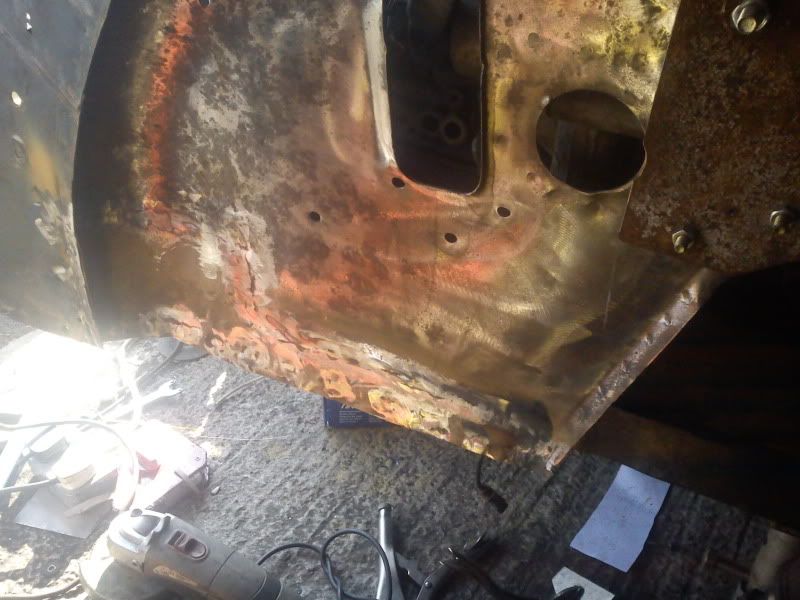
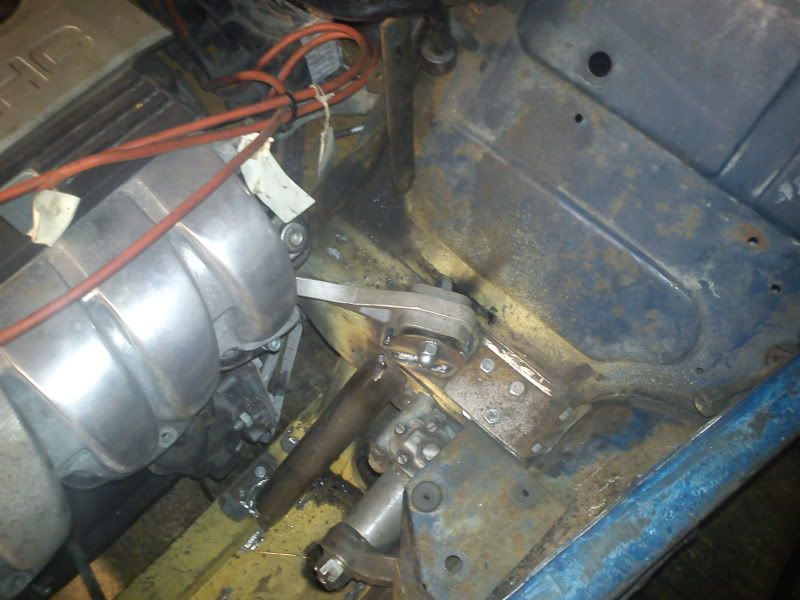
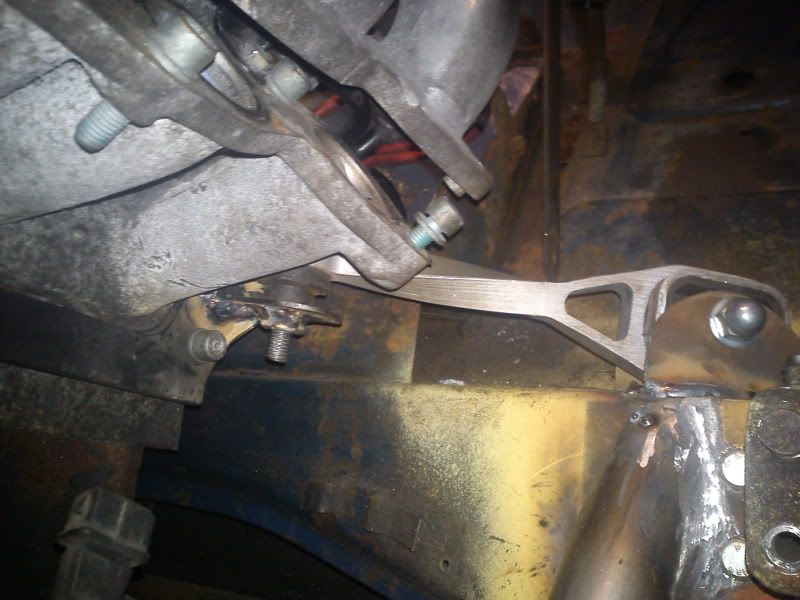
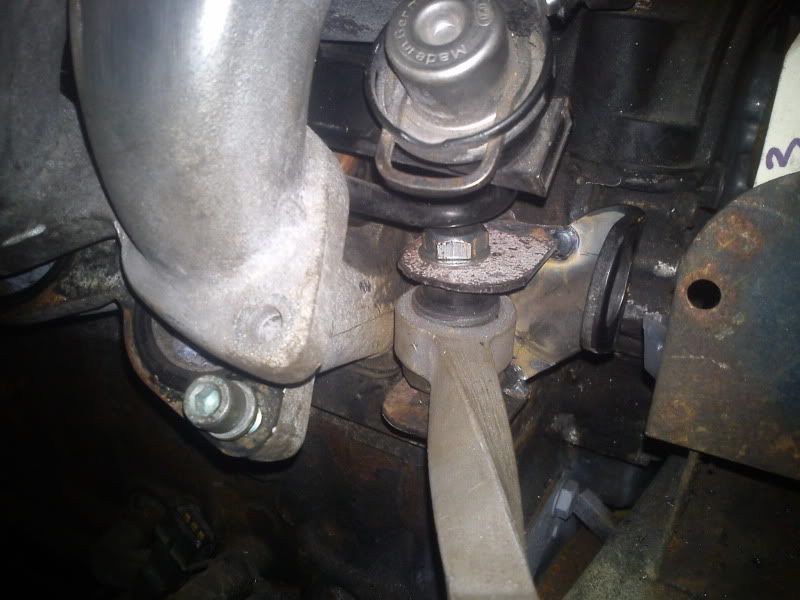
I might have mentioned it before, but I want to redo the starter mounts because its broken the bush so its not aligned
1970 Trav "IGOR" (modified) PIC HEAVY! fuel lines in!
Forum rules
By using this site, you agree to our rules. Please see: Terms of Use
-
polo2k
- Minor Addict
- Posts: 921
- Joined: Fri Mar 28, 2003 9:40 pm
- Location: Swindon-Shire
- MMOC Member: No
Re: 1970 Trav "IGOR" (modified) PIC HEAVY!
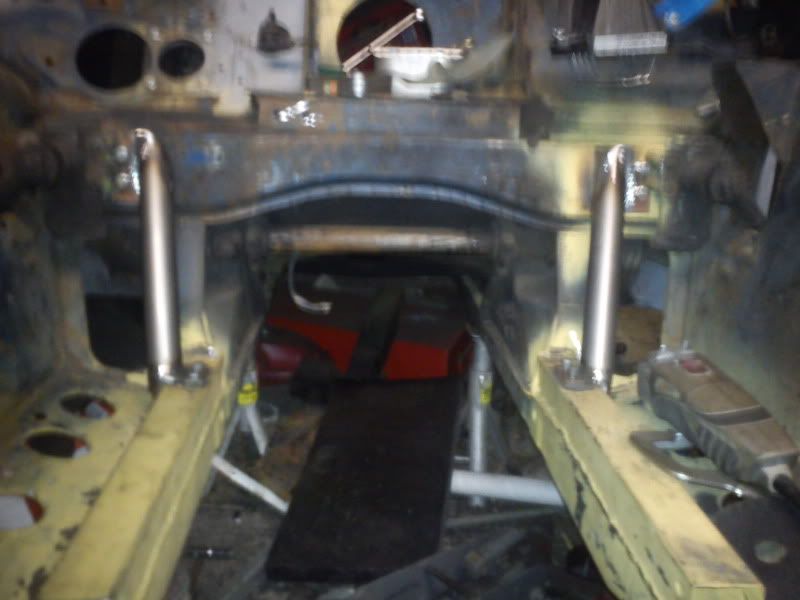
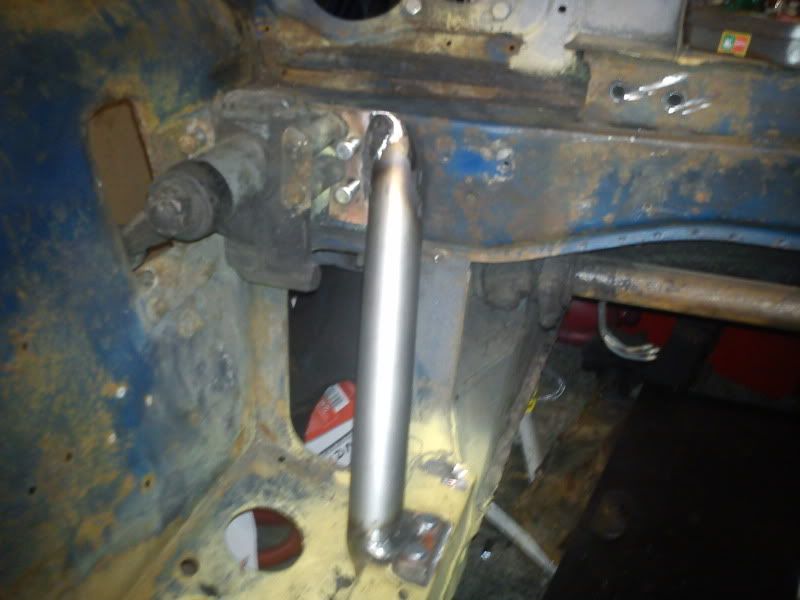
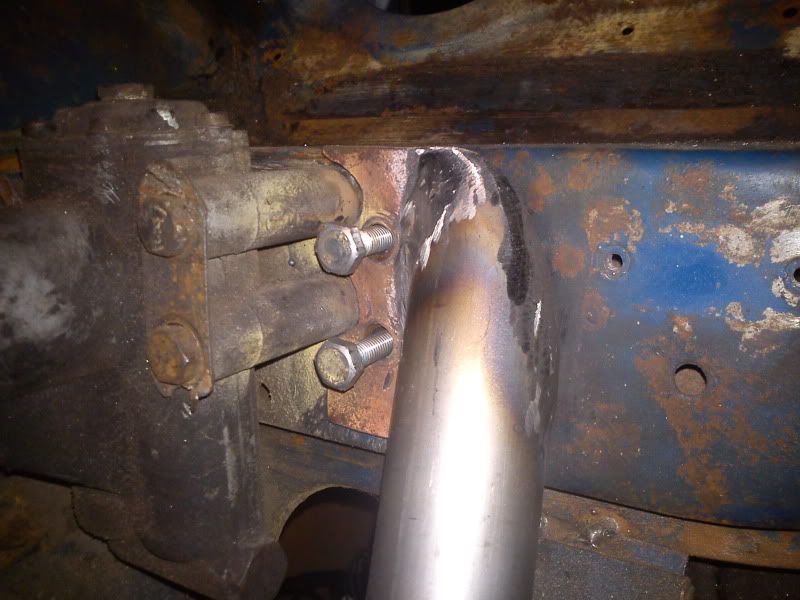
Ive just noticed that you can see the passenger side engine bar and chassis leg in the first pic, I have made a removeable member that bolts on with 6 M10 bolts. This allows me to "slide" the engine in horizontally rather than tipping it in.
I might have mentioned it before, but I want to redo the starter mounts because its broken the bush so its not aligned
-
brian
- Minor Friendly
- Posts: 83
- Joined: Sat Mar 20, 2010 10:25 pm
- Location: Saltash,Cornwall
- MMOC Member: No
Re: 1970 Trav "IGOR" (modified) PIC HEAVY!
Hi,when this is all finished,you can be proud and say that you restored it ,not "you had it restored" which you should be proud of , I wish I could have been your apprentice,at least I can make a good cup of tea.Cheers,Brian
-
polo2k
- Minor Addict
- Posts: 921
- Joined: Fri Mar 28, 2003 9:40 pm
- Location: Swindon-Shire
- MMOC Member: No
Re: 1970 Trav "IGOR" (modified) PIC HEAVY!
Kinda already can lolbrian wrote:Hi,when this is all finished,you can be proud and say that you restored it ,not "you had it restored"
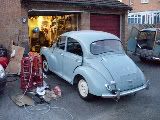
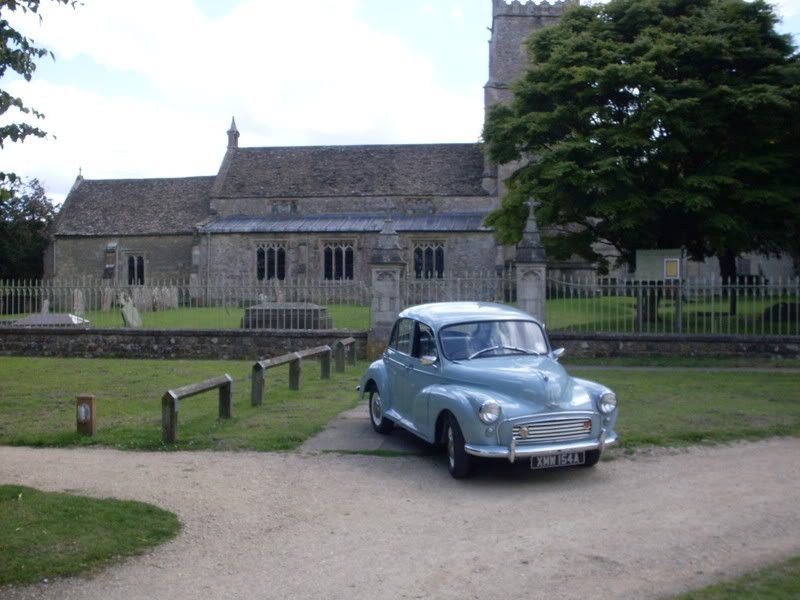
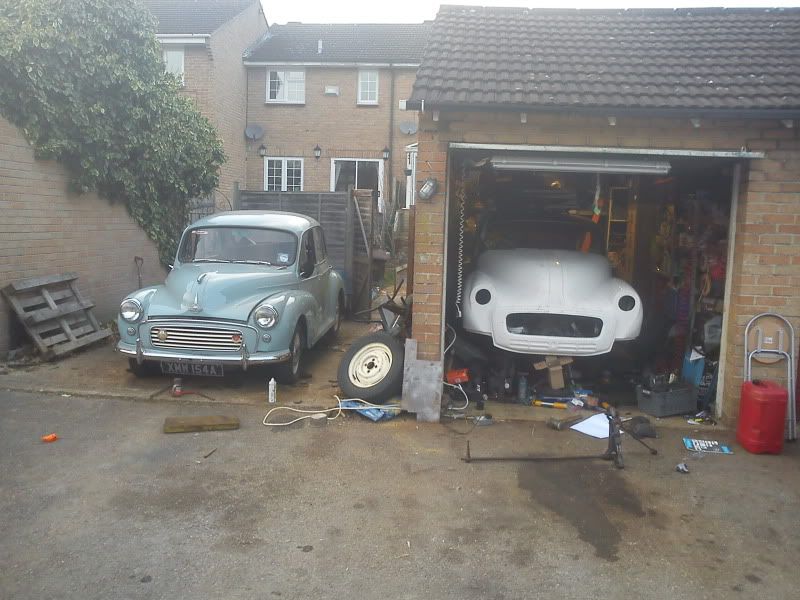
This is Mona;
1963 4 door from the Isle of man. Pretty much standard apart from some little bits and pieces like 13" wheels etc


As for an apprentice, Im flattered! Unfortunately that position is already held by "Rob Mate!", hopefully he will make an apprentice on here at some point.
If there is anything in particular that you want to know just ask.
I don't have any fancy premises. This is all happening in a small single garage with minimal space! If I can do it, anyone can, just be methodical and take multiple measurements in multiple places where ever possible so that once will corroborate the other.
-
brian
- Minor Friendly
- Posts: 83
- Joined: Sat Mar 20, 2010 10:25 pm
- Location: Saltash,Cornwall
- MMOC Member: No
Re: 1970 Trav "IGOR" (modified) PIC HEAVY!
Hi,I see you took the little blue moggy to church,is that to pray that she is never as much work as the one you are working on,cheers,Brian
-
polo2k
- Minor Addict
- Posts: 921
- Joined: Fri Mar 28, 2003 9:40 pm
- Location: Swindon-Shire
- MMOC Member: No
Re: 1970 Trav "IGOR" (modified) PIC HEAVY!
shes not religous, just likes a nice back drop
-
polo2k
- Minor Addict
- Posts: 921
- Joined: Fri Mar 28, 2003 9:40 pm
- Location: Swindon-Shire
- MMOC Member: No
Re: 1970 Trav "IGOR" (modified) PIC HEAVY!
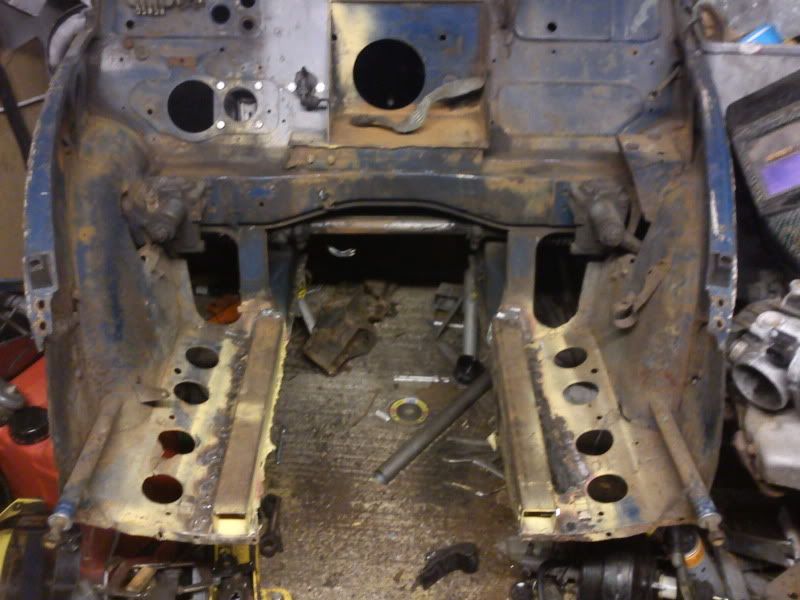
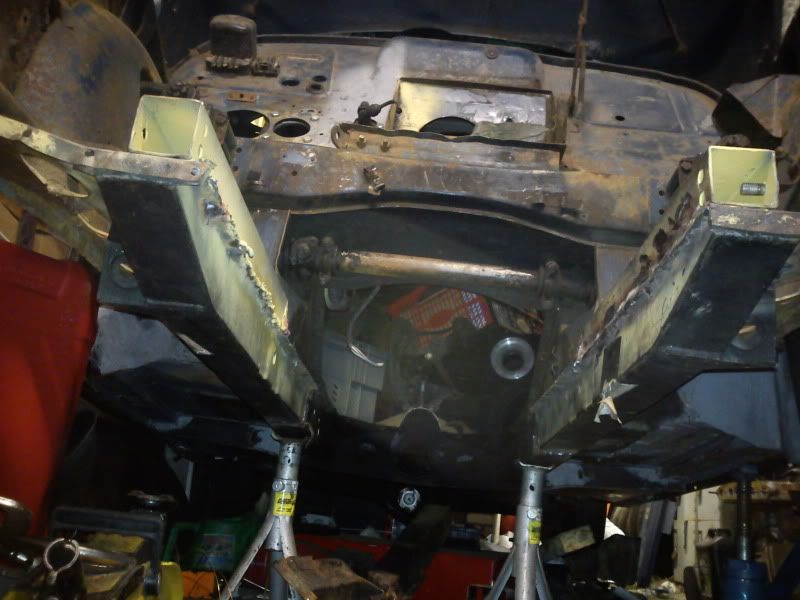
finally got round to getting some pics for you all, things are looking a bit more substantial!


naff quality but you get the idea


naff quality but you get the idea
-
polo2k
- Minor Addict
- Posts: 921
- Joined: Fri Mar 28, 2003 9:40 pm
- Location: Swindon-Shire
- MMOC Member: No
Re: 1970 Trav "IGOR" (modified) PIC HEAVY!
little update from todays efforts.


hopefully, tomorow im going to redo the starter mounting then hopefully get the engine back in
then a good sweep up, ive got grinding cack everywhere!


hopefully, tomorow im going to redo the starter mounting then hopefully get the engine back in
then a good sweep up, ive got grinding cack everywhere!
-
polo2k
- Minor Addict
- Posts: 921
- Joined: Fri Mar 28, 2003 9:40 pm
- Location: Swindon-Shire
- MMOC Member: No
Re: 1970 Trav "IGOR" (modified) PIC HEAVY!
I see theres a fair few people on here tonight,
who wants an update from todays progress???
Re: 1970 Trav "IGOR" (modified) PIC HEAVY! Engine now in
Me!
Update please
Update please
-
polo2k
- Minor Addict
- Posts: 921
- Joined: Fri Mar 28, 2003 9:40 pm
- Location: Swindon-Shire
- MMOC Member: No
Re: 1970 Trav "IGOR" (modified) PIC HEAVY! Engine now in
Well all the planning and progressing came to fruition today (and I got to have a good sweep up!!)
Ill let the pics do the talking

Heres the engine bay that I have been grafting in far too much recently, I have fitted the braces and bolted them up (including snapping a bolt!)

Heres the VR6, it hasnt been touched since it came out a few weeks ago.

The started motor was next on the adgenda.
The problem I had was that I had fitted the starter once already but due to excessive movement I had shattered the oilite bush
While I was at Race Retro last week I got chatting to the guys at WOSP (they do all sorts of uprated starters and Dynators, these are alternators in a dynamo body!), they supplied me with a selection of oilite bushes and a couple of needle roller bearings.

I am now using a needle bearing with an oilite bush in the bottom of the hole to stop the roller bearing sliding down the shaft. The support it is sat in is a recycled pedal shaft spacer I think, thats Ive filed out to fit.
The keen eyed among you will have noticed that it looks wet, during welding I was constantly flooding the area with engine oil to try and preserve the oilite bush that I had already pressed in there.
Then after a little dangling and swearing...


Its in again, loads more room in there now that Ive folded the flanges up and raised the engine on the box section.


You can also see the brake servo and master cylinder roughly in place.
Heres a good show showing the new metal in the chassis legs:

I was worried all along about space for the starter. I shouldnt have been because there is loads of room!


I quite like this shot that prooves what can be done in a small space!

Huge thanks to Pskipper for all the help and heaving today!
Ill let the pics do the talking

Heres the engine bay that I have been grafting in far too much recently, I have fitted the braces and bolted them up (including snapping a bolt!)

Heres the VR6, it hasnt been touched since it came out a few weeks ago.

The started motor was next on the adgenda.
The problem I had was that I had fitted the starter once already but due to excessive movement I had shattered the oilite bush
While I was at Race Retro last week I got chatting to the guys at WOSP (they do all sorts of uprated starters and Dynators, these are alternators in a dynamo body!), they supplied me with a selection of oilite bushes and a couple of needle roller bearings.

I am now using a needle bearing with an oilite bush in the bottom of the hole to stop the roller bearing sliding down the shaft. The support it is sat in is a recycled pedal shaft spacer I think, thats Ive filed out to fit.
The keen eyed among you will have noticed that it looks wet, during welding I was constantly flooding the area with engine oil to try and preserve the oilite bush that I had already pressed in there.
Then after a little dangling and swearing...


Its in again, loads more room in there now that Ive folded the flanges up and raised the engine on the box section.


You can also see the brake servo and master cylinder roughly in place.
Heres a good show showing the new metal in the chassis legs:

I was worried all along about space for the starter. I shouldnt have been because there is loads of room!


I quite like this shot that prooves what can be done in a small space!

Huge thanks to Pskipper for all the help and heaving today!
-
MarkyB
- Minor Maniac
- Posts: 7845
- Joined: Thu Jan 25, 2007 3:18 pm
- Location: South East London
- MMOC Member: No
Re: 1970 Trav "IGOR" (modified) PIC HEAVY! Engine now in
I think I've asked this before but, how are you going to beef up the "bell housing" on one side you have the weight of the car, on the other the power of the engine.
Unless you aren't going to use any rubber mountings, all that will go into the join between engine and gearbox.
"Once you break something you will see how it was put together"
-
polo2k
- Minor Addict
- Posts: 921
- Joined: Fri Mar 28, 2003 9:40 pm
- Location: Swindon-Shire
- MMOC Member: No
Re: 1970 Trav "IGOR" (modified) PIC HEAVY! Engine now in
The bell housing is in "skeleton" mode for the moment as a mock up, Once I know it all works Ill be pulling the engine again for prettying. While its all out ill be plating the bell housing in 1/4" plate, all seam welded to the webs and end plates. I may add some internal and external webbing for some more strength.
The rear of the gearbox is sat on the original sierra mount on a custom made cross member which is bolted back up to the car with some M10`s using a strengthening plate to spread the load.
The front of the engine is sat on rubber mounts that came from a Renault master van! Once I have figured out the bracketry Ill be using a top mount that originally came from a diesel clio!
You can see the clio top mount here:

and the master mounts here

Even without the top engine mount on there is very little movement in the mounts. I hope that the mounts are soft enough to absorb the high frequency vibrations from the engine.
The rear of the gearbox is sat on the original sierra mount on a custom made cross member which is bolted back up to the car with some M10`s using a strengthening plate to spread the load.
The front of the engine is sat on rubber mounts that came from a Renault master van! Once I have figured out the bracketry Ill be using a top mount that originally came from a diesel clio!
You can see the clio top mount here:

and the master mounts here

Even without the top engine mount on there is very little movement in the mounts. I hope that the mounts are soft enough to absorb the high frequency vibrations from the engine.
-
polo2k
- Minor Addict
- Posts: 921
- Joined: Fri Mar 28, 2003 9:40 pm
- Location: Swindon-Shire
- MMOC Member: No
Re: 1970 Trav "IGOR" (modified) PIC HEAVY! Engine now in
Thinking ahead, It would seem like the best time to start priming and painting the underside, it just seems a lot too soon. Cn anyone think of a reason why not to do it all now?
I will be cleaning, seam sealing and then hitting everything with Zinc 182 and then gloss black, not decided on a brand yet. All the removeable parts will be powder coated black (or possibly silver) including the torsion bars and trunninons and bottom arms.
When I get round to doing the inner arches I plan on stone chipping them too.
Does anyone have any tips on using brushable seam sealer? im planning on just being careful and neat but I think Ive read that you can tidy it with a wet finger (or is that just bathroom sealent?)
I will be cleaning, seam sealing and then hitting everything with Zinc 182 and then gloss black, not decided on a brand yet. All the removeable parts will be powder coated black (or possibly silver) including the torsion bars and trunninons and bottom arms.
When I get round to doing the inner arches I plan on stone chipping them too.
Does anyone have any tips on using brushable seam sealer? im planning on just being careful and neat but I think Ive read that you can tidy it with a wet finger (or is that just bathroom sealent?)
-
polo2k
- Minor Addict
- Posts: 921
- Joined: Fri Mar 28, 2003 9:40 pm
- Location: Swindon-Shire
- MMOC Member: No
Re: 1970 Trav "IGOR" (modified) PIC HEAVY! Engine now in
Wow, its been quiet on here!!!
I was hoping that there would be more questions etc, oh well! Ill just keep rambling away to my self.
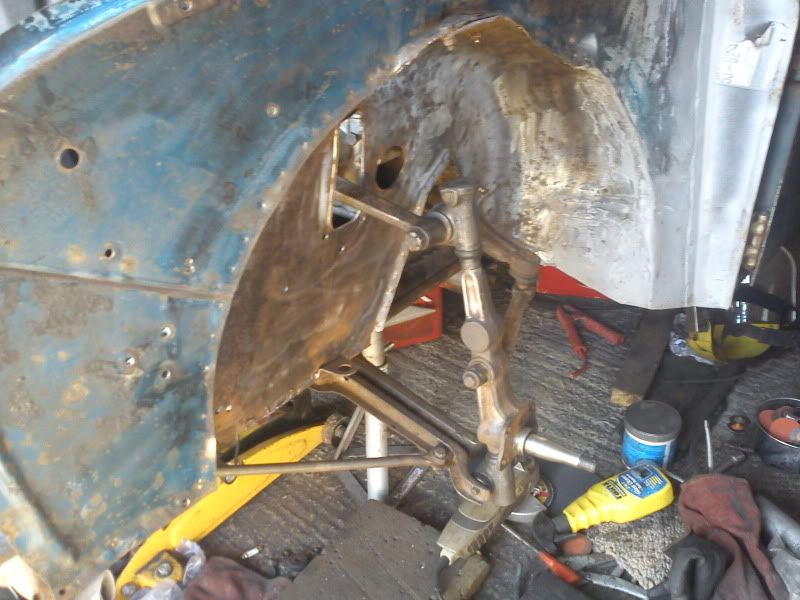
I have made some progress recently, as suggested above I have been cleaning and prepping "stuff", and I have also been doing work on the front inner wings and making some damper mounting plates as my plans will transfer quite a bit more load into the mounts.
On with the pics:
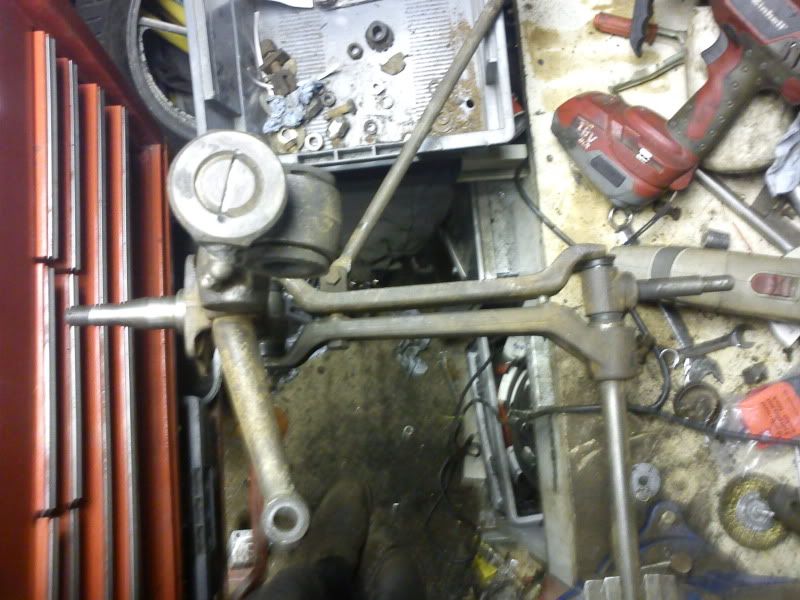
Here is the front suspension in the vice when mostly clean (I know my garage is a tip, but its tiny so it doesnt take much!)
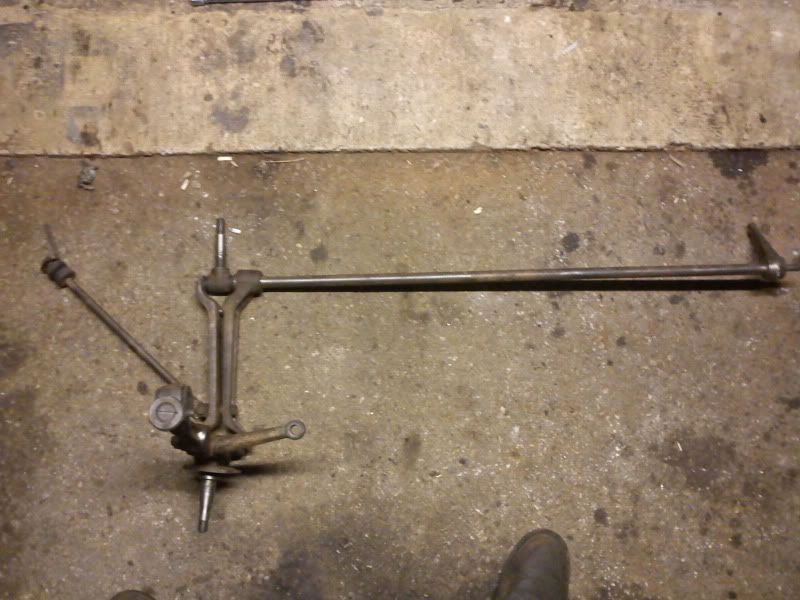
The suspension again, I thought this could be a good reference pic for anyone doing the suspension.
This is the front wing as it stood:
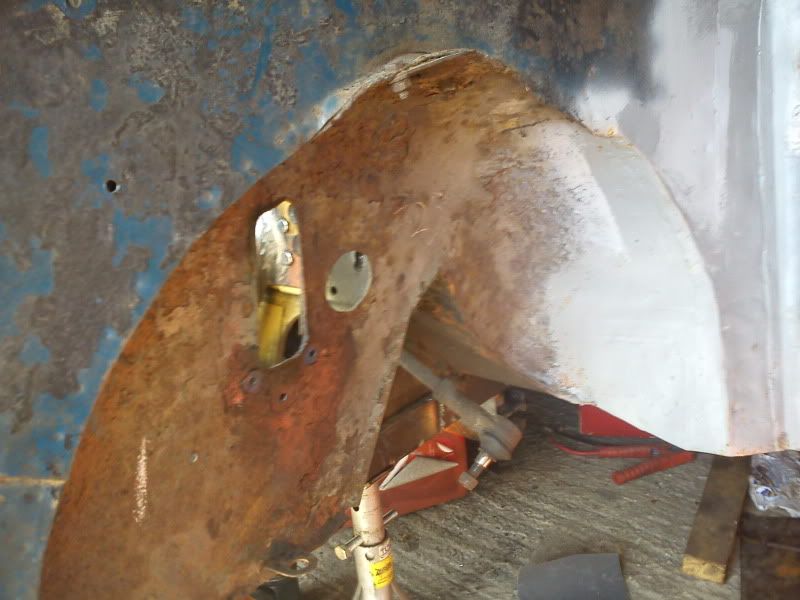
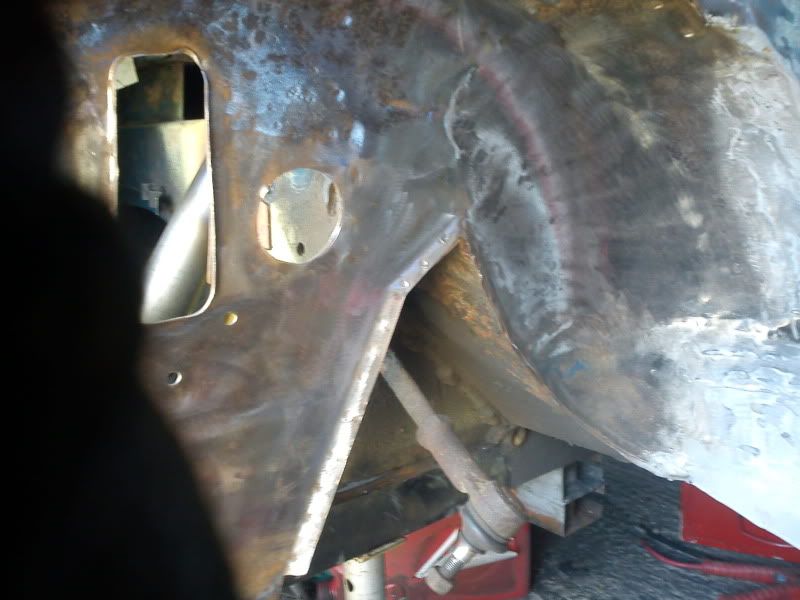
After some cleaning
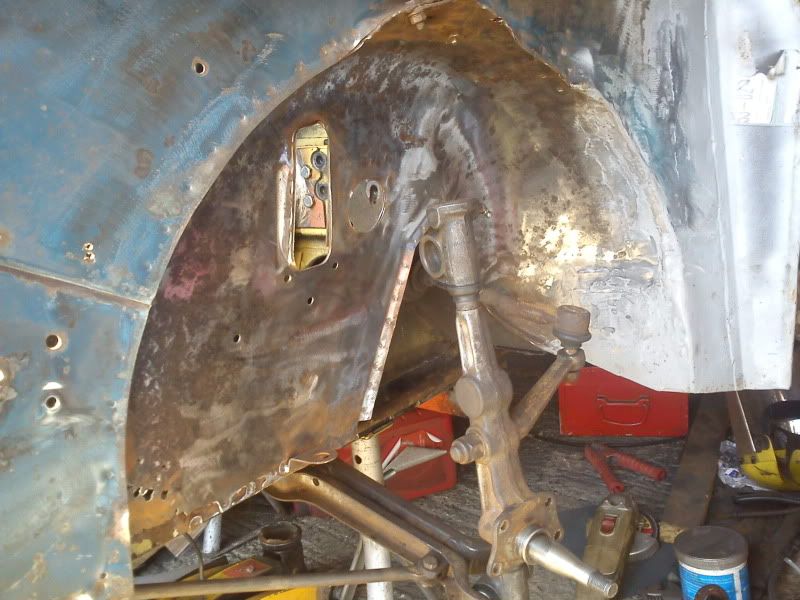
partially assembled
Damper mocked into place
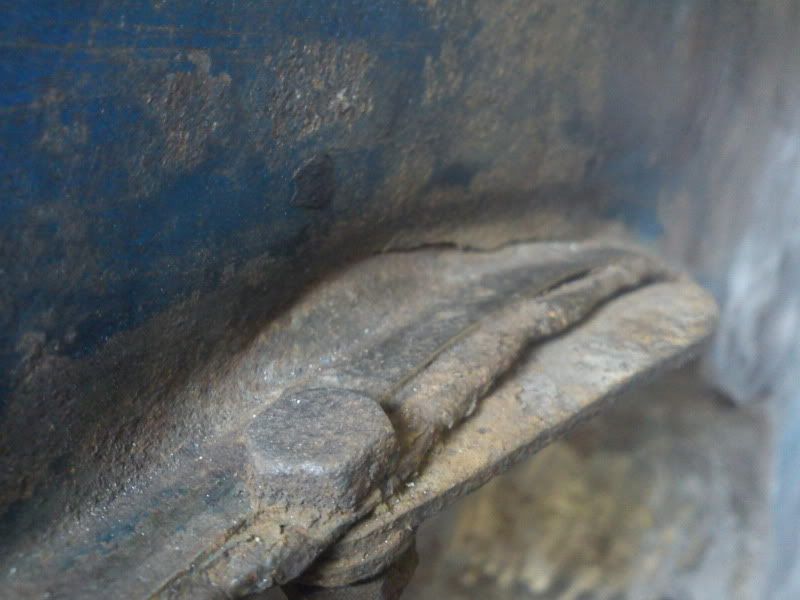
This is what happens when people go too low and hammer the bumpstops.
Im hoping to work round this with my own damper mounts. I have started making them but unfortunately I dont have any pics yet
I have also been cutting out loads of steel from the bottom of the inner arch, fitting an air filter and...
Went to visit a fellow member for a new part:
can you guess what it is yet?
I also spent an hour or so fitting electronic ignition to mona and reviving her after the winter. She has developed a funny fault where she will turn over on the starter and then the starter just chokes as if its suddenly got massive resistance. hmm. Im going to swap out the fuel and get the battery properly charged to see how that helps.
Im off out there again in a minute so ill try to get some pics of the new inner arch steel.
2409
I was hoping that there would be more questions etc, oh well! Ill just keep rambling away to my self.
I have made some progress recently, as suggested above I have been cleaning and prepping "stuff", and I have also been doing work on the front inner wings and making some damper mounting plates as my plans will transfer quite a bit more load into the mounts.
On with the pics:

Here is the front suspension in the vice when mostly clean (I know my garage is a tip, but its tiny so it doesnt take much!)

The suspension again, I thought this could be a good reference pic for anyone doing the suspension.
This is the front wing as it stood:


After some cleaning

partially assembled

Damper mocked into place

This is what happens when people go too low and hammer the bumpstops.
Im hoping to work round this with my own damper mounts. I have started making them but unfortunately I dont have any pics yet
I have also been cutting out loads of steel from the bottom of the inner arch, fitting an air filter and...
Went to visit a fellow member for a new part:

can you guess what it is yet?
I also spent an hour or so fitting electronic ignition to mona and reviving her after the winter. She has developed a funny fault where she will turn over on the starter and then the starter just chokes as if its suddenly got massive resistance. hmm. Im going to swap out the fuel and get the battery properly charged to see how that helps.
Im off out there again in a minute so ill try to get some pics of the new inner arch steel.
2409
-
chrisryder
- Minor Legend
- Posts: 2217
- Joined: Mon Nov 15, 2010 11:44 pm
- Location: West Midlands UK
- MMOC Member: No
Re: 1970 Trav "IGOR" (modified) PIC HEAVY! Engine now in
that suspension reference pic looks like you've got the short arm (at the cross member) the wrong way around. although i'm sure you will have noticed that when you put it in place!
guessing your latest purchase is the flip front. looks good, does it fit well?
with regards mona, could the starter motor 'seizing' be the engine back firing? as you've fitted electronic ignition, it could have affected the timing somewhat, and you're getting a spark way before TDC and it's not letting the piston up the bore?
either that or your starter motor is on its way out (or needs a look at possibly). this is why i dont put my minor into hibernation, the lack of use can cause more problems than the constant use in cold weather does!
guessing your latest purchase is the flip front. looks good, does it fit well?
with regards mona, could the starter motor 'seizing' be the engine back firing? as you've fitted electronic ignition, it could have affected the timing somewhat, and you're getting a spark way before TDC and it's not letting the piston up the bore?
either that or your starter motor is on its way out (or needs a look at possibly). this is why i dont put my minor into hibernation, the lack of use can cause more problems than the constant use in cold weather does!
-
polo2k
- Minor Addict
- Posts: 921
- Joined: Fri Mar 28, 2003 9:40 pm
- Location: Swindon-Shire
- MMOC Member: No
Re: 1970 Trav "IGOR" (modified) PIC HEAVY! Engine now in
Im just uploading some pics so ill answer your questions while that loads
The suspension is just help together so that I dont loose any bits
the short arm is very wrong though lol
CORRECT, the flip front is the new addition. It fits reasonably but will need some tweaking, Im also going to build a web to support it and stop some of the cracking.
The starter motor is somethign I hadnt thought of. I had her running and idleing very well, I really like the electronic ignition, this is why I suspect something fuel related. I had resorted to a little easy start and after that I was getting a puff out of the inlet manifold when the starter laboured so I think I may also have a sticky valve. hmm
Right the pics are ready so here I go
The suspension is just help together so that I dont loose any bits
CORRECT, the flip front is the new addition. It fits reasonably but will need some tweaking, Im also going to build a web to support it and stop some of the cracking.
The starter motor is somethign I hadnt thought of. I had her running and idleing very well, I really like the electronic ignition, this is why I suspect something fuel related. I had resorted to a little easy start and after that I was getting a puff out of the inlet manifold when the starter laboured so I think I may also have a sticky valve. hmm
Right the pics are ready so here I go
-
polo2k
- Minor Addict
- Posts: 921
- Joined: Fri Mar 28, 2003 9:40 pm
- Location: Swindon-Shire
- MMOC Member: No
Re: 1970 Trav "IGOR" (modified) PIC HEAVY! Engine now in
Right then,
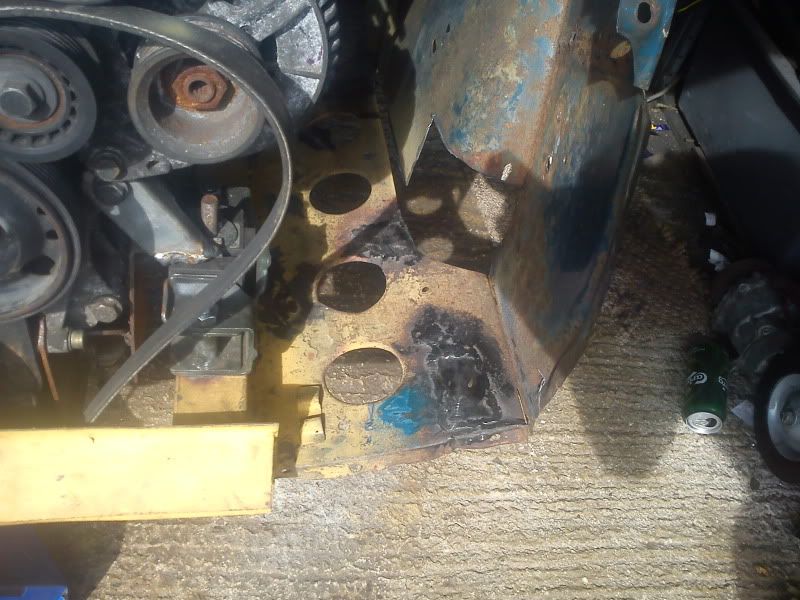
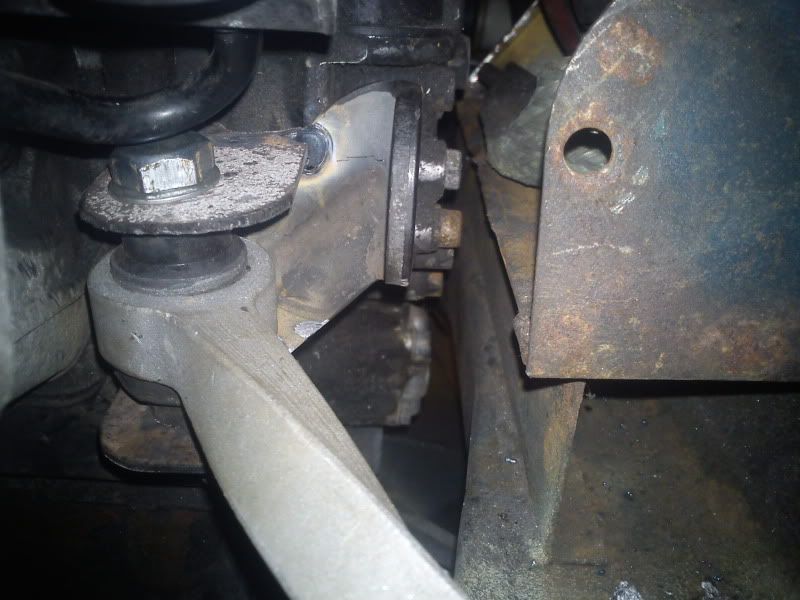
Ive been busy, but firstly I wanted to show the damper plates Ive made up, these sandwich the inner wind and bolt down into the X mamber (at the moment the lower bolts are M6 but they will be M8 in the final build)


This should hopefully help in transfering some of the loads through the shell.
Last night I got some welding done but it was too late for grinding (neighbours) here are some of the welds that greeted me after grinding:


A bit of snipping and a bit more grinding and we have a new panel ready to be offered up

Then tacked in

And after seaming:

I have also rebuilt the passenger side but forgot to take any pics.
I have been using roloc discs on this project and I really like them, they dont last ages but they are usefull for a nice even surface and even more so for tight corners etc.
Here is the finish that you get with just a sanding disc, there are scoth brite ones too,

I also fabbed up the top engine mount/steady


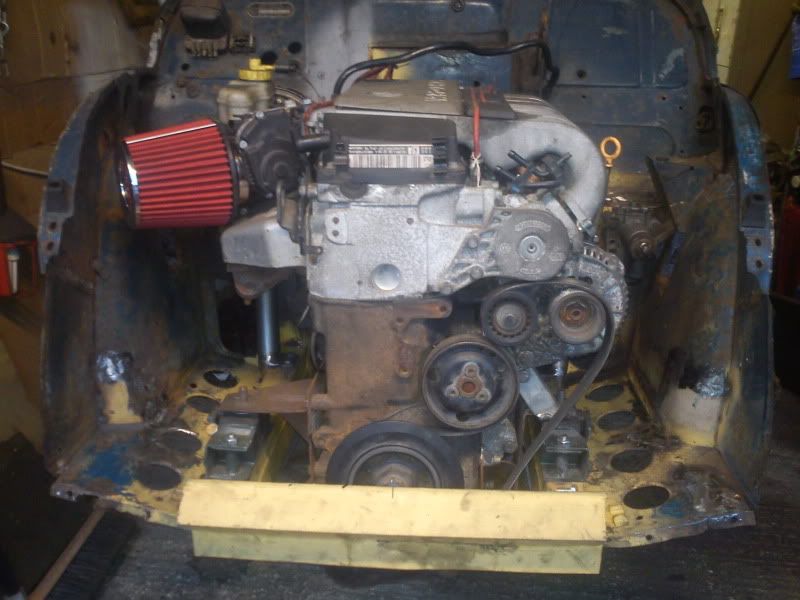
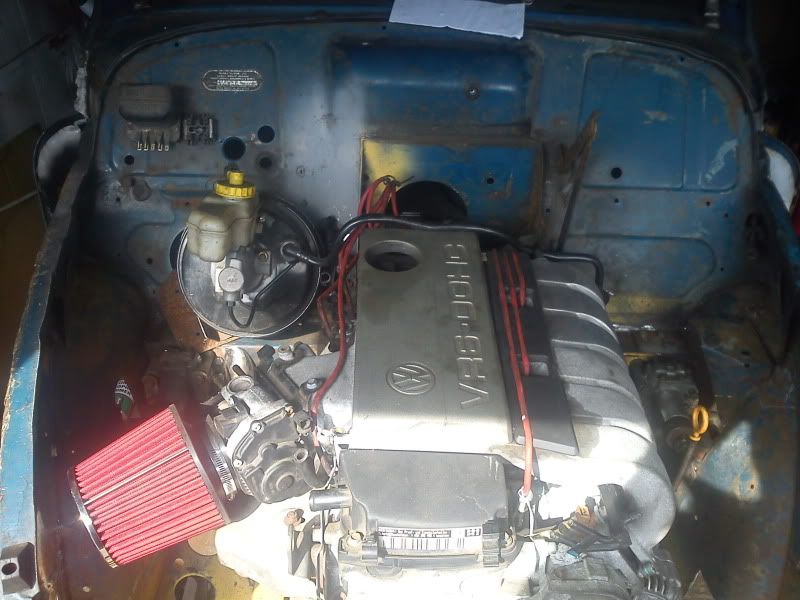
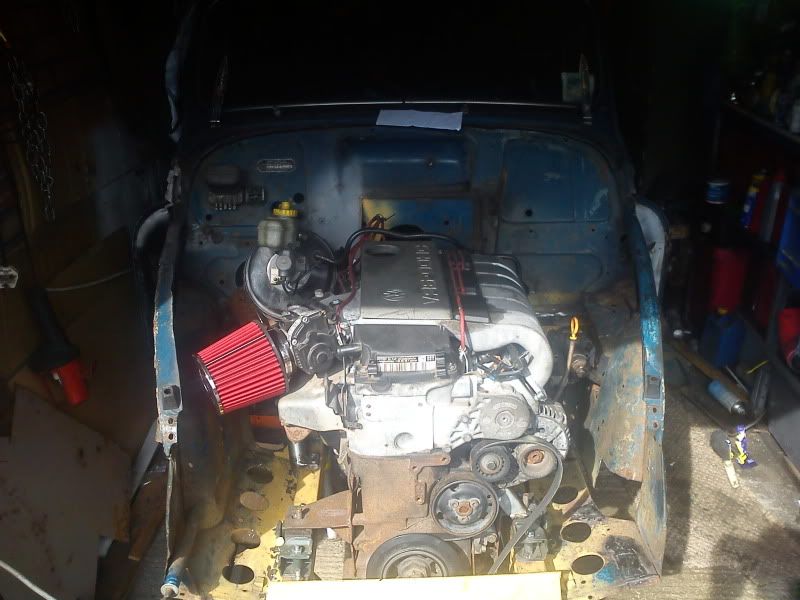
I also got some overall pics now that I have an idea of where things are going. I have also put the air filter on for mocking up clearences but I will have to move it as its touching the manifold, it will probably end up in front of the wheel somewhere.


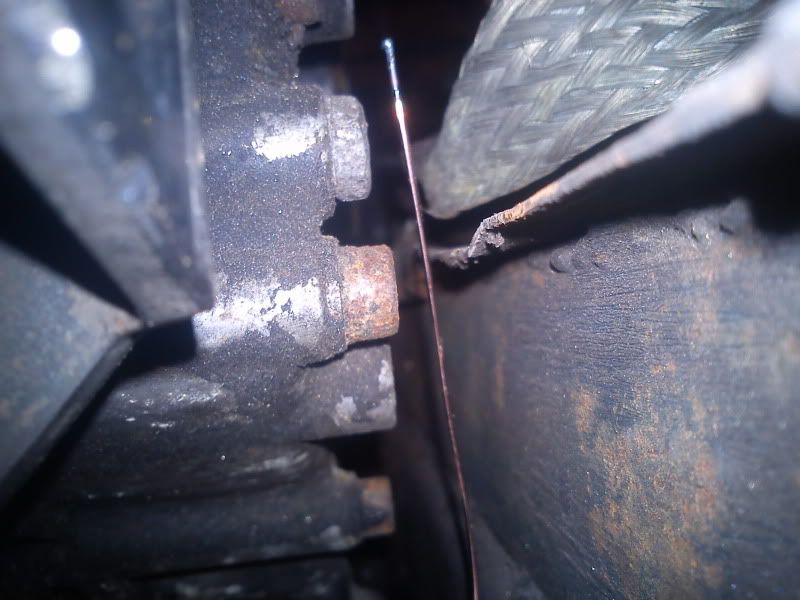
This is the clearence down the back of the engine, for reference the copper coloured line is 0.8 welding wire!

Ive been busy, but firstly I wanted to show the damper plates Ive made up, these sandwich the inner wind and bolt down into the X mamber (at the moment the lower bolts are M6 but they will be M8 in the final build)


This should hopefully help in transfering some of the loads through the shell.
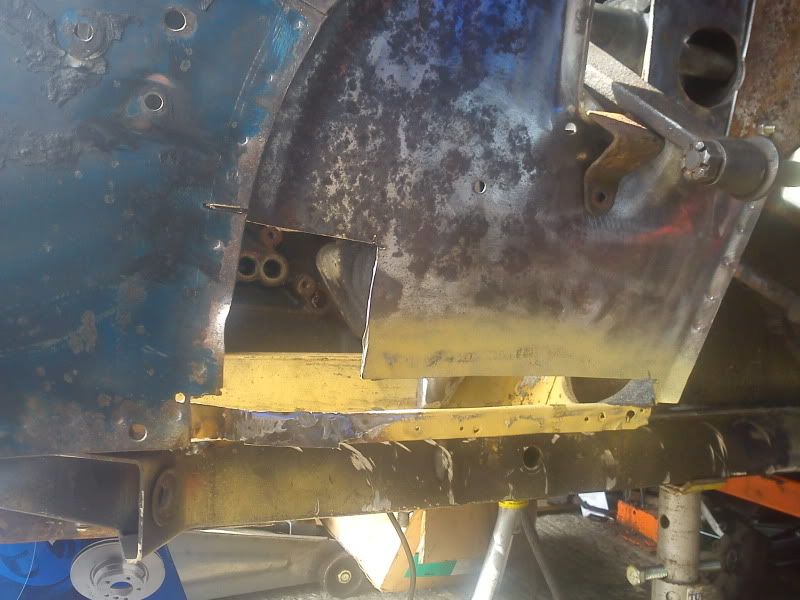
Last night I got some welding done but it was too late for grinding (neighbours) here are some of the welds that greeted me after grinding:


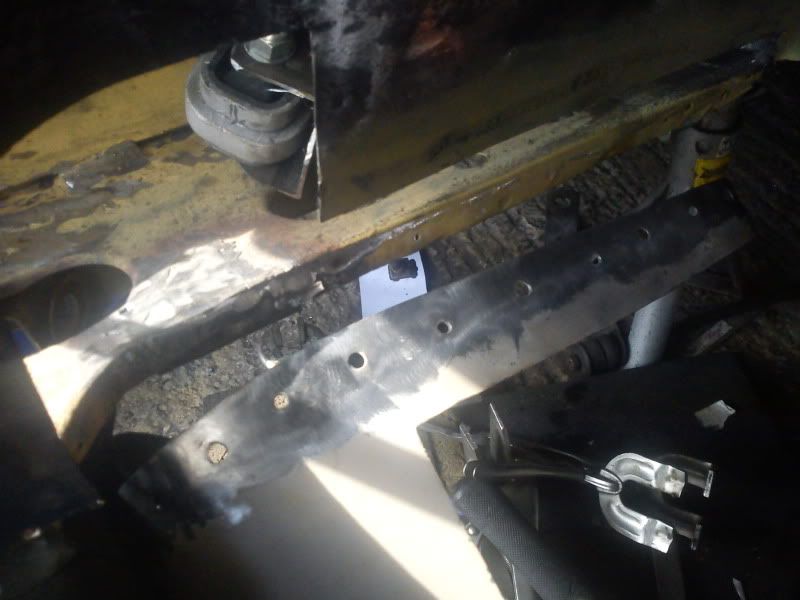
A bit of snipping and a bit more grinding and we have a new panel ready to be offered up

Then tacked in

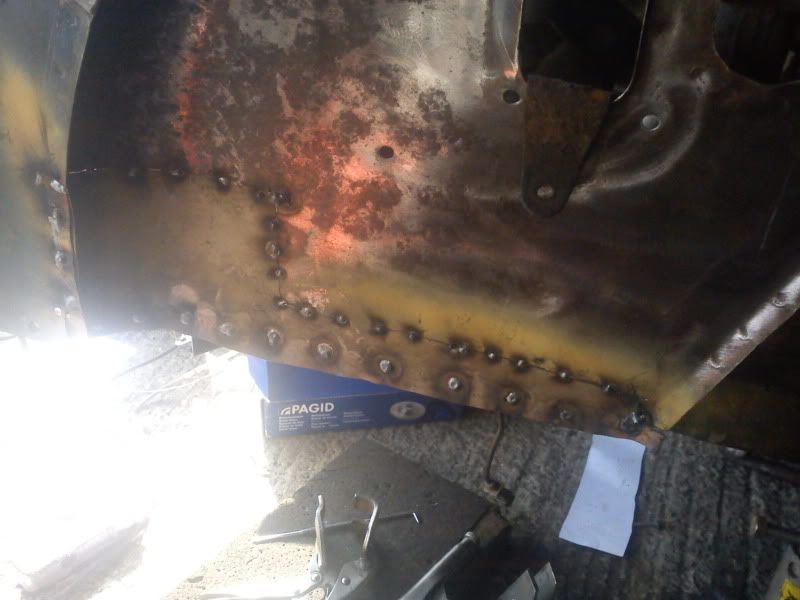
And after seaming:

I have also rebuilt the passenger side but forgot to take any pics.
I have been using roloc discs on this project and I really like them, they dont last ages but they are usefull for a nice even surface and even more so for tight corners etc.
Here is the finish that you get with just a sanding disc, there are scoth brite ones too,

I also fabbed up the top engine mount/steady


I also got some overall pics now that I have an idea of where things are going. I have also put the air filter on for mocking up clearences but I will have to move it as its touching the manifold, it will probably end up in front of the wheel somewhere.


This is the clearence down the back of the engine, for reference the copper coloured line is 0.8 welding wire!

-
rossrox
- Minor Fan
- Posts: 419
- Joined: Mon Oct 05, 2009 6:11 pm
- Location: staxton, scarborough, UK
- MMOC Member: No
Re: 1970 Trav "IGOR" (modified) PIC HEAVY! Ancilleries going on!
good god thats abit close isnt it??? would have thought with engine wobble it may hit.
i may have missed it but what are you doing with suspension???
-
Alex'n'Ane
- Minor Legend
- Posts: 1024
- Joined: Fri Dec 18, 2009 5:06 pm
- Location: Nottingham
- MMOC Member: No
Re: 1970 Trav "IGOR" (modified) PIC HEAVY! Ancilleries going on!
Looks good, interesting to see how those damper mounts are fitted, compared to ross's. Looks good though. No issues with rear water take offs as with the zetec then. Look forward to seeing your fueling and management system.
___Anne___

-
polo2k
- Minor Addict
- Posts: 921
- Joined: Fri Mar 28, 2003 9:40 pm
- Location: Swindon-Shire
- MMOC Member: No
Re: 1970 Trav "IGOR" (modified) PIC HEAVY! Ancilleries going on!
Im hoping that the engine movement will be limited to side to side movement, I may even fit an uprated steady cable if reqd lol
With the suspension, I am going to supliment the existing arrangement with additional damping and spring rate using coilover dampers. I have no idea what spring rate yet but once Ive got the maths figured, it shouldnt be too hard.
Thre is a rear water takeoff (that usually includes the Stat) but I have already cut the plate and have some tube so it should be doable. I also have to figure out the water pump pipe as there are no fixings, it usually gets held by the stat housing.
I haven't been out there for a couple of weeks but im hoping to get some time out there this w-end
With the suspension, I am going to supliment the existing arrangement with additional damping and spring rate using coilover dampers. I have no idea what spring rate yet but once Ive got the maths figured, it shouldnt be too hard.
Thre is a rear water takeoff (that usually includes the Stat) but I have already cut the plate and have some tube so it should be doable. I also have to figure out the water pump pipe as there are no fixings, it usually gets held by the stat housing.
I haven't been out there for a couple of weeks but im hoping to get some time out there this w-end