Bought a Minor today! - Interior Finished!!

Discuss anything Morris Minor related.
Forum rules
By using this site, you agree to our rules. Please see: Terms of Use
Luxobarge
Minor Fan
Posts: 363
Joined: Tue Sep 02, 2008 8:27 pm
Location: Horne, Surrey
MMOC Member: No

Post by Luxobarge »

Hey, thanks for the comments chaps - much appreciated!

OK, the previous owner restored the car's body, and I suspect he put new wiper spindle gaskets on it, as it's rained a lot just recently here (and the car lives outside) and the old liners were totally dry when I took them out, so hopefully I'll be OK for a while. I'll keep my eye on that though, and give the spindles some attention at the first sign of damp.

Seat re-covering and vinyl re-colouring pictures and story coming soon (if the rain stays away!)

Cheers! :D :D :D
pm
Minor Friendly
Posts: 23
Joined: Tue Jan 30, 2007 10:54 pm
Location: canvey island essex
MMOC Member: No

Post by pm »

great pics and good information

thanks
[img]http://i154.photobucket.com/albums/s244/PIP0999/DSC00113.jpg[/img]
stag36587
Minor Legend
Posts: 1395
Joined: Sat Jan 06, 2007 3:55 pm
Location: Raunds, Northamptonshire
MMOC Member: No

Post by stag36587 »

these look fantastic - I didn't know they could!
]
stag36587
Minor Legend
Posts: 1395
Joined: Sat Jan 06, 2007 3:55 pm
Location: Raunds, Northamptonshire
MMOC Member: No

Post by stag36587 »

these look fantastic - I didn't know they could!
]
Luxobarge
Minor Fan
Posts: 363
Joined: Tue Sep 02, 2008 8:27 pm
Location: Horne, Surrey
MMOC Member: No

Post by Luxobarge »

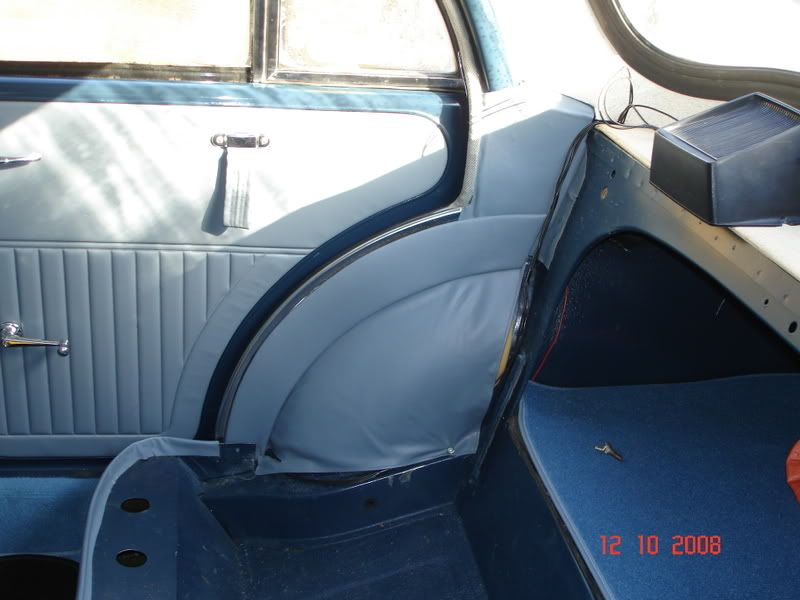
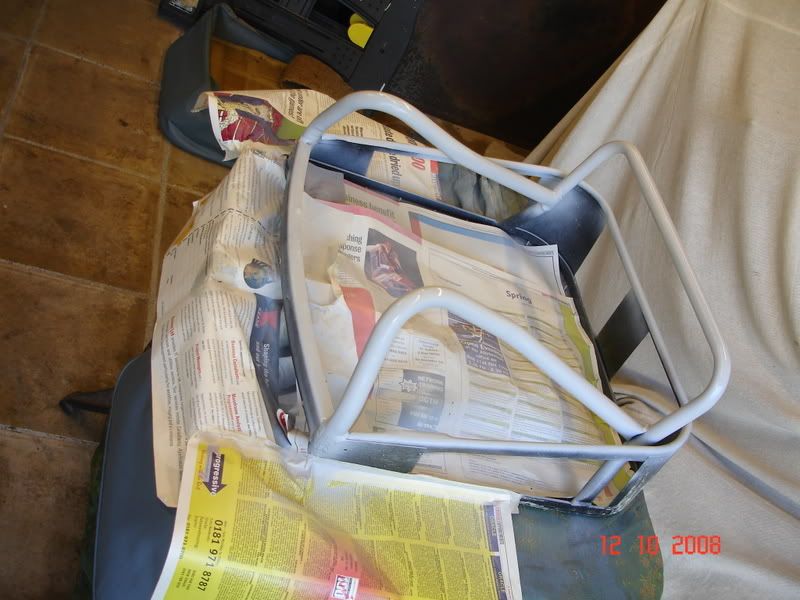
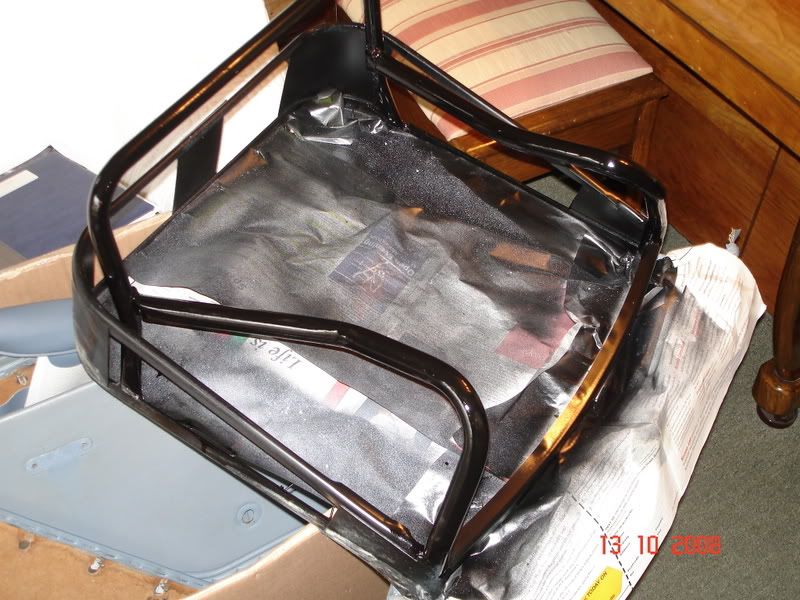
My wife has run off with the Moggie to work today, but before she did I removed the rear door cards and the rear seat cushion to make a start on the vinyl re-colouring exercise today.

First I got some clean cotton cloth and really thoroughly cleaned them with the cleaning solution, then another cloth and went over them again with the "Vinyl Prep" solution - hard work, this really makes your hands ache, but worth it to get a decent result.

Then carefully and slowly sprayed them with the colouring aerosols - the paint/dye flashes off pretty quickly so then I took them indoors to dry properly for the next 24 hours.

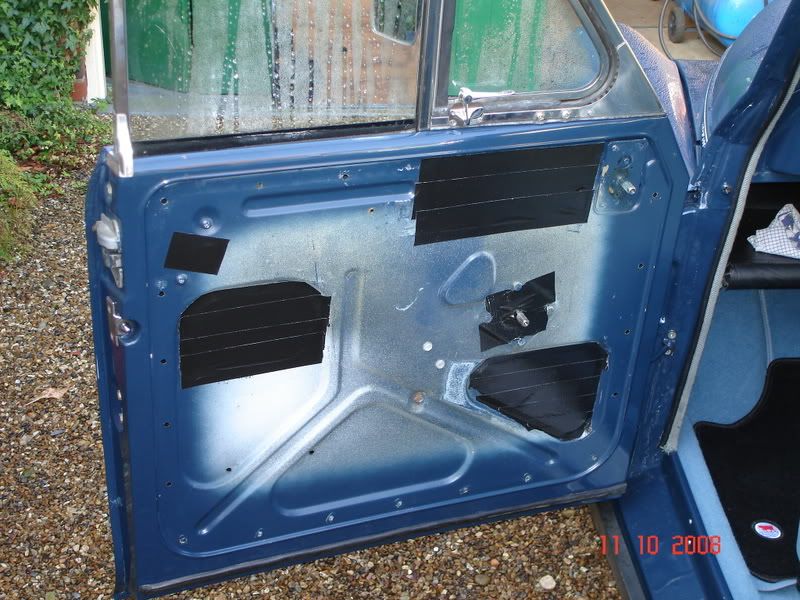
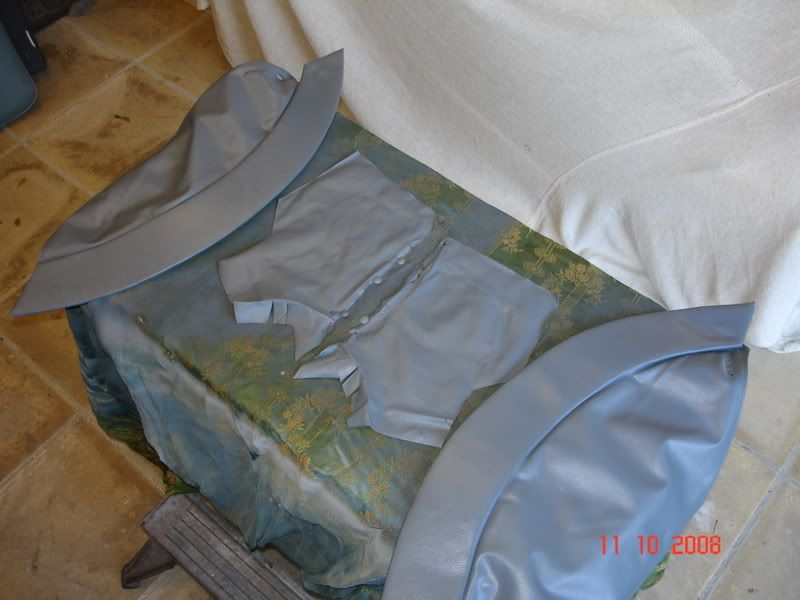
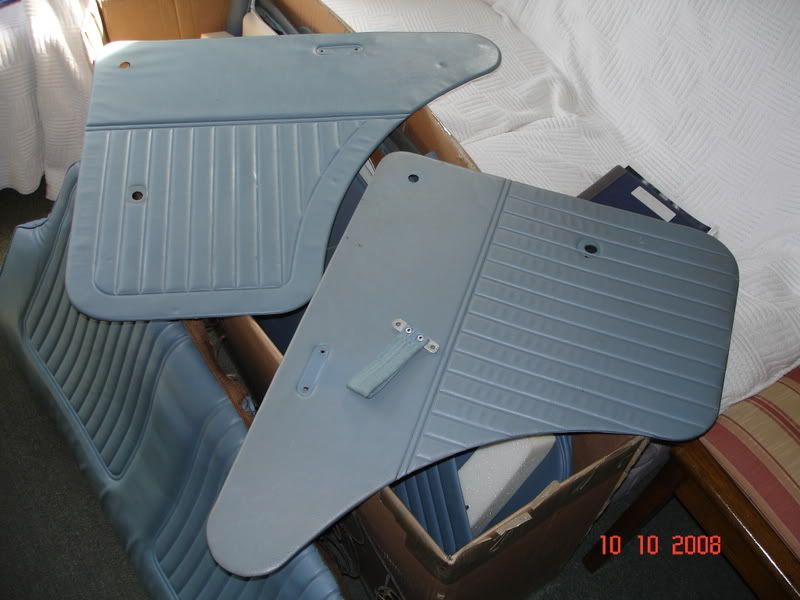
Not the sort of job where I can take lots of interesting photos unfortunately, but here are the door cards before:

Image

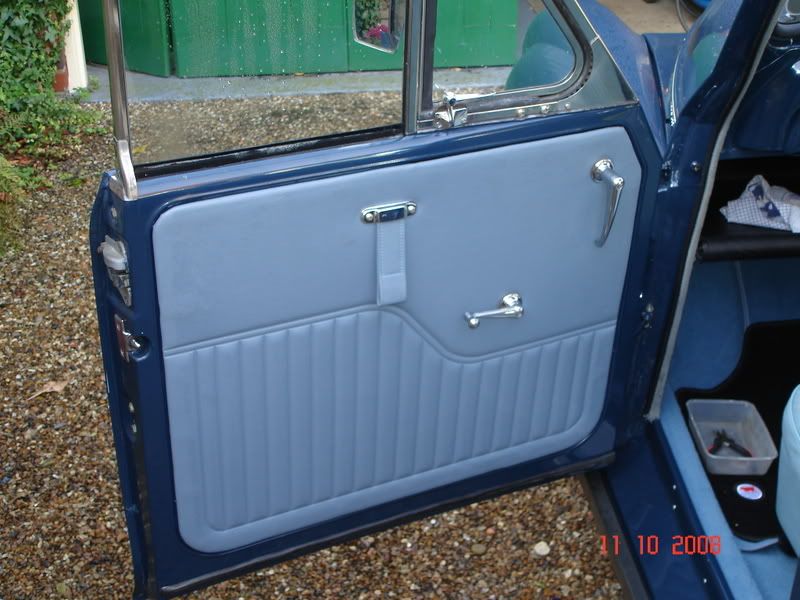
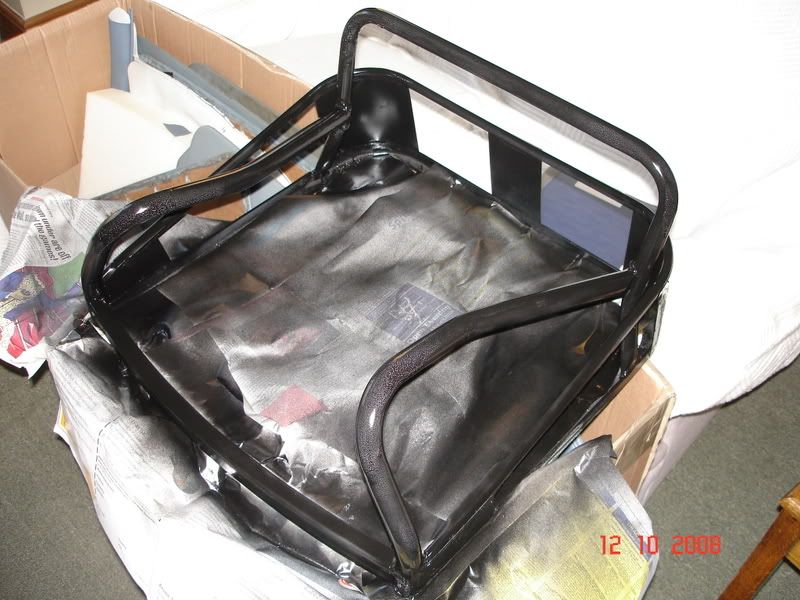
And here they are after:

Image

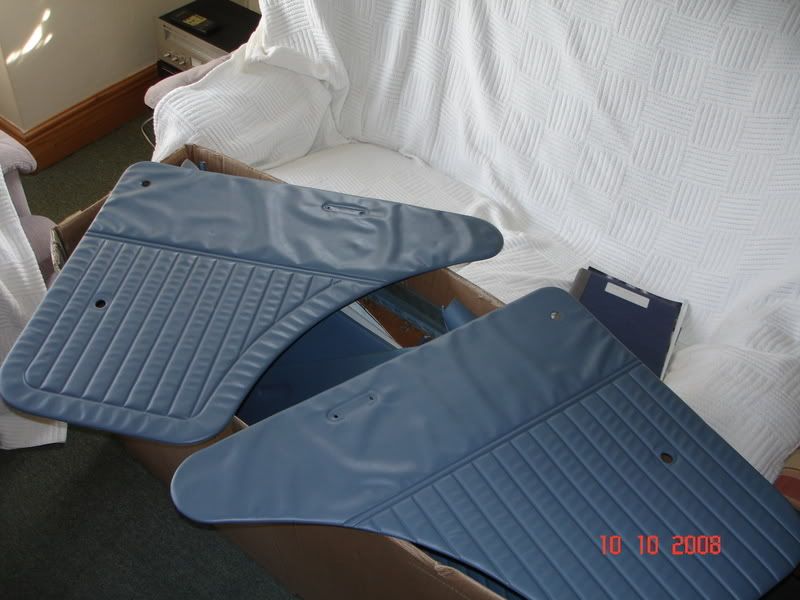
As I found with the test piece, they've gone a bit wrinkly and "loose" but the test piece tightened up to its original shape in about 20 hours, so I'm confident that the same will happen here.

Oh, and before anyone starts being clever - yes, I know the two door cards are a slightly different pattern - I used the matching one as a test piece, if I have enough paint/dye left over at the end (which I probably will) I will paint that one too and fit it so they match - I thought the one on the car was in better condition, but actually they are about the same, so I might as well have matching ones!

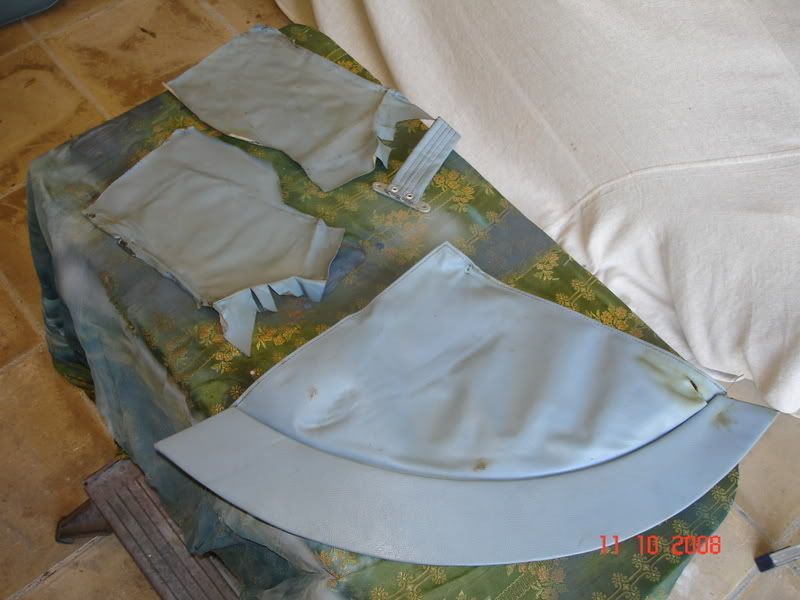
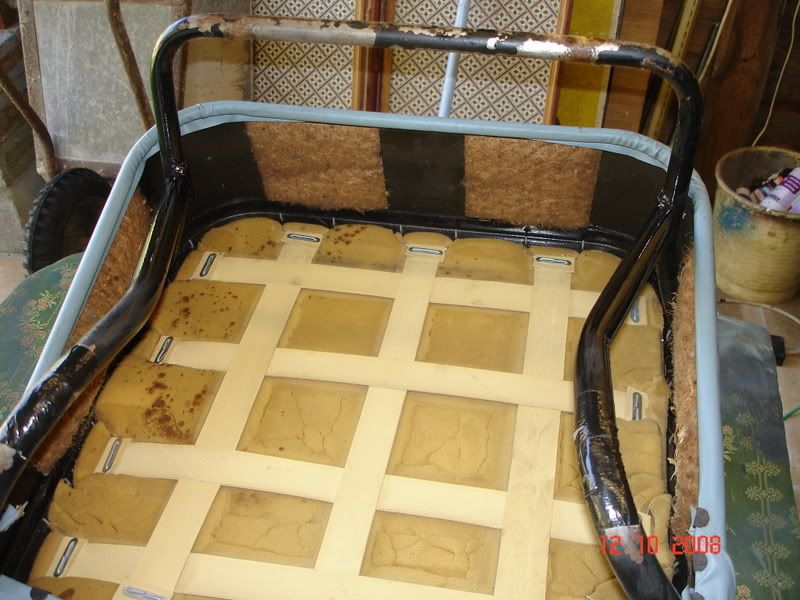
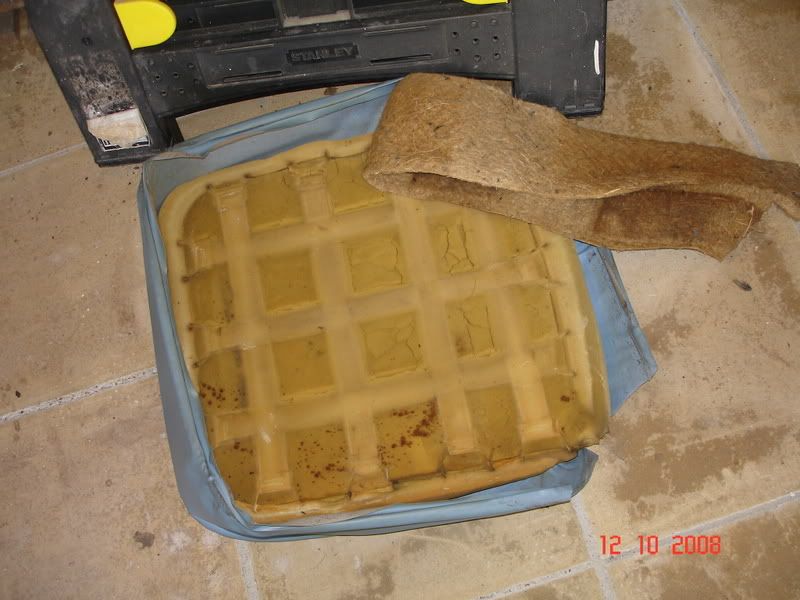
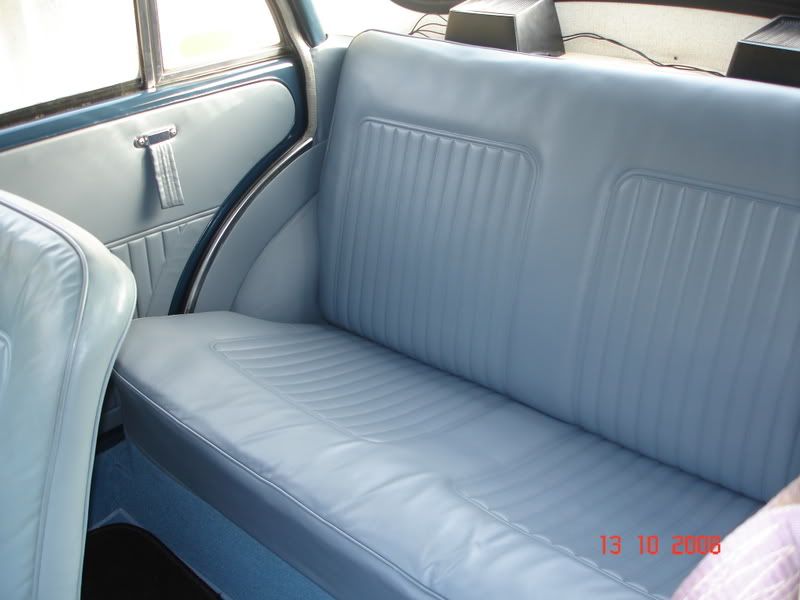
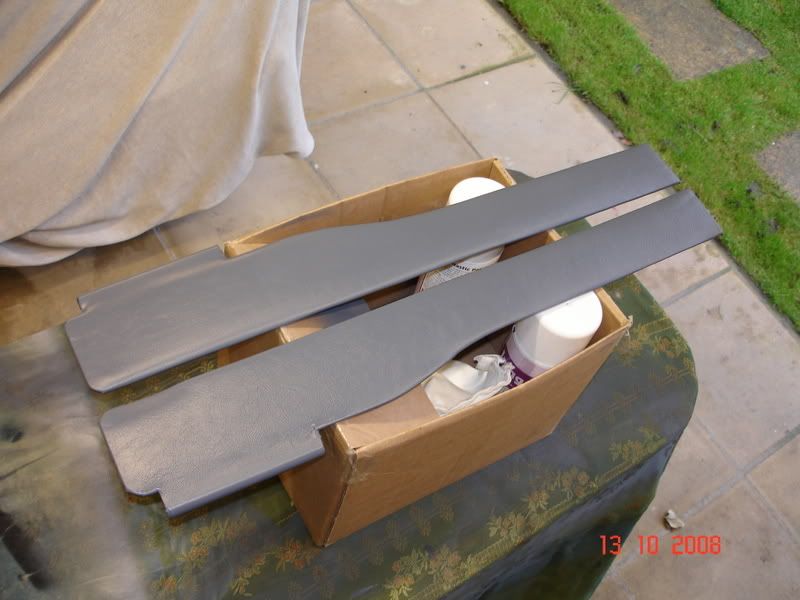
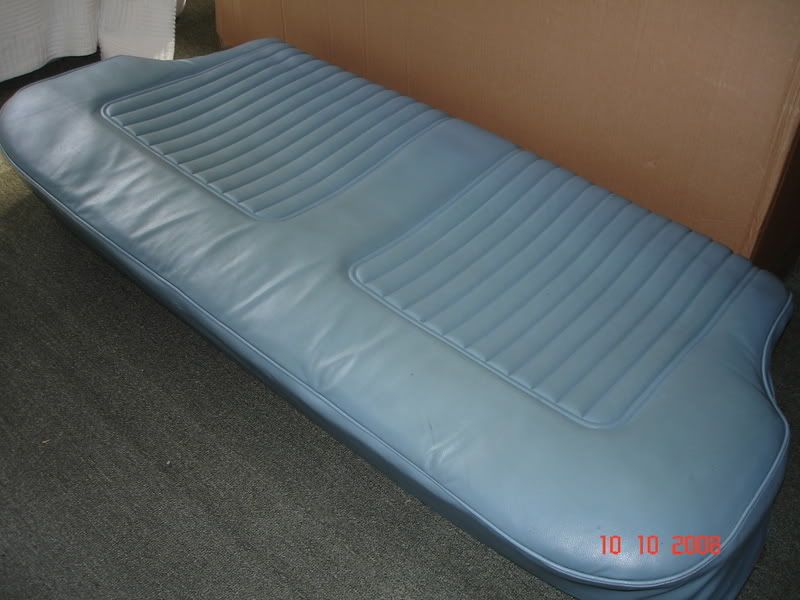
Here is the rear seat cushion before:

Image

And after:

Image

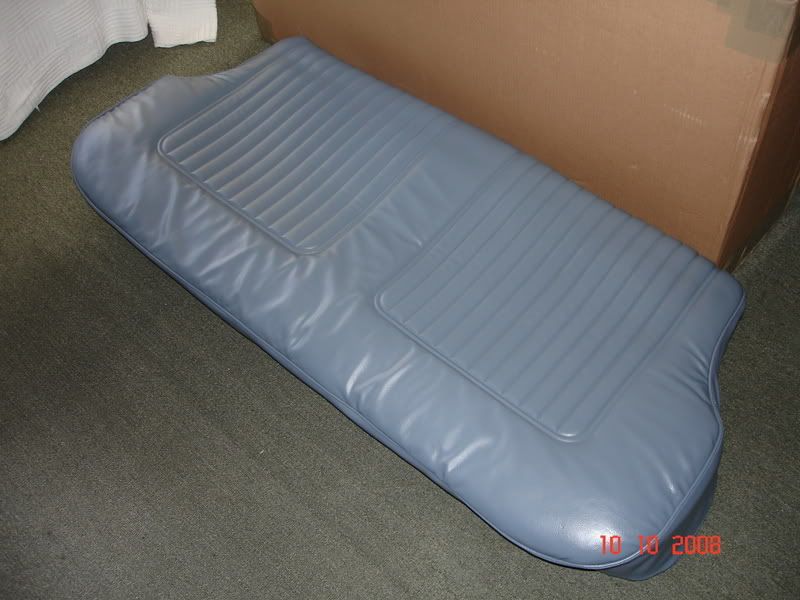
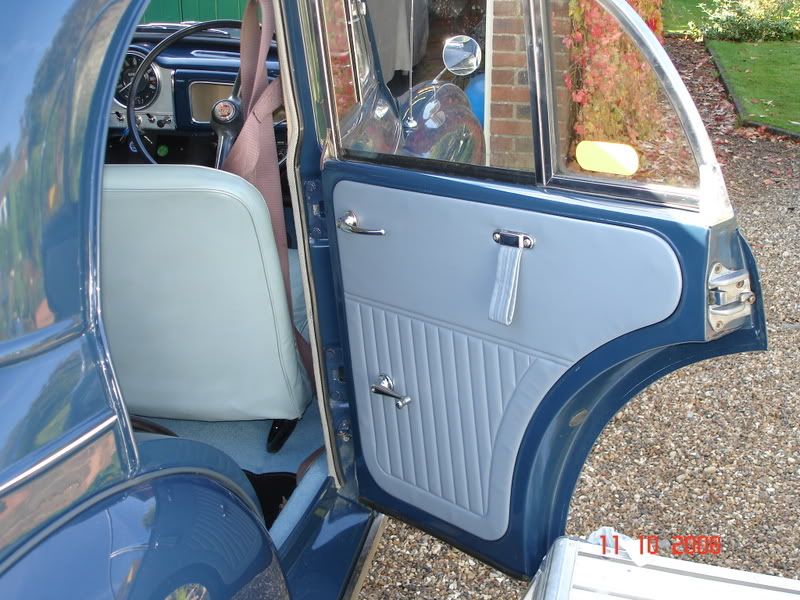
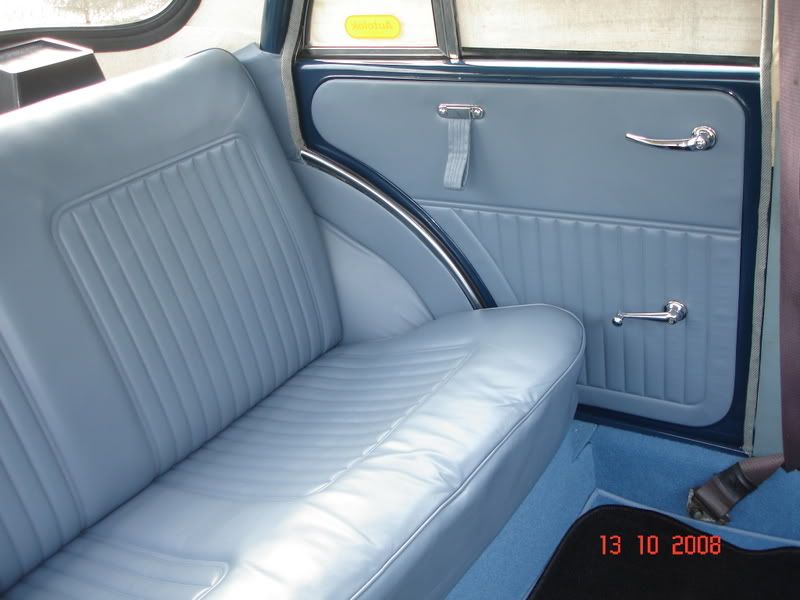
Due to the limitations of photography, you can't see a huge difference in the photos, but trust me, the result is excellent - the finish is like new, the colour and texture are spot on, and the colour match is exact. The old covers had a few marks and stains on them that wouldn't clean out, and these are gone now too - the colour and finish are flawless.

I now have full confidence that this technique to re-colour the old interior parts to match the new Newton Commercial ones will be a total success, I think the interior will look stunning and pretty much factory-fresh new when I'm done. It will just take some time to strip all the bits and colour them, meaning I will need to "steal" the car from my wife to get access to it!

Should get some more done over the weekend though - watch this space!

Happy boy right now.

:D :D :D :D :D :D
PSL184
Minor Legend
Posts: 4978
Joined: Thu Jul 03, 2008 5:49 pm
Location: Nuneaton
MMOC Member: No

Post by PSL184 »

Great job :-)
[sig]8426[/sig]

Compare the Minors - Simples !! http://mog.myfreeforum.org/index.php
Luxobarge
Minor Fan
Posts: 363
Joined: Tue Sep 02, 2008 8:27 pm
Location: Horne, Surrey
MMOC Member: No

Post by Luxobarge »

Had a good day of re-colouring and fitting up the interior today.

Firstly, with the door cards off, a good opportunity to blast the insides with rust protection - a mix of Dinitrol and Waxoyl, warmed gently in front of a heater for 5 minutes is my preferred potion. Here we are blasting it in with a paraffin gun driven by a compressor at full chat:

Image

Driver's door is already done, so I'm carrying out this process to the other 3 doors, all of which are having their door cards replaced with the new "re-coloured" ones.

Next job is to clean the outside of the inner door panel off with petrol and put in some water membranes over the access holes - I don't have any suitable plastic to hand, so several overlapping layes of Duct tape seems to do the job pretty well:

Image

Next is to fit the door card, taking a lot of time to position the clips so the panel sits nice and central in the door face. I also put a dob of waxoyl on each of the clips so that they clip in nice and easily, and are also easy to remove in the future, rather than rusting in. Here's the passenger door done!

Image

Next was to do the same thing to the two rear doors - here's the O/S rear door done - this was a door card that I recoloured the other day, you can see quite a difference between the new door card colour and the front seats - they're next!

Image

Next I stripped out the rear seat squab/back and the trim that goes around the rear wheel arches.. Here we are cleaning up the wheel arch trim:

Image

Same routine as before, thoroughly clean, then again with prep solution, and then spray carefully - here they are sprayed the new colour:

Image

Then exactly the same routine with the rear seat squab - this looks virtually identical in the photos to when I did the rear seat cushion the other day, so I'll not bore you with the pictures save to say it came out brilliantly and is currently drying in the lounge waiting to be fitted tomorrow!

Next job is to re-fit the trim and rear seat, then make a start on the front seats.

More anon! :D :D :D
stag36587
Minor Legend
Posts: 1395
Joined: Sat Jan 06, 2007 3:55 pm
Location: Raunds, Northamptonshire
MMOC Member: No

Post by stag36587 »

This is fantastic - given me great comfort about the state of my interior
]
mrbenn
Minor Fan
Posts: 292
Joined: Tue Feb 19, 2008 10:14 am
Location: Cheshire
MMOC Member: Yes

Post by mrbenn »

Thats looking fantastic 8) I didn't realise colour dying vinyl could be so effective!

An extremely smart car indeed 8)
Luxobarge
Minor Fan
Posts: 363
Joined: Tue Sep 02, 2008 8:27 pm
Location: Horne, Surrey
MMOC Member: No

Post by Luxobarge »

Got some more done today.

First up, re-fitting the fiddly little in-fill trim above the rear wheel arch covers. The previous owner had put these on all skew-whiff, so I put the carboard backing on properly with a quick squirt of spray adhesive and stuck them both back in the car how God intended:

Image

Then re-installed both wheel arch covers - foam underneath is glued but the vinyl cover seems to sit there quite smoothly without any assistance, so I left it that way:

Image

Then installed the rear seat back and cushion - silly me forgot to take some pics of the finished article - so I'll post some up later.

Then on to the front seats. I've decided to do them one at a time, so out came the passenger seat, I took this picture and more like it so I can remember where all the little clips and things go:

Image

Here's the old seat cushion - the foam is completely knackered, and I expect the driver's seat to be even worse. This is good, because it's pretty flippin' uncomfortable as it is! I have all new foams to go in, but oddly the base straps are new, so no need to replace these.

Image

The metal seat frame, especially the legs that you can see are a bit shonky, so I decided to clean all the old paint off and give them a new coat of shiny black.

Here we are starting to clean the metal frame up - a long way to go, I eventually took this lot down to bare metal!

Image

No photo of it in bare metal, but here it is in my favourite - etch primer:

Image

Then 90 minutes later, a good coating of gloss black. Unfortunately, although it was a warm day today, it was very damp, and towards the end of the afternoon it was too damp for spraying so it's come out rather bloomy - I'm not happy with this finish so I think I'll do it again tomorrow - probably use decent chassis black for the next try:

Image

Progress! :D :D :D :D
Onne
Moderator
Moderator
Posts: 3441
Joined: Wed Jan 26, 2005 4:50 pm
Location: Mapperley Nottingham
MMOC Member: No

Post by Onne »

Just out of interest, how did you remove those horrible little clips that hold the material to the base without damaging it?
Onne van der S. MMOCno 60520 Moderator
2dr 1971 White DAF 55 (with hopefully a 1600cc engine soon)
2dr 1973 Bergina (DAF 44)
2dr Estate 1975 DAF 46 in red
2dr saloon 1972 DAF 44 in Mimosa
Luxobarge
Minor Fan
Posts: 363
Joined: Tue Sep 02, 2008 8:27 pm
Location: Horne, Surrey
MMOC Member: No

Post by Luxobarge »

Onne wrote:Just out of interest, how did you remove those horrible little clips that hold the material to the base without damaging it?
Well, in a manner of speaking I didn't - I'm replacing the seat base cover, and re-colouring the seat back cover, so most of the clips are on the part I'm replacing. However, most of them came off with little or no damage, levering them off with care using a small electrical-size screwdriver - they can always be put back in a slightly different position so they are clipping "fresh" material - mind you, I know what you mean, they are evil little devils aren't they - the barbs make it difficult to remove with no damage at all!

Cheers :D
PSL184
Minor Legend
Posts: 4978
Joined: Thu Jul 03, 2008 5:49 pm
Location: Nuneaton
MMOC Member: No

Post by PSL184 »

Looking good... will be a car to aspire to foir the rest of us !!!
Did you order webbing for the front seat backs also - these are oft forgot :roll:
[sig]8426[/sig]

Compare the Minors - Simples !! http://mog.myfreeforum.org/index.php
Luxobarge
Minor Fan
Posts: 363
Joined: Tue Sep 02, 2008 8:27 pm
Location: Horne, Surrey
MMOC Member: No

Post by Luxobarge »

PSL184 wrote:Did you order webbing for the front seat backs also - these are oft forgot :roll:
No, the "integrity" of the front seat backs is OK, and I'm not planning to take this apart, so I'm going to leave well alone there, apart from colouring them to match the rest of the new interior.

I may come to regret that statement one day, but...... :wink: :wink:
PSL184
Minor Legend
Posts: 4978
Joined: Thu Jul 03, 2008 5:49 pm
Location: Nuneaton
MMOC Member: No

Post by PSL184 »

HaHa !! I feel a bad case of "Moggie Back" occuring soon.... I'm sure Doctors can legally put that on sick notes :-)
[sig]8426[/sig]

Compare the Minors - Simples !! http://mog.myfreeforum.org/index.php
Luxobarge
Minor Fan
Posts: 363
Joined: Tue Sep 02, 2008 8:27 pm
Location: Horne, Surrey
MMOC Member: No

Post by Luxobarge »

Here's pics of the finished re-coloured interior rear - I'm really pleased with this, just the seats to do now!

Image

Image

:D :D :D :D :D
DAVIDMCCULLOUGH
Minor Legend
Posts: 3010
Joined: Sun Sep 09, 2007 10:42 pm
Location: Whiteabbey, Co Antrim
MMOC Member: Yes

Post by DAVIDMCCULLOUGH »

Looking very smart! Keep up the good work, you will need another new project soon........ :lol:


Too many Minors so little time.....
Luxobarge
Minor Fan
Posts: 363
Joined: Tue Sep 02, 2008 8:27 pm
Location: Horne, Surrey
MMOC Member: No

Post by Luxobarge »

I gave the passenger seat base frame another coat of paint today - I used decent quality chassis black paint, brushed on this time, rather than rattle cans.

Aaaahhh, that's better!!

Image

Next job was to re-colour the vinyl on the B-post pillar trims. Whipped them off in no time, here they are "before":

Image

Then the usual routine - clean them using "Vinyl Kleen" (they were very dirty!) then wipe thoroughly with vinyl prep, then spray and dry with a hairdryer. Here they are "after":

Image

Nowt to do now until the seat frame and B-pillar trims have dried properly, so hopefully have time to get more done tomorrow.

Cheers :D :D :D
whenisayjump
Minor Friendly
Posts: 71
Joined: Fri Feb 15, 2008 1:26 am
Location: Kingston, SE London
MMOC Member: No

Post by whenisayjump »

That is absolutely fantastic. You should be ecstatic!

...it makes me happy just looking at it, driving it must be wondrous.
Vikki
Minor Friendly
Posts: 86
Joined: Mon Oct 01, 2007 7:22 pm
Location: Rugby, Warwickshire
MMOC Member: No

Post by Vikki »

very nice ive gotta do my interior next week hopefully mine will turn out even half as neat as yours, looks fab.
[sig]7113[/sig]
Post Reply