Les, meant to say, no sign of scans I'm afraid.
Dean
LCV chassis
Forum rules
By using this site, you agree to our rules. Please see: Terms of Use
By using this site, you agree to our rules. Please see: Terms of Use
-
dean36014
- Minor Friendly
- Posts: 61
- Joined: Mon Mar 05, 2007 3:11 pm
- Location: Coventry
- MMOC Member: No
Its even more rotten on the other side!!!!
Started stripping down the o/s chassis rail, ground the top plate of to reveal evn more dodgy repairs. Who ever repaired it previously must have had shares in dexion, as there is loads of it welded in by the local pigeon. Looks like the centre cross member that is in line with the rear torsion bar mounts is also going rotten at its end. Is this the same as a saloon? Its the one the handbrake bolts into.
Some pictures of the state of play. i've ran out of grinding discs, so a long walk is now in order .
.


Started stripping down the o/s chassis rail, ground the top plate of to reveal evn more dodgy repairs. Who ever repaired it previously must have had shares in dexion, as there is loads of it welded in by the local pigeon. Looks like the centre cross member that is in line with the rear torsion bar mounts is also going rotten at its end. Is this the same as a saloon? Its the one the handbrake bolts into.
Some pictures of the state of play. i've ran out of grinding discs, so a long walk is now in order
-
dean36014
- Minor Friendly
- Posts: 61
- Joined: Mon Mar 05, 2007 3:11 pm
- Location: Coventry
- MMOC Member: No
Just an update, slow progress now as I'm back at work, my back lasted a week and then went out again, looks like my operation wasn't that successful
Managed to reinforce the chassis enough so that I could turn it over and stand it on two black and decker work mates, without fear of it collasping. Now at a nice working height. Starting on the nearside rail first, as it seems less rotten, repair that one and I'll have the template for the other side. Well thats the theory.....
I've repaired the centre section now, where it had snapped, then I started to clean up the rear end of the chassis, which had already been replaced in the past, and guess what, thats rotten as well
Some pictures of the progress to date.


Now I've got to start on the o/s side rail, and work out what to do here, and further down by the torsion bar mount, which has now been removed.

I've also bought one of these, so it looks like its going to get well used over the months to come.
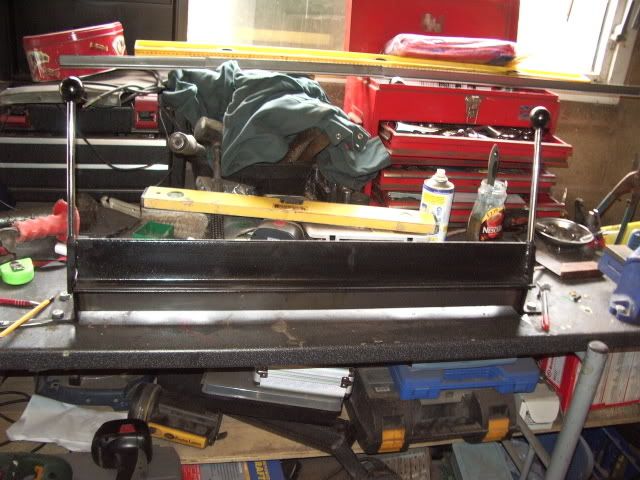
Might have to have a tidy up of the workbench though
Managed to reinforce the chassis enough so that I could turn it over and stand it on two black and decker work mates, without fear of it collasping. Now at a nice working height. Starting on the nearside rail first, as it seems less rotten, repair that one and I'll have the template for the other side. Well thats the theory.....
I've repaired the centre section now, where it had snapped, then I started to clean up the rear end of the chassis, which had already been replaced in the past, and guess what, thats rotten as well
Some pictures of the progress to date.
Now I've got to start on the o/s side rail, and work out what to do here, and further down by the torsion bar mount, which has now been removed.
I've also bought one of these, so it looks like its going to get well used over the months to come.
Might have to have a tidy up of the workbench though
-
dean36014
- Minor Friendly
- Posts: 61
- Joined: Mon Mar 05, 2007 3:11 pm
- Location: Coventry
- MMOC Member: No
Been scraping of old underseal today, and then had a look at the front chassis legs. The o/s is original, unrepaired/bodged, but needs repairing. The nearside is completely rotten, and snapped through. Further investigation revealed that the n/s one has been repaired previously by welding in part of a car chassis leg. The eyebolt hole is closer to the bottom of the chassis rail than the otherside. More worrying is the fact that there is an inch difference from a datum point further back down the chassis between the n/s and o/s rails. It must have handled interestingly when it was on the road.