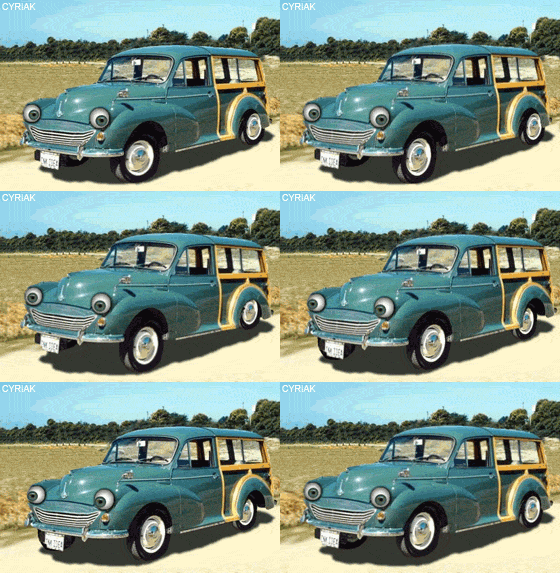
barrie's project
Forum rules
By using this site, you agree to our rules. Please see: Terms of Use
By using this site, you agree to our rules. Please see: Terms of Use
Re: barrie's project
the boot floor is in a right state , holes everywhere , and iv not even poked around yet .[frame] [/frame]
Re: barrie's project
i was trying to remove the pedals but i couldnt get them out , it must be simple but could anyone point me in the right direction ?? iv had a minor overdose  [frame]
 [/frame]
-
graham1957
- Minor Fan
- Posts: 149
- Joined: Fri Oct 09, 2009 10:41 pm
- Location: dronfield
- MMOC Member: No
Re: barrie's project
i think you have tap out the cotter pin at the pivot point on the clutch pedel <where you took the nut off> and then tap the spindle through the chassis. when rebuilding look at a workshop manual to make sure you have all washers/bushes etc in the correct places as its no fun if you have to dismantle it all again!hope this helps, Graham
[sig]8872[/sig]
-
jaekl
- Minor Addict
- Posts: 658
- Joined: Thu Jun 19, 2008 7:40 pm
- Location: Pennsylvania, USA
- MMOC Member: No
Re: barrie's project
One word persistence. After all these years, the brake pedal is a bit stubborn. Use a lot of penetrating oil and then rotate and pull. Lots of back and forth rotation between the two pedals while you pull on the clutch pedal. A little heat on the brake may help but there is a bronze bushing in there. With RHD you'll be able to full rotate the clutch once it's out a bit, whereas with LHD there is only a half rotation.
Re: barrie's project
Thinks guys Ilol have a crack at that next weekend . Today iv cut parts of the floor out to see what I am up against , there were a lot of floor panels welded on top of rust and old floor panels ,3 in total[frame] [/frame]
Re: barrie's project
[frame] [/frame]
Re: barrie's project
[frame] [/frame]
Re: barrie's project
[frame] [/frame]
Re: barrie's project
Sills look slightly ropey , but they will all be removed and replaced[frame] [/frame]
Re: barrie's project
The end result = a large pile of useless scrap , but it made me feel happier that it has been cut away  [frame]
 [/frame]
Re: barrie's project
One of the new floor panels[frame] [/frame]
Re: barrie's project
Might be an idea to put some bracing in before it goes for dipping, just in case there's nothing left when it comes back 

Re: barrie's project
this week i have been mostly sorting the rear wings out  , they look reasonably new ,maybe a few years old . first i sanded the inside and wire wheeled any spots of rust , panel wiped the inside down then lightly etch primed the bare metal. then i welded a small plate at one end to stiffen the wing up ,i spot welded it and mig welded in place.[frame]
 [/frame]
Re: barrie's project
small plate on the front lower edge[frame] [/frame]
Re: barrie's project
then i sanded the outside of the panels and ran a curved file around the holes to remove any rust ,and wire wheeled any rust , then i planished any high spots and dents out using dollys and panel hammers and skimmed with body filler to smooth the panel out ready for etch priming and priming[frame] [/frame]
Re: barrie's project
[frame] [/frame]
Re: barrie's project
these are the body fillers i use[frame] [/frame]
Re: barrie's project
and this is what i sand it down with 80 /120 /180/240/320 grit[frame] [/frame]
Re: barrie's project
this next product is really good ,it fills any blemishes like pin holes, scratches you cant see !there is no need to mix it ,you can use it straight out of the tube ,all you do is wipe it in and wipe the excess off the sand down with 320 or 400 grit paper ready for primer[frame] [/frame]
Re: barrie's project
because of the red color you can see what has been missed , so you know its perfect for primer[frame] [/frame]