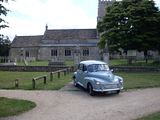
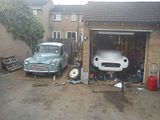
Further to the ignition timing ssues mentioned in the "Minor Exhaust Flatulence" thread in the mech section, as previously recorded, I wanted to set up the ingnition timing, but found that the timing marks are missing from the bottom of the timing case, so I decided to make my own, and while I was at it, to put them in a position that is a bit easier to read and see with a strobe gun!
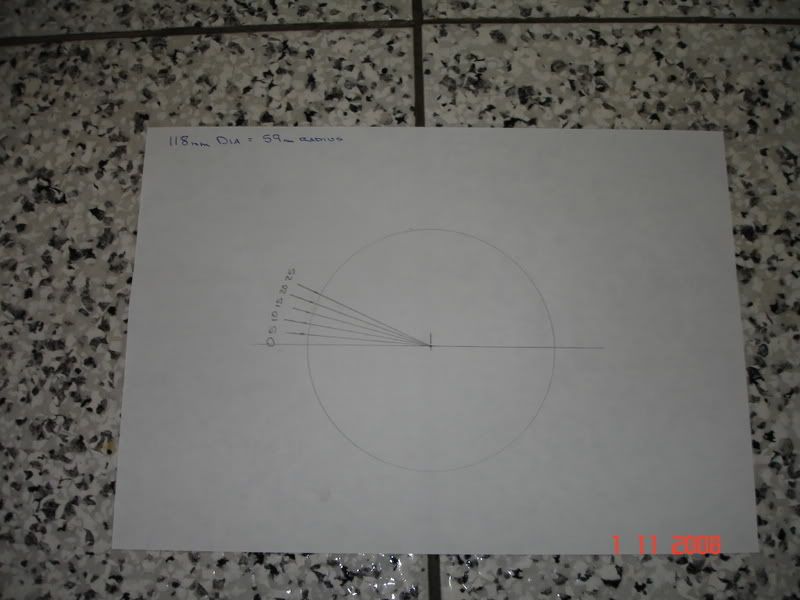
First, I measured the crank pulley and drew a template so I can get the angles and distances right on the new marker teeth that I will make. Dug out the old technical drawing instruments and drew the template:
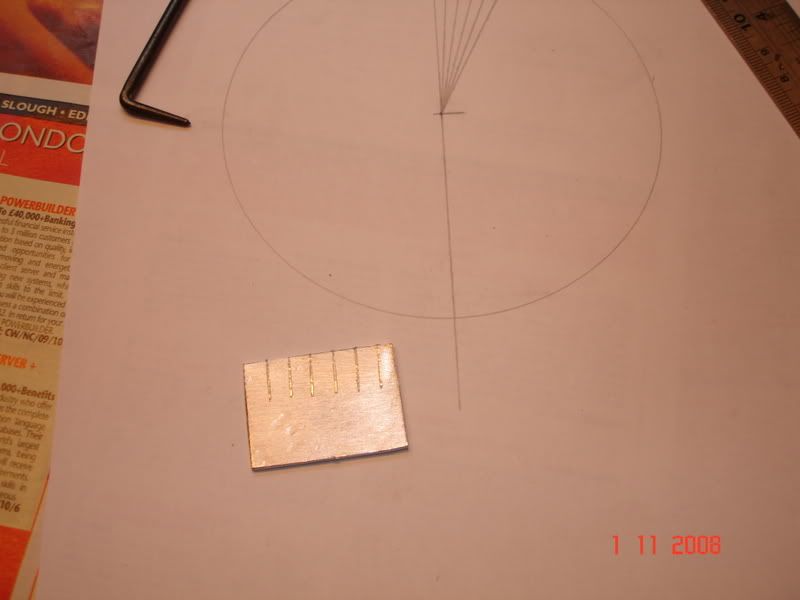
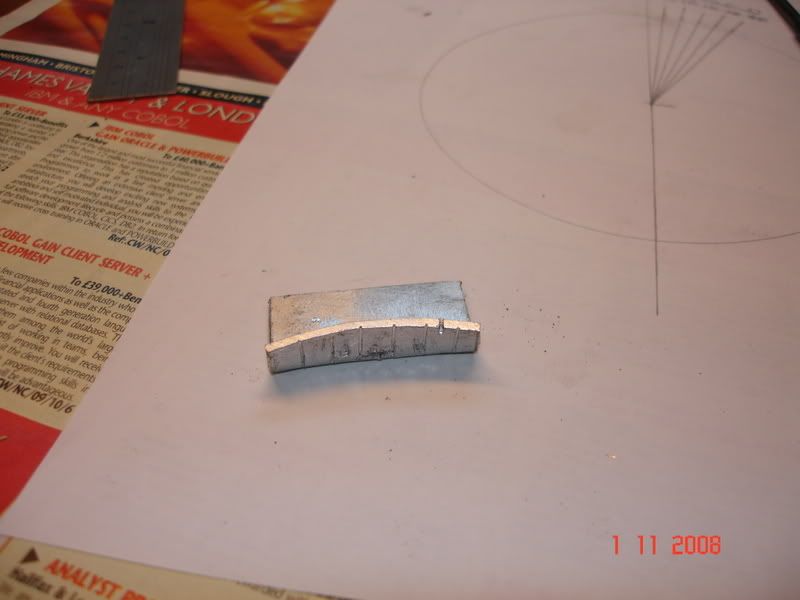
Then I cut a piece of aluminium sheet and marked it up with a scribe so it will show TDC plus 5-degree intervals of advance up to +25 degrees:
I then bent up the edge of the marker, and worked it with some pliers to roughly follow the curve of the pulley:
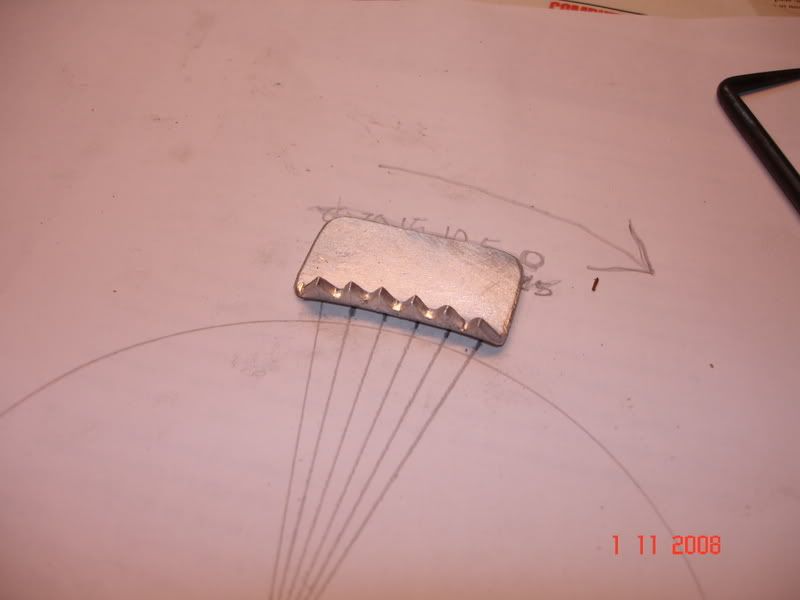
Then a decent session with a fine file, to form the points of the "teeth" in line with the previously marked scribe lines:
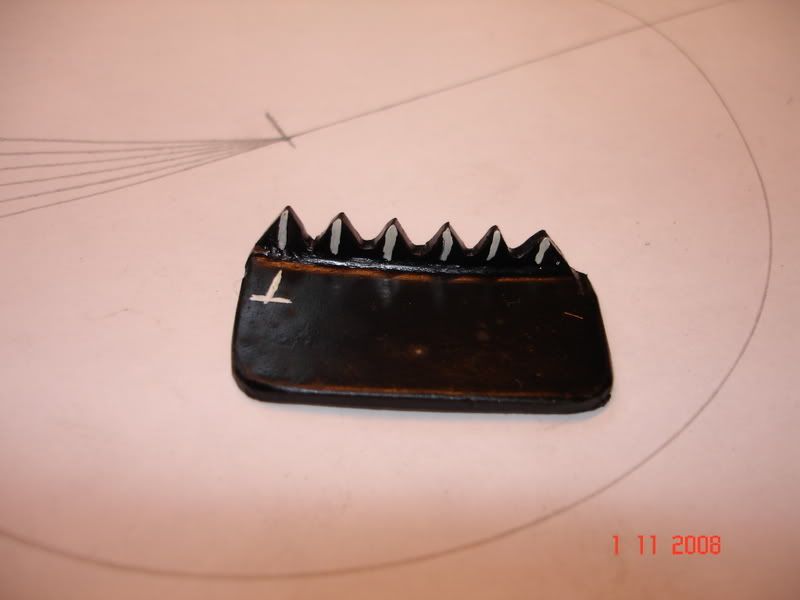
Then a quick spray with satin black, and a very fine, worn artist's paintbrush to paint on the timing marks - in the correct Old English White colour of course!
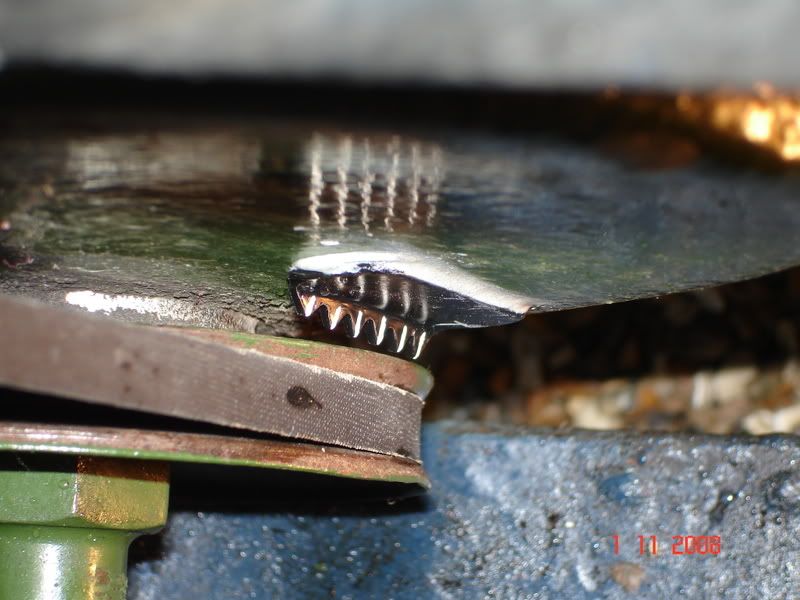
Then I thoroughly cleaned the area on the timing case where I want to stick this marker, including roughing up the surface with scotchbrite. The I mixed up some chemical metal, and stuck the new marker teeth into a suitably visible position on the timing case:
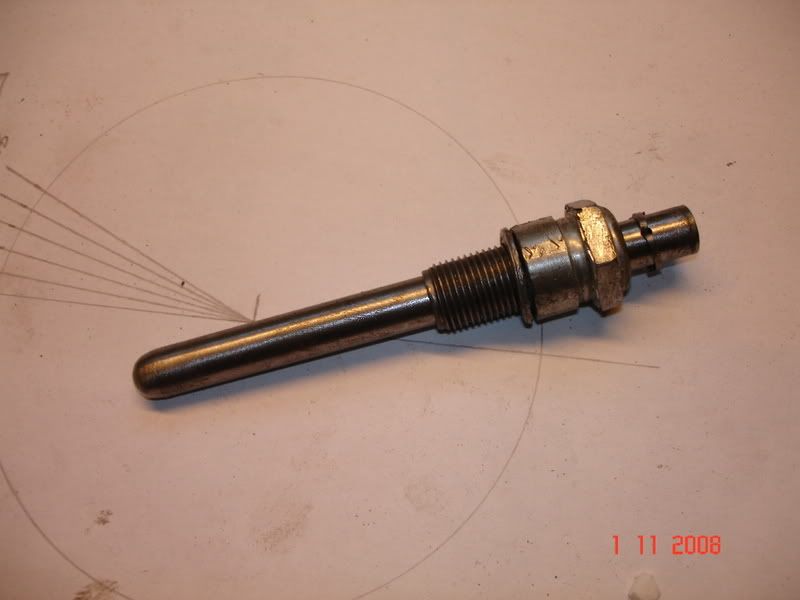
Next job is to find TDC with my newly acquired dial guage. Before doing this, I figured that the "shaft" of the dial guage would not be long enough to go down the plug hole and make decent contact with the piston crown, so I wanted to make a proper "plunger" to be able to position the guage conveniently. First I took an old spark plug and smashed out the ceramic centre - this was quite difficult I found, but eventually managed it using masonry drills and a selection of punches, along with the services of my trusty club hammer.
I then used my pillar drill to drill out the centre of the metal plug to a 10mm diameter. Next was to prepare the "plunger" - I took a length of 10mm steel rod, cut it to length, cleaned it up and ground a hemi-spherical shape on the end to make contact with the piston. I also drilled a hole near the top end and fitted a split-pin, to stop it falling right through and into the cylinder. The inside of the top of the old spark plug was sill much more than 10mm, so to make it all the same diameter I filled the hole with chemical metal, and re-drilled it out to 10mm all the way through. A little engine oil for lubricant, and job done!
Then I needed to remove the spark plugs from the car, fit the new plunger assembly in cylinder 1 plug hole and set up the dial guage. The magnet on the stand is quite strong, and held the guage firmly in place, although it did chip some of the MOWOG green paint off the rocker cover!!
Then after a little fiddling with the arms on the stand, I got the guage set up and happily measuring the max height of the piston:
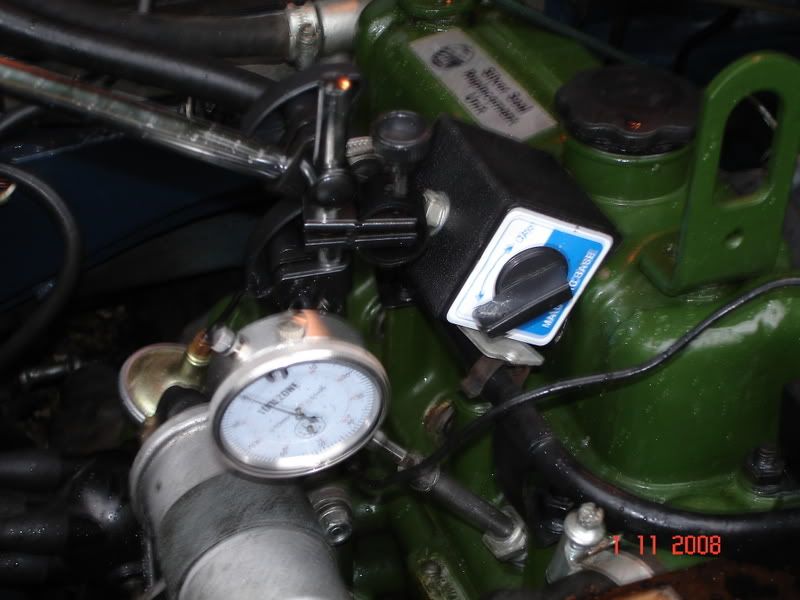
Gently rocking the crank backwards and forwards, I pretty soon arrived at what must be pretty close to TDC, and with another dab of paint I marked the crank pulley level with the "T" mark on the new pointer.
I then replaced the spark plugs and ran up the engine and checked the timing with a strobe gun. With the vac advance disabled, it's currently about 8 degrees BTDC (book figure is 6) and much more advanced than this with the vac advance connected.
The car runs fine like this, with no pinking, but it was getting dark and pouring with rain, so I'll do some road tests another day, and set it up by trial and error - i.e. advance it until it pinks under load, then back it off a little until all pinking stops.
At least I now have some easily visible markers to see what the setting actually is when I've done this! I will record the final setting, which will enable me to return to that setting any time the distributor is disturbed for any reason, without having to repeat a series of road tests.
All in all a fun day, despite the weather!